| Key Specifications | |
|---|---|
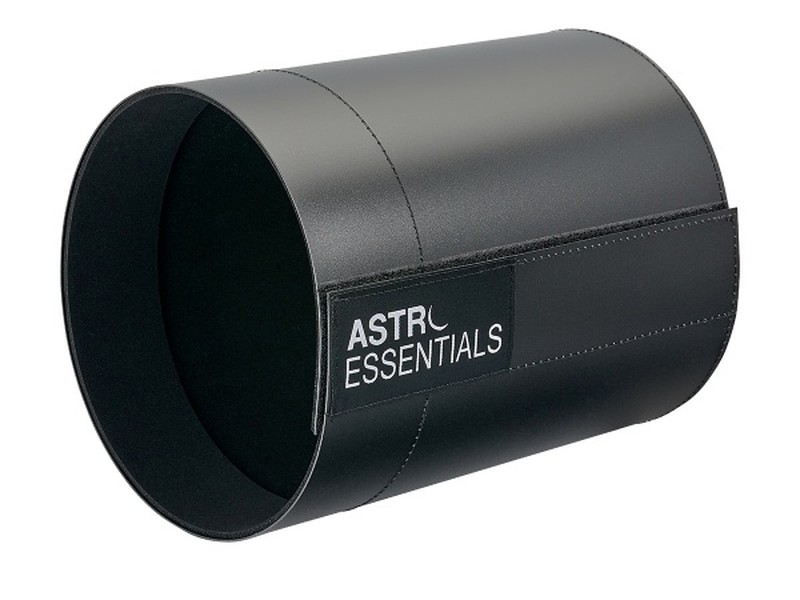
| Type | Flexible fabric dew shield (baffle) |
| Size | 8" (fits scopes up to ~200mm) |
| Material | Heavy canvas-like fabric |
| Extension Length | ~4" beyond scope front |
| Weight | ~150g |
| Storage | Folds flat, takes minimal space |
| Installation | Slides over scope front, held by friction |
| Climate | Essential for UK (maritime climate) |
Every amateur astronomer in the UK. Dew is the #1 practical frustration for UK observers. It's not a luxury — it's the difference between "I went outside and gave up" and "I had a productive night of observing."
This is the most practical, non-glamorous accessory you'll ever buy. It might be the reason you actually go observing regularly instead of giving up in frustration.
The UK's maritime climate means moisture is always present in the air. When your cold telescope sits outside, that moisture condenses on the glass — corrector plates, secondary mirrors, even eyepieces fog up. Within five minutes of stepping outside in spring or autumn, you're wiping dew off the optics. Within fifteen minutes, it's back. It's maddening.
The dew shield doesn't prevent dew entirely. Instead, it acts as a baffle, creating a protective zone around the front of your scope. Moisture in the air still surrounds the telescope, but it can't directly settle on the optics as easily. The shield extends 4 inches beyond the scope front, keeping most of the condensation from forming.
Result: instead of dew forming within 5 minutes, it takes 20–30 minutes. Instead of observing for five minutes before the optics fog, you get 20–30 minutes. That's a 4–5× improvement in session length. It's the difference between "I gave up" and "I had a productive night."
Important: This is not a complete dew solution. A dew heater (separate accessory, £40–£60) warms the optics slightly to prevent dew formation entirely. The shield and heater together = problem solved. Shield alone = much less frequent wiping.
Installation: Slide the shield over the front of your telescope. It's held by friction — no tools, no permanent attachment. Takes 10 seconds.
During observing: Leave it on. It doesn't interfere with your view or focuser adjustment.
Storage: The fabric is flexible. Collapse it and fold it flat. It takes up minimal space in your scope case or bag.
Maintenance: None. It's washable if it gets dusty, but that's optional.
Compatibility: Fits any scope with an 8" aperture or smaller (up to ~200mm). Larger scopes have larger versions (10", 12", etc.).
Near-universal recommendation for UK observers. On Stargazers Lounge, dew is one of the most common frustrations mentioned. The shield is the standard answer.
Combined with a dew heater = game changer. Observers who use both the shield and a heater report that dew becomes a non-issue. They observe all night without worrying about optics.
Shield alone = significant improvement. Even without a heater, the shield buys enough extra time that most observing sessions are productive rather than frustrating.
Essential in spring and autumn. Summer nights are sometimes dry enough that you don't need it. But March–May and August–October? Essential. Winter? Absolutely essential.
Surprising how effective it is for such a simple tool. It's just fabric, but the improvement is noticeable within the first session. Users often report being amazed at the difference.
A heated wire that wraps around the front of your scope, warming the optics to prevent dew entirely. Combined with the shield = near-complete dew prevention. Requires external power (battery or mains).
~£40–£60Observers have built homemade shields from PVC pipe, felt, and other materials. Works, but requires effort. Not recommended unless you enjoy tinkering.
~£10–£20 (materials)A small heating pad that warms the back of the scope. Less effective than a dew heater, but cheaper and simpler. Budget option.
~£20–£30This should be near the top of your UK-specific accessories list. Moon filter first, collimation cap if Newtonian, Telrad finder when you're doing deep-sky, then dew shield. The dew shield is fourth or fifth, but once you own it, you'll wonder how you ever observed without it.
Consider adding a dew heater (£40–£60) later. Shield + heater is the standard professional setup for UK observing. The shield alone is 80% of the solution; the heater makes it 100%.
This is a must-have for regular UK observers. If you observe more than once a month during spring–winter, this should already be in your kit. If you don't have one, your next observing session is the time to buy it.