| Key Specifications | |
|---|---|
| Sensor Type | CMOS 1280×960 pixels |
| Pixel Size | 3.75µm |
| Connection | USB 2.0 |
| Frame Rate | 30–60 fps (software-adjustable) |
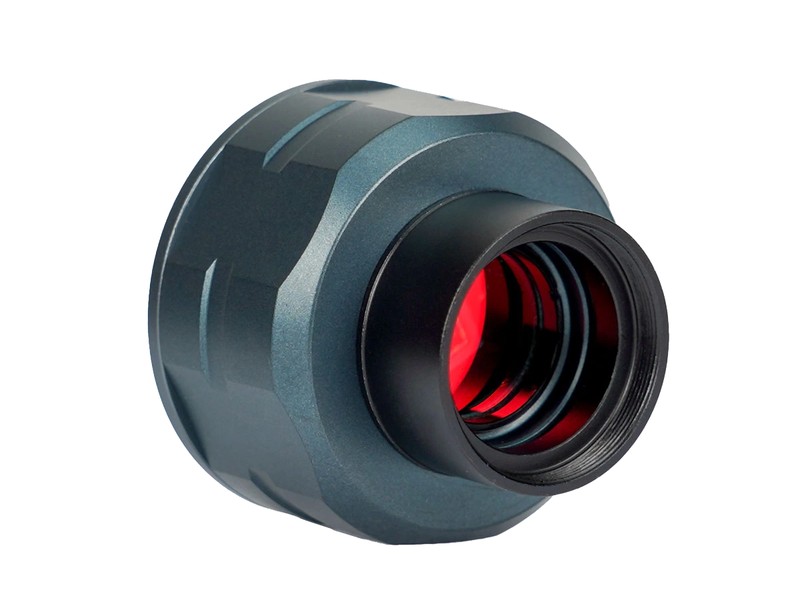
| Barrel Size | 1.25" (standard eyepiece) |
| Gain & Exposure | Full software control via SharpCap |
| Cooling | None |
| Weight | ~200g |
Who Is This For?
The Svbony SV105 is for anyone interested in planetary imaging who doesn't mind spending an evening on the computer to process results.
- Beginners ready for a workflow. Unlike the smartphone adapter, this requires video capture software and stacking. But the payoff is visibly sharper images.
- People who want sharp Moon and planet photos. The lucky imaging technique (video stacking) produces images that rival professional observatories — if you're willing to process them.
- Budget-conscious serious imagers. At £40 it costs the same as a smartphone adapter but produces better results. The workflow is longer, but the results reward the effort.
- Those testing if they'll commit to planetary imaging. Before spending £150+ on a ZWO camera, the SV105 proves whether you'll actually stack images or if you prefer passive observation.
What Can You Capture?
The Moon
Craters at incredible detail. Terminator features show 3D structure. Stacked lunar images often exceed what you see by eye through a telescope.
Jupiter
All four Galilean moons, multiple cloud belts, storm systems, and the Great Red Spot on good nights. Processing a 2000-frame video produces startlingly clear detail.
Saturn
Rings with Cassini Division, cloud bands, and on rare steady nights, you can resolve ring spokes or spot storms in the atmosphere.
Mars & Venus
Mars during opposition shows polar ice caps and dark albedo markings. Venus shows cloud structure and phase changes throughout the year.
Results depend on stacking technique, atmospheric seeing (turbulence), and your scope quality. On exceptional nights, images approach professional observations. On average nights, they're clearly better than eye observation but not perfect.
The Workflow (This Is Important)
Step 1 — Setup: Install SharpCap (free) on a laptop. Connect the SV105 via USB to your computer. Insert the camera into your telescope's focuser (1.25" barrel) and focus.
Step 2 — Recording: Launch SharpCap, select the SV105, adjust gain and exposure until Jupiter or the Moon fills the screen with good brightness, and record video. A 2000-frame video takes ~30–60 seconds to capture.
Step 3 — Stacking: Use free software AutoStakkert (Windows) or Siril (cross-platform) to analyse the video, pick the best 200 frames (usually the sharpest), and stack them into one sharp image. This takes 5–10 minutes per video.
Step 4 — Post-processing: Registax (free) or Siril applies wavelets and colour correction to enhance detail. Final tweaks in Photoshop or GIMP if desired.
Total workflow: 30 seconds recording + 10 minutes processing = 10 minutes per final image. Not passive, but faster than you'd expect.
What the Community Says
Exceptional value for money. CloudyNights and Stargazers Lounge consistently call the SV105 "a steal" and "the best entry-level planetary camera."
Results vary wildly by experience. Beginners often produce mediocre stacked images their first month — it takes practice to nail gain, exposure, and processing settings. Experienced users produce stunning images immediately.
USB 2.0 is slow but adequate. At 60 fps max, you record 2000 frames in 30 seconds. Faster USB 3.0 cameras capture the same in 15 seconds, but USB 2.0 is fine for planetary work.
Processing is the real learning curve. Owning the camera is easy; learning SharpCap, AutoStakkert, and Registax takes a few evenings. Plenty of YouTube tutorials exist.
Durability is solid. No moving parts, simple design. Owners report 5+ years of reliable service. Not a fragile toy.
Known Limitations & Tradeoffs
- USB 2.0 speed limitation. Slower than USB 3.0 cameras. At 60 fps you record slower videos. For planetary work it's fine, but you'll feel the speed limit if you ever upgrade to faster hardware.
- No cooling. Thermal noise becomes visible in 30-second exposures. Not a problem for video capture (which uses short exposure times), but a limitation if you want long exposures.
- Requires computer tethering. Unlike standalone recorders, you need a laptop at the eyepiece. Not ideal for remote observing or if you want to travel light.
- Processing learning curve. New users often produce poor stacks their first month. The software exists, but knowing how to use it takes reading tutorials and experimentation.
- USB cable length. Comes with a short cable — budget £10–£20 for a 5m USB 2.0 extension if your laptop isn't portable.
- Limited by atmosphere. On turbulent nights (high winds, heat shimmer), even perfect processing can't rescue poor source video. You're at the mercy of seeing conditions.
Pairs Well With
SharpCap Pro (Optional)
The free version is fully capable. Pro adds autoguiding, polar alignment tools, and advanced features. Nice-to-have but not essential.
~£40/yearGood Eyepiece
Your image quality is limited by your eyepiece. A quality 8mm or 5mm eyepiece (BST StarGuider, Explore Scientific 68°) transforms your planetary images.
~£45–£100Stable Laptop
Processing videos requires a decent computer. Nothing exotic — a modest laptop from the last 5 years handles stacking fine.
£400+Dark Sky Site
Atmospheric turbulence is worse in light pollution. Observing from a country site dramatically improves seeing conditions and image sharpness.
TravelThe Upgrade Path
If you love planetary imaging and want faster processing: Upgrade to the ZWO ASI120MC-S (£150). Same workflow, but USB 3.0 makes recording twice as fast and the sensor is slightly more sensitive.
If you decide you prefer passive observation to processing: Switch back to a smartphone adapter or visual observation — there's no shame in preferring looking over computing.
If you want to image deep-sky objects instead of planets: Move to the Canon EOS 2000D (£450) for galaxies and nebulae. Totally different hobby, totally different workflow.