Camera Guide
| Key Specifications | |
|---|---|
| Sensor Type | CMOS 1/3" mono (AR0130CS), 1280×960 |
| Pixel Size | 3.75µm (captures fine lunar detail) |
| Connection | USB 2.0 (works with any computer) |
| Frame Rate | ~6 fps at full resolution, up to 30+ fps at lower resolution |
| Barrel Mount | 1.25" nosepiece (standard focuser fit) |
| Guide Port | ST4 autoguider connector |
| Colour Imaging | Mono only — use RGB filter wheel for colour (optional upgrade) |
| Power | USB bus-powered (no separate PSU needed) |
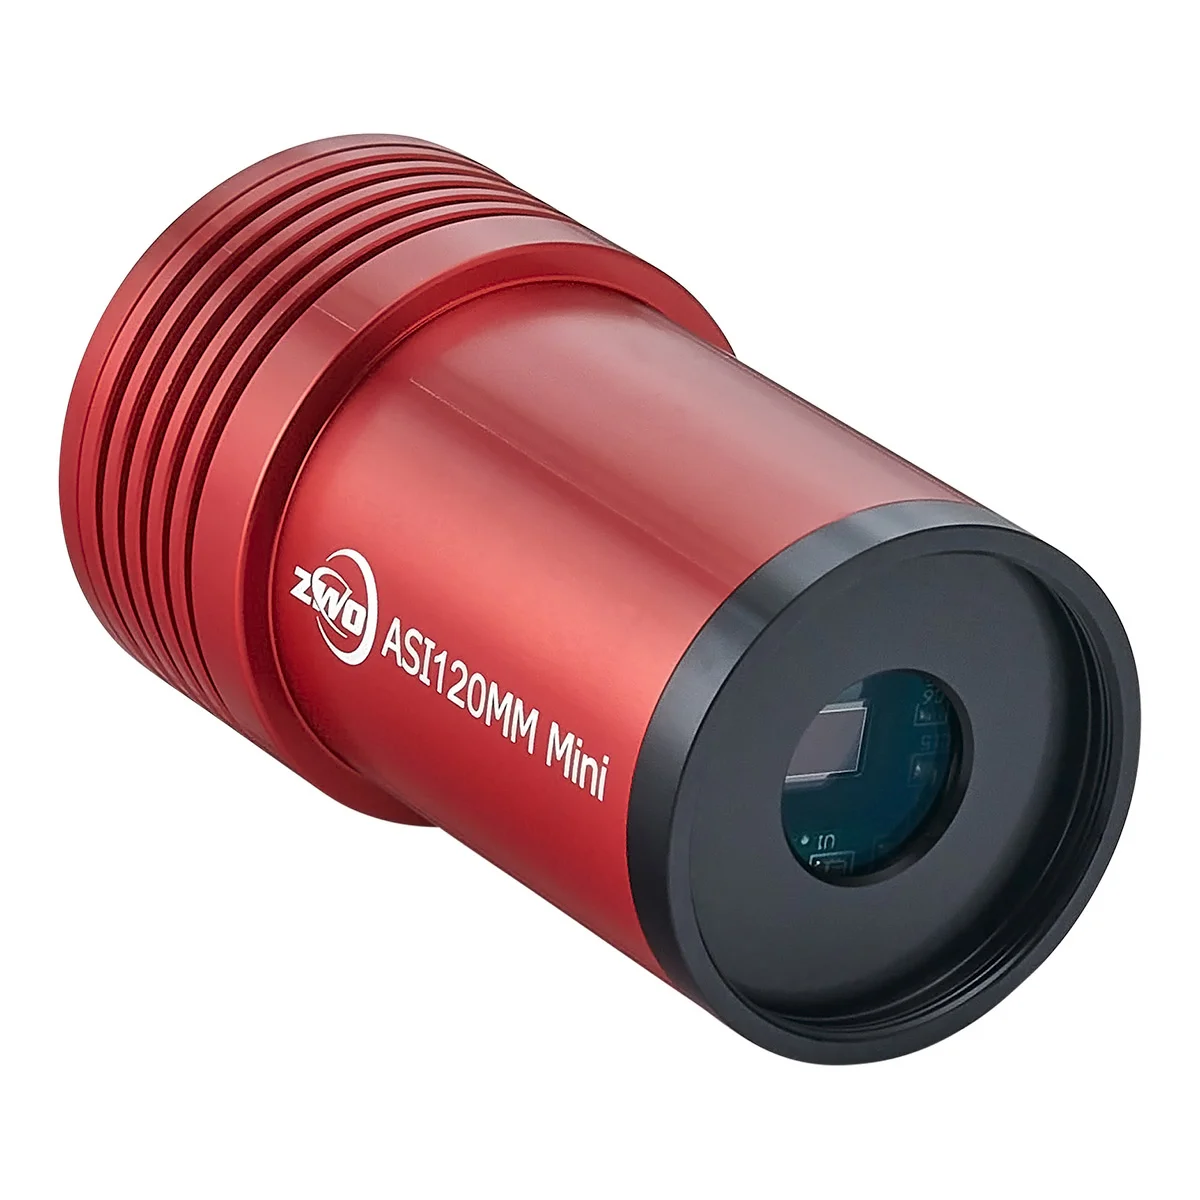
The ZWO ASI 120MM Mini is for beginner to intermediate planetary imagers — people who want to step up from their smartphone or DSLR to a proper lunar and planetary camera without breaking the bank.
Skip this if you want instant colour images (buy the ASI 662MC instead) or if you're only doing deep-sky galaxies (use the cooled ASI294MC Pro instead).
Craters, rilles, shadows, and peak rings. The terminator — where sunlight meets shadow — shows three-dimensional relief in stunning detail. Every clear night, the view changes.
North and South Equatorial Belts, festoons, and the Great Red Spot. Video frames reveal cloud motion and dynamics invisible to the eye. Stack the sharpest 10% of frames for one stunning image.
Ring bands, Cassini Division, and shadow on the globe. Saturn's tilt changes year to year — this camera captures every seasonal variation.
Hellas Planitia, Syrtis Major, polar caps. Mars has small apparent size, but this camera's pixels are tiny — enough to resolve seasonal dust storms and cloud formations.
Planetary imaging is fundamentally different from deep-sky imaging. You're not stacking long exposures — you're taking hundreds of video frames and selecting the sharpest ones (lucky imaging). On any given night, maybe 1% of your frames will be perfect, but that 1% can rival professional observatory images.
The basics: Colour cameras have a Bayer filter — a mosaic of red, green, and blue squares layered over the sensor. Each pixel sees only one colour. Software interpolates the missing colours, which reduces sharpness and introduces noise.
Mono cameras have no filter: Every pixel captures full brightness. The result is roughly 2× sharper than colour cameras for the same resolution. This matters for planetary work, where detail is tiny and atmospheric turbulence (seeing) is your enemy.
Colour imaging with mono: If you need colour, buy a colour filter wheel (around £100–£150) and take three exposures through red, green, and blue filters. Software combines them into a colour image. It's extra work, but the final result is sharper than any colour camera can produce.
Bottom line: Serious planetary imagers use mono cameras. If you want instant colour without fiddling, buy a colour camera (ASI 662MC). If you want maximum sharpness, mono + filter wheel is unbeatable.
Setup: Screw the ASI 120MM Mini into your telescope's focuser (1.25" nosepiece). Connect USB to your laptop. Launch SharpCap or FireCapture software.
Focus: Use the live preview to get the sharpest focus. A hand focuser takes 30 seconds; a motorised focuser is nice but optional.
Capture: Record 30–60 seconds of video at 6 fps (full resolution) or higher fps at lower resolution. Wind speed and atmospheric seeing change rapidly, so multiple short runs beat one long one.
Lucky imaging: Software like Autostakkert! or RegiStax analyzes your video and selects the sharpest frames (typically 1–5% of total). It aligns and stacks them into a single high-quality image.
Processing: GIMP or Photoshop for final tweaks — curves, unsharp mask, maybe a blur reduction filter. Most planetary imagers spend 5 minutes processing for every 5 minutes of acquisition.
Exceptional value for money. The ASI 120MM Mini punches way above its weight. Owners consistently achieve Moon and Jupiter images that rival much more expensive cameras.
Mono sharpness is real. Compared to colour planetary cameras, the difference in detail is noticeable. If sharp planetary images matter to you, mono is the way to go.
USB 2.0 is convenient. No need for special power supplies or observatory infrastructure. Works off any laptop, anywhere.
Dual purpose is genuinely useful. Many owners use this camera as a guide camera in winter and switch it to the main camera for planetary observing in summer. That versatility is hard to beat at this price.
Learning curve is gentle. Lucky imaging software is forgiving. Even beginners get respectable results after a few nights of practice.
Transform mono images into colour by recording three separate exposures through red, green, blue filters. Software combines them. Adds cost and complexity but produces superior colour images.
around £100–£150 View at FLO →Temperature changes cause focus drift. The ZWO EAF is the community standard motorised focuser — USB-C powered, works with ASCOM, NINA, and SharpCap. Not essential for planetary, but saves frustration on long observing sessions.
around £159 View ZWO EAF at FLO →The free version is powerful, but SharpCap Pro adds planetary autofocus, analytical histograms, and noise reduction. Many users find the investment worthwhile.
around £30 (one-time) View at FLO →Lucky imaging software that selects the sharpest frames and stacks them. Autostakkert is faster; RegiStax has more processing options. Both are free/donation-based.
Free to ~£20 donationLunar & planetary specialist: This is a perfectly capable long-term camera. You're not outgrowing it — you're mastering it. After 2 years you'll still be getting world-class results.
Want instant colour without filters: Upgrade to the ZWO ASI 662MC (around £199) — colour sensor, USB 3.0, higher resolution. You sacrifice a bit of sharpness, but gain convenience.
Want deep-sky AND planetary: Keep this for planetary and add the ZWO ASI294MC (around £745) for galaxies and nebulae. Two specialised cameras beat one compromise camera.
Want a guide camera: This camera is excellent at that job. Keep it mounted on your guide scope or offset guide camera rig and you're set for years.