Mount Guide
| Key Specifications | |
|---|---|
| Type | Motorised equatorial star tracker |
| Payload | 5kg (camera + lens + counterweight) |
| Tracking Rates | Sidereal, solar, lunar, 0.5× |
| Weight (Head Only) | ~1.2kg |
| Power | 2× AA batteries or USB-C |
| WiFi Control | Yes — SynScan Pro app (smartphone) |
| Polar Scope | Built-in, illuminated (red/blue LED) |
| Latitude Range | 0–70° (suitable for UK 50–56°) |
| Dovetail | Vixen-compatible (V-mount) |
| Best For | Wide-field DSLR/mirrorless astrophotography, travel astronomy, initial deep-sky exploration |
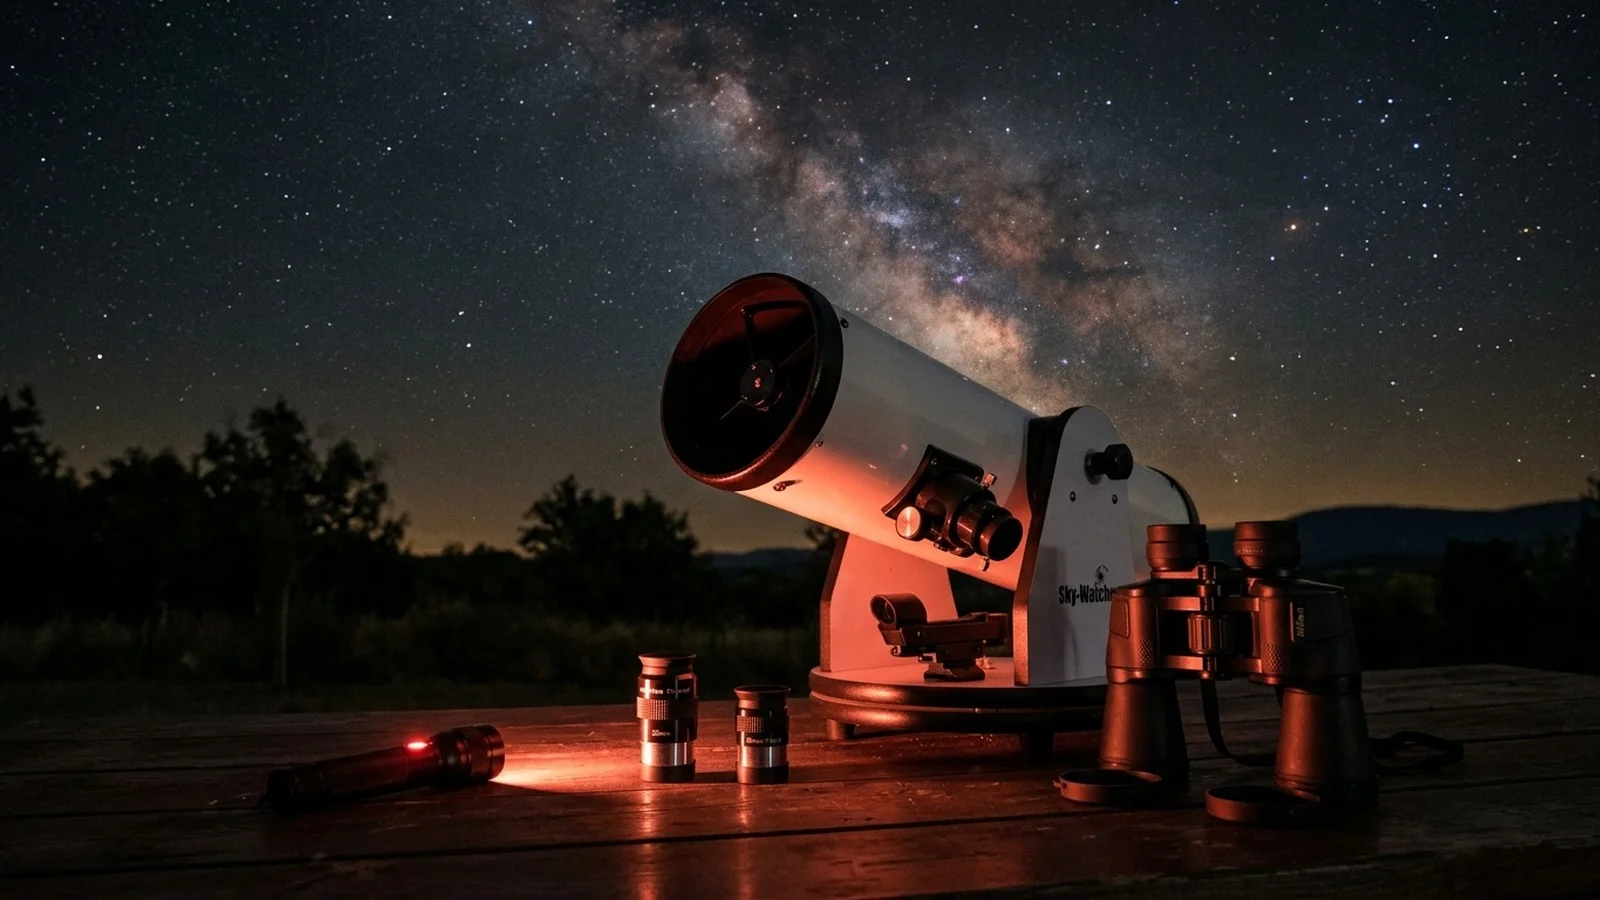
A star tracker is a motorised mount that sits on a regular photo tripod. You attach your camera and lens to it, polar-align it to Polaris, and the motor nudges the whole assembly to follow the sky as it rotates. That tiny continuous movement prevents star trails — the trails that would normally appear in a 30-second or 3-minute exposure.
Without a tracker, your DSLR on a tripod captures stars as trails when the shutter stays open for more than about 15–20 seconds. A star tracker eliminates that. It's the bridge between hand-held nightscape photography and owning a full equatorial telescope mount (which costs £2,000+). The Star Adventurer 2i is the most popular entry point into tracked astrophotography.
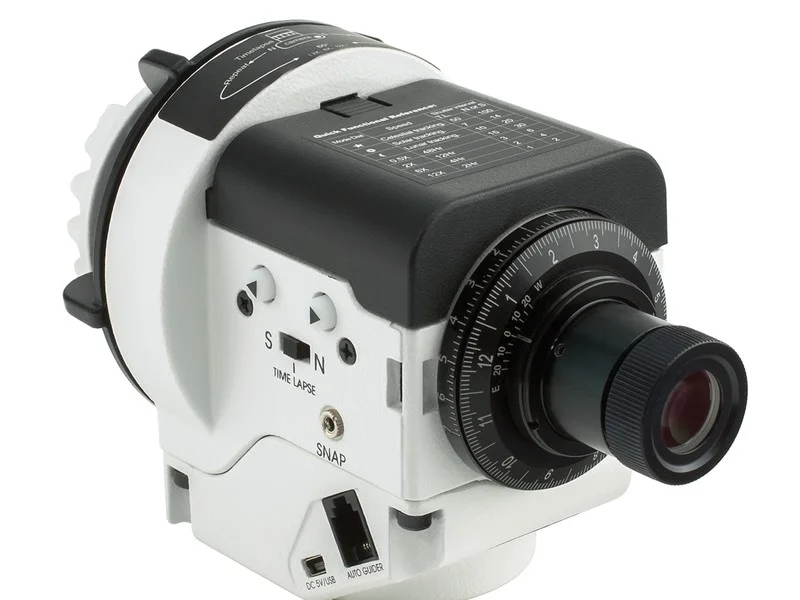
The "2i" designation means it's the second-generation version with WiFi — the original Star Adventurer lacked app control. The WiFi adds convenience but isn't essential; many observers use buttons on the head itself.
If you already have a full EQ mount and a telescope, the Star Adventurer 2i is useful as a secondary rig for wide-field imaging. If you're a total beginner with no astronomy gear, this is a perfect second step after binoculars or a small telescope.
Payload and exposure time are the limits. The 5kg payload means a typical DSLR body (700g) + 50mm lens (600g) + counterweight (300g) = 1.6kg, leaving room for heavier glass.
Milky Way core, Andromeda (M31) full frame, Orion region, large emission nebulae. 3–4 minute exposures at f/1.4–f/2.8.
M31 Andromeda in detail, M42 Orion Nebula close-up, Pleiades cluster, North America Nebula, Rosette Nebula. Requires good polar alignment; 2–3 minute exposures.
Planetary detail on Jupiter/Saturn on good nights, bright deep-sky objects (M13, M51, M104). Longer focal lengths demand more precise guiding, so results plateau without autoguiding.
Long-focal-length planetary at high res (needs a heavier EQ mount), extended exposures beyond 5 minutes without autoguider (drift will show), or ultra-heavy rigs (a C8 scope is 4kg — too heavy).
Reality check: tracking quality is good to ~3 minutes at moderate focal lengths (100–200mm). Beyond that, even tiny polar alignment errors accumulate into star trails. An autoguider (camera + guidescope) pushes this to 10+ minutes, but adds complexity and cost.
The 2i's main upgrade over the original Star Adventurer is the WiFi module and SynScan Pro app control. From your smartphone, you can:
Is WiFi essential? No. The buttons on the mount itself do everything. But if you're standing 10 metres from your tripod in the cold, adjusting the tracking rate from your phone is more convenient than walking back. The polar alignment helper is the most useful WiFi feature — it walks you through the process step-by-step, especially helpful if you're unfamiliar with Polaris or if light pollution hides faint guide stars.
The most-recommended star tracker for beginners. Stargazers Lounge, Reddit's r/astrophotography, and YouTube channels (Astro Backyard, Nebula Photos, John Craven) consistently feature the Star Adventurer 2i as the entry point. It has a huge ecosystem of tutorials and troubleshooting guides.
Polar alignment is the learning curve. Every owner says the same thing: "Polar alignment was confusing until I got it, now it takes 5 minutes." The built-in polar scope works well from the UK (Polaris sits comfortably in the reticle at UK latitudes). Many observers use a red torch and the scope to align without the app — the app helper is a shortcut, not a requirement.
WiFi works reliably, but buttons are backup. The app connection is stable, but if you forget to charge the WiFi module or lose signal, the manual buttons on the head work just fine. Some observers never use the app and prefer buttons anyway.
Tripod and ball head stability matter hugely. A cheap wobbly tripod will introduce more tracking error than the mount itself. Many owners upgrade to a sturdy photo tripod (£60–100) and a quality ball head (£40–60) — the tracker itself is the smallest part of the investment.
The declinatation bracket is fiddly but works. Setting the declination angle for your latitude requires loosening screws and adjusting a bracket. It's not difficult, but it's easy to get wrong the first time. Once set, you rarely touch it again.
The tracker head is only half the equation. You'll need:
The 2i ships with one counterweight. Most setups need a second. Sky-Watcher's kit includes extras and a safety bracket.
~£30 View at FLO →A flimsy tripod head ruins tracking. Invest in a solid Arca-compatible ball head. Neewer, Manfrotto, or RRS all work.
~£40–80 View on Amazon →A rock-solid tripod is non-negotiable. Gitzo, Manfrotto, or carbon-fiber alternatives (Mefoto, Peak Design). Cheap tripods vibrate and waste the tracker's accuracy.
~£80–150 View on Amazon →Trigger the camera without touching the tripod (vibration). The SynScan app can handle this, or use a wired remote. Essential for time-lapses and long exposures.
~£15–30 View on Amazon →Mounts the camera vertically to the dovetail, balancing the rig better than a horizontal mount. Vixen or Arca-Swiss compatible.
~£25–50 View on Amazon →For night vision during setup and polar alignment. Preserves dark adaptation better than white light.
~£5–15 View at FLO →Total startup cost: tracker (around £249) + decent tripod (£100) + ball head (£50) + extras (£100–150) ≈ £500–550. This assumes you already own a DSLR and lens.
The Star Adventurer 2i is the entry point, not a stepping stone. Many astronomers stay with it for years, taking increasingly ambitious wide-field images as they refine technique and buy better lenses.
If you outgrow it, the next step is a full equatorial mount: the EQ5 Pro (£1,100+) or HEQ5 Pro (£1,500+). These are heavier, require longer polar alignment, but accept telescopes up to 20kg and can be autoguided for exposures of 10+ minutes. You'll also need a guidescope, autoguider camera, and autoguiding software — another £500–800 investment. This is serious astronomy territory; commit to it only if you've spent 6+ months with the Star Adventurer and confirmed it's your hobby.
An intermediate step is adding an autoguider to the 2i. A small guidescope (60mm) + ZWO ASI120MM Mini camera (~£300 combined) lets you do 5–10 minute exposures at 200mm+ focal lengths. This extends the tracker's range without jumping to a full mount. Many observers use this setup for years.
The real question after 6–12 months with the Star Adventurer 2i is: "Do I want to photograph small, specific targets (nebulae, galaxies) or do I prefer wide-field Milky Way composition?" Wide-field explorers stay with the tracker. Deep-sky hunters graduate to a full mount + telescope.