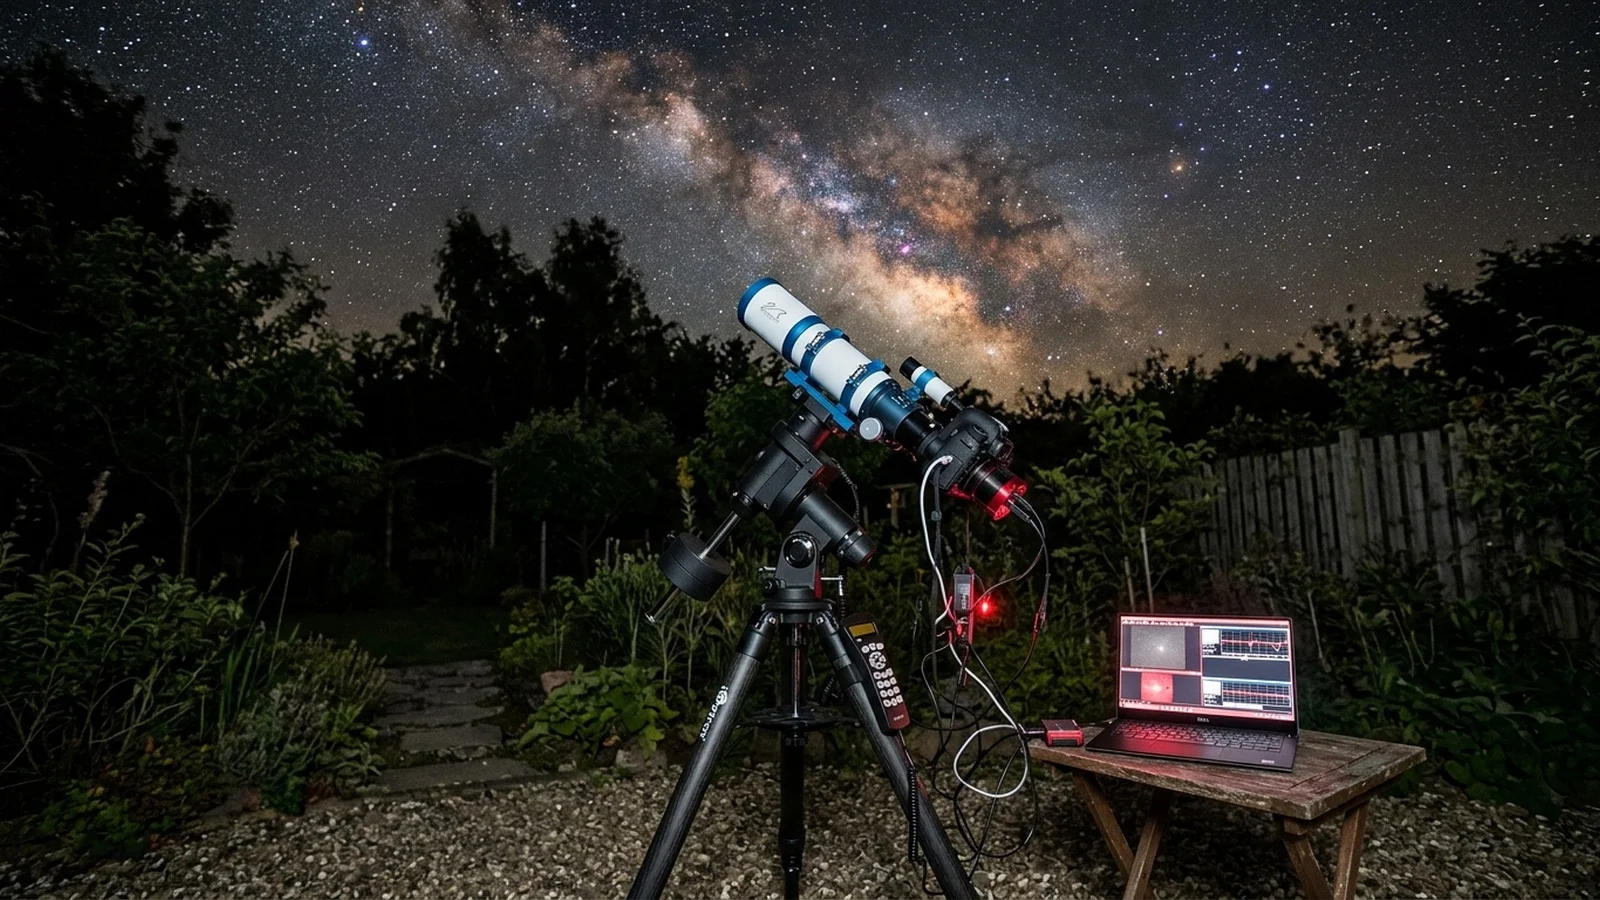
Tier 4 — Complete Setup
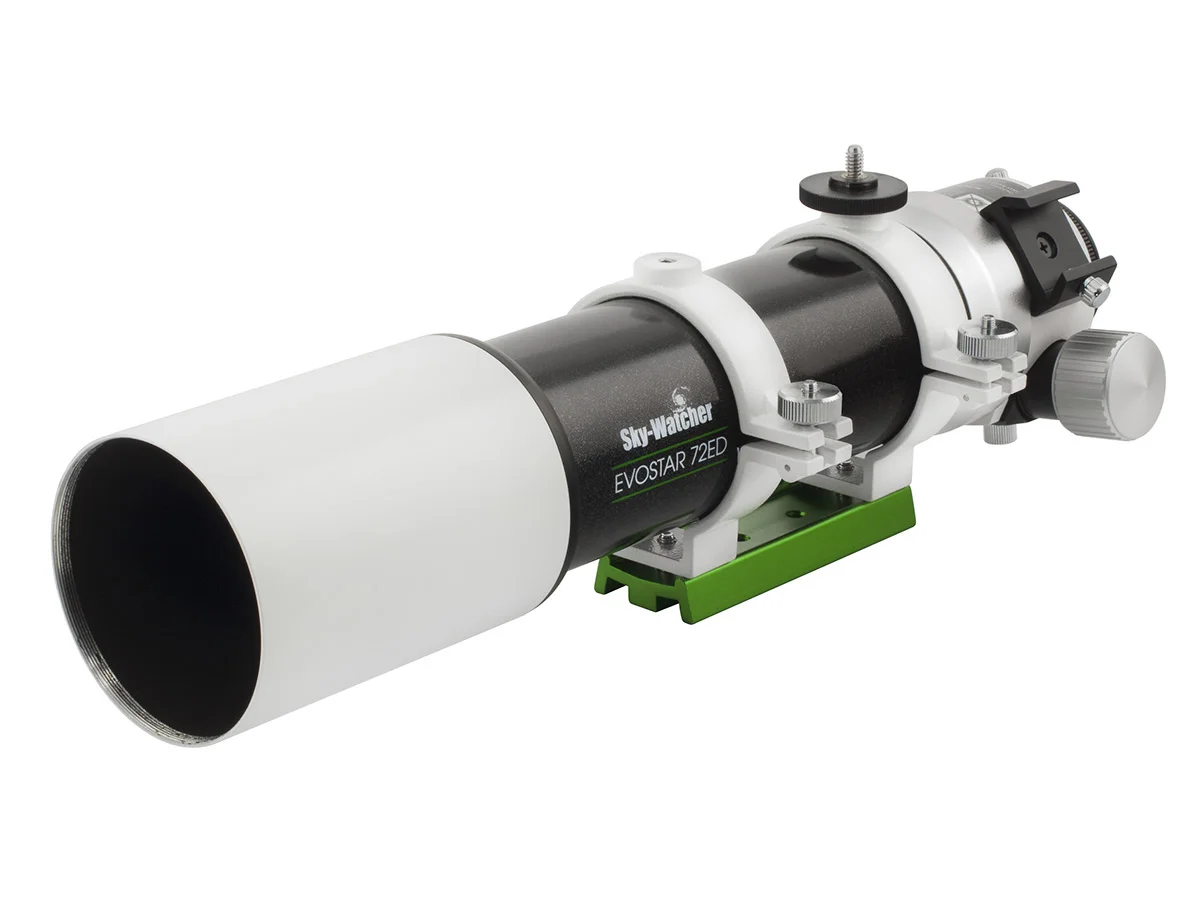
Astrophotography is primarily a mount problem — tracking accuracy determines how long your sub-exposures can be. The HEQ5 Pro is the minimum mount experienced UK imagers recommend for serious work: it tracks reliably to 2–3 minutes unguided and to 10+ minutes with a guide scope. The Evostar 72ED is the most recommended scope to pair with it — light enough to leave the HEQ5's payload headroom for cameras and accessories, optically sharp across a wide field, and forgiving to focus. This combination comes up again and again on SGL as the setup people wish they'd bought first.
None of these are optional for serious imaging. Each one addresses a specific limitation that will otherwise show up in your images.
Without a field flattener, a fast refractor like the 72ED produces stars that elongate toward the corners of the frame — a characteristic of the optical design that is unusable for astrophotography. The 0.85× reducer corrects this entirely while also reducing focal length from 420mm to 357mm, widening your field of view and shortening your required exposure times. This is not optional if you're imaging.
The 533MC Pro is the recommended camera for the 72ED's focal length. Its square sensor eliminates the wasted corners that affect rectangular sensors at this field scale, and it has zero amp glow — a common problem with the otherwise excellent 294MC Pro that requires extra calibration frames to correct. The built-in cooling system reduces thermal noise dramatically, especially during UK summer nights. The most important single accessory purchase for this setup.
Refractors drift focus as temperature drops across a night — a millimetre of focus shift at the beginning of an imaging session becomes blurry stars by the end. A motorised electronic focuser lets you run autofocus routines from your laptop every 30–60 minutes without touching the telescope (which would shift your framing). If you're spending hundreds of pounds on a camera, this protects the investment. The EAF connects via USB and works with all major imaging software.
Guiding corrects the small periodic errors in the HEQ5's tracking in real-time, extending usable sub-exposure times from 2–3 minutes to 10+ minutes. The EvoGuide 50ED is a small dedicated guidescope designed to mount piggyback on your main scope, and the ASI120MM Mini is the guide camera. FLO sells them as a bundle — better value than buying separately and a natural recommendation for this scope/mount combination.
An imaging rig at this level typically has four or five USB devices to connect: the ZWO camera, the EAF, the guide camera, the mount, and potentially a dew controller. A powered hub with its own PSU means none of them are power-limited by your laptop's USB ports, and you run a single cable back to the computer. Sounds minor — it's actually one of the things that separates a frustrating first imaging session from a smooth one.
The HEQ5 Pro requires a regulated 12V DC supply — it does not come with one, and running it from an unregulated source risks data corruption or damage. A regulated astronomy PSU delivers stable power throughout the night regardless of draw. Essential for any permanent garden setup. If you're observing from a field, a 12V lithium battery pack (~£80–120, Amazon) is the portable equivalent.
White light destroys night vision. At an imaging session you'll need to read cable labels, check connections, and navigate around equipment in the dark without accidentally lighting up your polar-aligned mount with a phone screen. A red torch with variable brightness is the most universally recommended accessory for any night-sky session, from binoculars to full imaging rigs.
Already own a Canon DSLR? A camera like the Canon EOS 2000D is an excellent astrophotography option that works well on this setup and costs ~£450 — significantly less than the ASI533MC Pro. The ZWO camera produces better results in most conditions, but a Canon gets you imaging immediately without a new sensor investment. An Optolong L-eNhance narrowband filter (~£120, FLO) is the single most impactful upgrade for UK light-polluted skies — it passes hydrogen-alpha and oxygen-III while blocking LP gradients, transforming suburban images. When you're ready to step up: see the Advanced Astrophotography setup.