How to Polar Align a Telescope Mount
The step that intimidates every new equatorial mount owner, and takes about two minutes once you know the sequence
Polar alignment means pointing your equatorial mount's rotation axis at the north celestial pole. For UK observers that's a two-part job: tilt the axis to match your latitude, somewhere between 50° and 59°N depending on where you live, then aim it at Polaris, the pole star. A rough version of this takes about two minutes and is plenty for visual observing. Astrophotography, especially anything beyond a short exposure, needs the precise version.
If the phrase "polar align" makes you want to put the mount back in the box, you're not alone. It's the step that scares off more new equatorial mount owners than anything else, and it's almost entirely reputation over difficulty. This guide covers the quick rough method everyone should know, the precise polar-scope method for astrophotography, what to do when Polaris is hidden behind a house, and the problems that trip people up most.
Why Do You Need to Polar Align an Equatorial Mount?
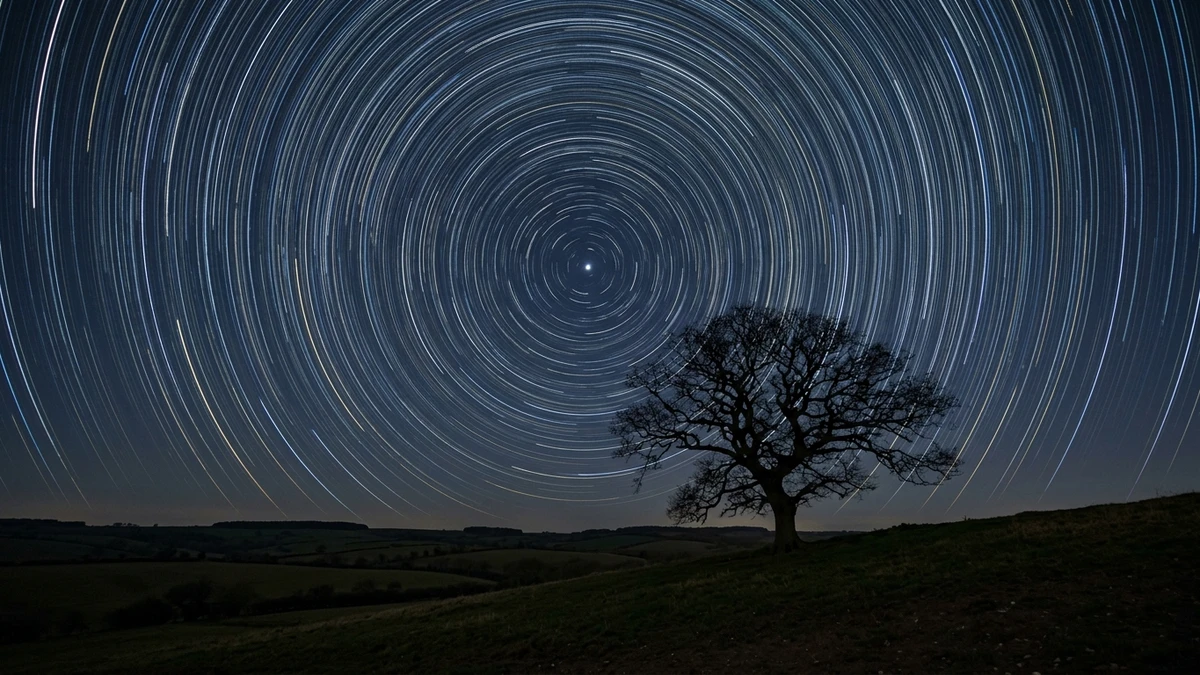
An equatorial mount has one axis, the RA (right ascension) axis, built to do a single job: rotate at the same rate the sky appears to rotate, cancelling out the Earth's spin. That only works if the axis is pointing at the same spot the sky appears to rotate around: the north celestial pole. Get that pointing right, and one motor keeps any object dead centre for as long as you like.
Get it wrong, and the mount tracks at the correct speed but around the wrong axis. Objects drift slowly out of the eyepiece even with the motor running, and in long-exposure photos that drift shows up as elongated, trailed stars instead of tidy points. This is the whole reason polar alignment matters: everything else in this guide is really just different ways of getting that one axis pointed at the right spot in the sky.
How to Polar Align a Telescope Mount (Rough Method)
This rough method is the one every equatorial mount owner should know cold. It takes about two minutes and it's enough for visual observing: objects stay centred in the eyepiece for many minutes at a time without any nudging.
Use the tripod's bubble level and adjust the leg lengths until it reads level. This matters more for keeping the latitude scale accurate and for any GoTo alignment routine on a mount like the Sky-Watcher EQ5 Pro than for tracking itself, but it's the natural starting point and takes seconds.
The mount's head has a curved latitude scale marked in degrees, with an adjustment bolt underneath. Loosen it, tilt the head until the pointer lines up with your latitude, then retighten. London sits at 51.5°N, Manchester at 53.5°N, and Edinburgh at 56°N. The UK spans roughly 50°N to 59°N, so use whichever is closest to where you observe. Getting within a degree is close enough.
Rotate the whole tripod so the polar axis points towards true north. A compass or a phone compass app works fine for this. The shortcut: Polaris sits within about a degree of the true celestial pole, so if you can see it, simply aim the axis at Polaris by eye: it does the compass step for you and gets you closer than most compasses manage anyway.
That's it. Attach the telescope, switch on tracking, and objects will hold their position in the eyepiece for long stretches without adjustment. Don't reach for a polar scope or an app unless you're planning to photograph anything longer than a snapshot exposure.
How to Polar Align Precisely With a Polar Scope
A polar scope is a small, low-power scope built into the hollow centre of the mount's RA axis, and it's how most people get a precise alignment for astrophotography. The catch is that Polaris isn't exactly on the pole (it sits about 0.7° off), so the polar scope's reticle doesn't just have crosshairs. It has a small offset circle, often marked with clock positions, showing exactly where in the field of view Polaris needs to sit.
Where on that circle Polaris needs to go changes with the date and time, since the sky rotates through the night and the year. This is where a free app earns its place: PS Align Pro and Polar Scope Align both take your location, date and time and draw tonight's reticle on screen, showing you exactly where Polaris should sit right now. Match the app's picture to your real polar scope, adjust the altitude and azimuth bolts until Polaris lands in the marked spot, and you're aligned to within a few arcminutes, comfortably enough for exposures up to a minute or so.
A growing number of mounts and dedicated astrophotography cameras now offer electronic polar alignment instead. The mount slews to a couple of reference points, plate-solves what it's actually looking at against a star catalogue, and tells you precisely which way and how far to turn the altitude and azimuth bolts. It takes a bit longer to learn the first time, but it removes the guesswork of squinting through a polar scope reticle and is how most serious imagers align these days.
Mounts with a polar scope built in
Kit we've reviewed in full
A polar scope built into the mount's RA axis makes precise alignment far quicker than aiming by eye. These three cover star tracker to full astrophoto rig.
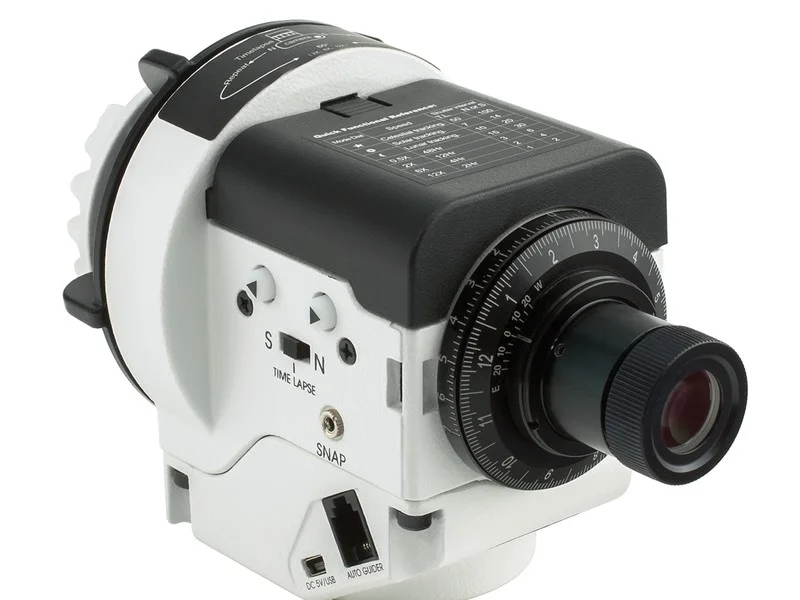
Sky-Watcher Star Adventurer 2i
A compact, battery-powered tracker with a built-in polar scope: the cheapest way into tracked wide-field astrophotography, and light enough to carry anywhere.
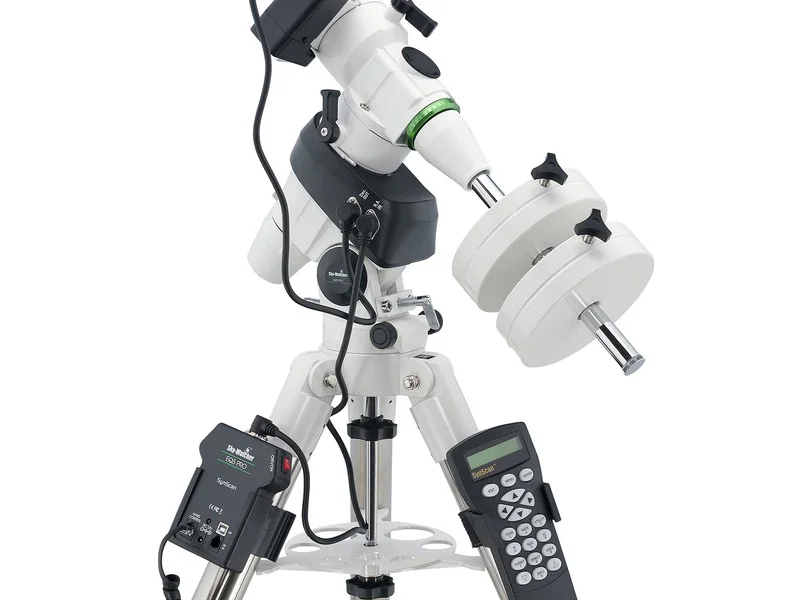
Sky-Watcher EQ5 Pro SynScan
A proper equatorial GoTo mount with an illuminated polar scope and enough payload for a small telescope. A sensible step up once you're hooked.
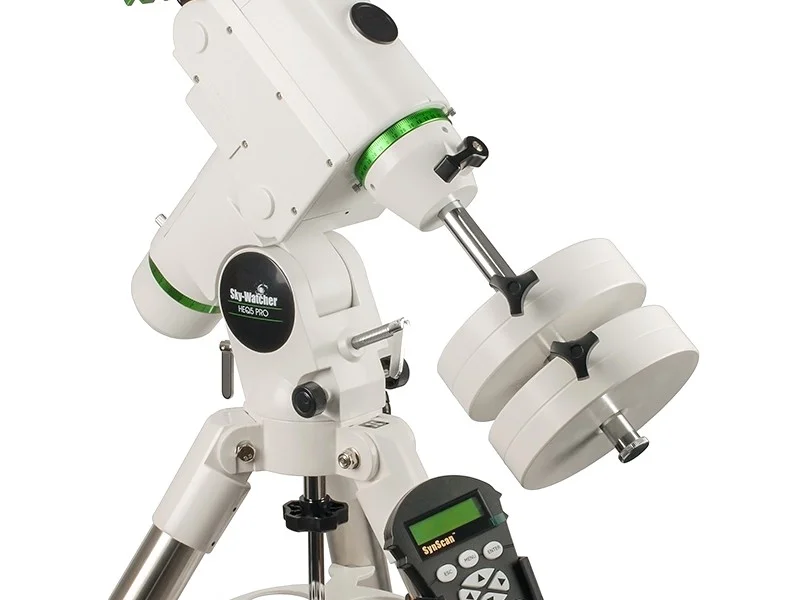
Sky-Watcher HEQ5 Pro SynScan
The mount most UK astrophotographers grow into: a sturdy equatorial GoTo with a precise polar scope and the payload capacity for a proper imaging setup.
Affiliate links: you pay the same price, we earn a small commission that helps keep WatchTheStars free.
Can't See Polaris? What to Do With a Blocked Northern Horizon
Trees, a house, or a hill hiding your northern horizon is a common problem for UK back-garden observers, and it doesn't rule out polar alignment. The rough method still works without ever seeing Polaris: swap the Polaris shortcut in step three for a plain compass or phone compass app pointed at true north, keep the latitude scale set as before, and you'll get a rough alignment that's perfectly usable for visual observing.
For imaging without Polaris, the fallback is drift alignment. You watch a star near the celestial equator through a crosshair eyepiece and note which way it drifts north or south, adjusting the mount's azimuth to reduce that drift. Then you repeat the process on a star near the eastern or western horizon and adjust altitude instead. It's a slow, iterative process that can take 20–30 minutes to settle, but it doesn't need Polaris at all and is the most accurate manual method there is, worth learning if you image regularly from a site with a blocked view north.
How Accurate Does Your Polar Alignment Need to Be?
How precise your polar alignment needs to be depends directly on your exposure length. There's no point spending ten minutes on a precise polar-scope alignment if you're only observing visually, and there's equally no point skipping it if you're planning a long deep-sky exposure.
| Use case | Alignment needed |
|---|---|
| Visual observing | Rough method (level, latitude, point at Polaris) is fine |
| Short exposures, 30–60 seconds | Polar scope alignment with an app showing tonight's position |
| Long-exposure deep sky | Precise polar scope or electronic alignment, plus autoguiding |
Common Polar Alignment Problems and How to Fix Them
The Mount Tracks But Objects Still Drift
Two likely causes. Either the polar alignment itself is off, so it's worth redoing the rough method from scratch and checking the latitude scale and axis heading, or the mount isn't actually tracking at the sidereal rate at all. It's easy to switch a mount on and assume tracking is running when the motor drive hasn't been engaged, or it's set to solar or lunar rate instead of the standard sidereal rate used for stars. Check the tracking switch and rate setting before you assume the alignment is to blame.
Which Star Is Actually Polaris?
Polaris is not the brightest star in the sky, or even close to it: it's a fairly modest, roughly second-magnitude star, and plenty of newcomers spend ten minutes aimed at the wrong one. The reliable way to find it: locate the Plough, the saucepan-shaped part of Ursa Major, then follow a line through the two outer stars of its "bowl", the pointer stars, outward by about five times the distance between them. That line lands you almost exactly on Polaris.
Frequently Asked Questions
What is polar alignment on a telescope mount?
Polar alignment means pointing an equatorial mount's rotation axis (the RA axis) at the north celestial pole, so it's parallel to the Earth's own axis. Once aligned, a single motor can track the sky's rotation smoothly, keeping objects centred without you having to nudge the telescope every few minutes.
How do I polar align a telescope mount?
Level the tripod, set the mount's latitude scale to your latitude (51.5° for London, 53.5° for Manchester, 56° for Edinburgh), then point the polar axis north using a compass or by aiming it at Polaris, which sits within about a degree of the true pole. That rough alignment takes roughly two minutes and is plenty for visual observing.
Do I need to polar align for visual astronomy?
Yes, but only roughly. A two-minute rough alignment, level, latitude, point at Polaris, keeps objects centred in the eyepiece for many minutes at a time, which is all visual observing needs. You only need the precise polar-scope method once you start taking exposures longer than a few seconds.
How accurate does polar alignment need to be for astrophotography?
For short exposures of 30–60 seconds, a polar scope alignment is accurate enough. For long-exposure deep-sky imaging with exposures of several minutes, you need a precise polar-scope or electronic alignment combined with autoguiding: a small guide camera such as the ZWO ASI120MM Mini watches a guide star and continuously corrects small tracking errors during the exposure.
Can you polar align without seeing Polaris?
Yes. If your northern horizon is blocked, use a compass or a phone compass app to point the polar axis at true north and set the latitude scale as normal: it's less precise than sighting Polaris but still good enough for visual use. For imaging without Polaris, drift alignment is the dedicated fallback, though it takes longer.
Is Polaris the brightest star in the sky?
No, and this catches a lot of people out. Polaris is only a modest, roughly second-magnitude star. Find it by locating the Plough (part of Ursa Major) and following a line through its two outer 'pointer' stars, about five times the distance between them, to the next moderately bright star.
What is a polar scope?
A polar scope is a small, low-power telescope built into the hollow centre of an equatorial mount's RA axis. It has an etched reticle showing exactly where Polaris needs to sit, on a small circle at a specific clock position, for a precise alignment, since Polaris itself sits about 0.7° off the true celestial pole.
How long does polar alignment take?
Rough alignment for visual observing takes about two minutes: level the tripod, set the latitude, point at Polaris. A precise polar-scope alignment with an app showing tonight's correct position adds another five to ten minutes. Drift alignment, the most accurate manual method, can take 20–30 minutes.