How to Photograph the Night Sky with Your Phone
No new gear required, just a steady phone, the right settings, and a dark spot to stand in
You can photograph the night sky with any phone from the last five years. The camera hardware has been good enough for a while now; what actually decides whether you get a sharp image of the stars or a smeared black rectangle is whether the phone stayed perfectly still for a long exposure. Prop it on something solid, switch on night mode, and you're most of the way there.
This guide covers the settings that matter for phone astrophotography: night mode on iPhone, astrophotography mode on Android, manual pro-mode numbers if your phone has them, and the 500 rule that tells you exactly how long an exposure you can get away with. We'll also cover shooting through a telescope eyepiece, the easiest way to get an impressive Moon shot.
How Do You Photograph the Night Sky with a Phone?
Six steps, and the same six work whether you're in your back garden or a proper dark sky site. Nothing here needs an app you have to pay for.
- Get away from bright lights. A back garden with the house lights off works far better than most people expect. You don't need a Dark Sky Reserve to get a result: you just need the streetlight or porch light out of frame and, ideally, out of your eyeline too.
- Make the phone completely still. Prop it against a wall, fence post, or rolled-up jumper, or mount it on a small tripod. This one step matters more than any setting: a shaky phone ruins every exposure longer than about a second.
- Switch to night mode or pro mode. Point the camera at the sky and night mode should engage on its own in the dark. If your phone has a manual "Pro" mode, use that instead for full control over ISO and shutter speed.
- Start with a 3-10 second exposure. That's usually enough to reveal far more stars than you can see with the naked eye. Check the result, then push the exposure longer if the phone allows it.
- Use a 2-3 second timer. Pressing the shutter button by hand nudges the phone just as the exposure starts. A short timer, or a Bluetooth remote if you have one, takes your hand out of the equation entirely.
- Review and adjust. Zoom into the photo and check the stars are sharp points, not short streaks. If they're trailing, shorten the exposure; if the sky looks too dark, lengthen it or bump the ISO. Then go again.
Not sure if tonight's clear enough to bother?
Our Tonight tool gives you a live stargazing score, cloud cover, and what's visible from your location.
Check Tonight's Conditions →What Manual Camera Settings Work Best for Night Sky Photos?
If your phone has a Pro or Manual camera mode, these are sensible starting points for each target. Treat them as a launchpad, not gospel. Adjust from here based on what the preview shows you.
| Target | ISO | Shutter speed | Focus |
|---|---|---|---|
| Constellations & bright stars | ISO 800-1600 | 10-15s | Manual, infinity |
| Milky Way | ISO 1600-3200 | 15-25s | Manual, on a bright star |
| Aurora (Northern Lights) | ISO 1600-3200 | 5-15s | Manual, infinity |
| The Moon | ISO 100 | 1/125s or faster | Manual, locked on the Moon |
Notice the Moon runs in the opposite direction to everything else: it's bright, not faint, so you want a low ISO and a fast shutter, the same logic as photographing anything else lit by direct sunlight.
The 500 Rule, in Plain English
Divide 500 by your lens's focal length in millimetres and that's roughly the longest exposure you can use before the Earth's rotation turns pinpoint stars into short trails. On a phone's ultra-wide lens, that works out to around 20-25 seconds as a safe ceiling. Push much past that and stars start to smear, even on a perfectly still phone.
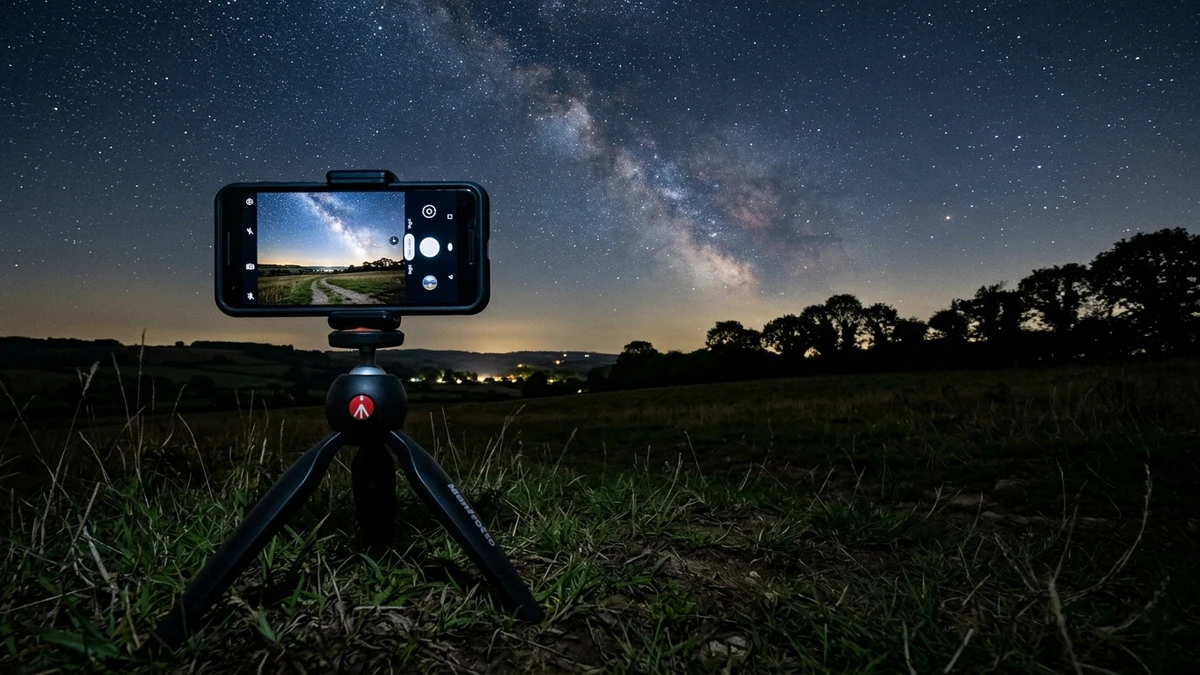
Shoot RAW If Your Phone Allows It
RAW files hold far more detail in the shadows and highlights than a compressed JPEG, which gives you real room to work with afterwards. Most modern iPhones and Android flagships offer RAW capture in their Pro camera mode. Switch it on before you head out, since it can't be recovered after the fact. Editing needs a light touch: nudge the exposure up slightly, add a little contrast, and pull the white balance a touch cooler (more blue, less orange) to counter the warm glow that light pollution and phone sensors both add to night skies.
Does iPhone Night Mode Work for Astrophotography?
Yes. Night Mode appears on iPhone automatically once the camera detects low light: you'll see a small moon icon light up in the corner of the screen. On its own it might only offer a couple of seconds' exposure, but rest the phone on a tripod or a solid surface and it recognises the phone is stable, extending the maximum exposure to 10-30 seconds. Tap the Night Mode icon and drag the slider to the longest option, then leave the phone completely alone until the countdown finishes.
Android phones use their own version of this, generally branded as an astrophotography mode, which engages once the phone detects it's mounted on a tripod and the scene is properly dark. On some models this can take a few minutes of stillness before the option even appears. Once it does, the phone typically stacks several minutes of exposures together automatically, which is why Android astrophotography shots often show noticeably more stars than a single iPhone Night Mode frame.
Appears automatically in the dark. On a tripod, drag the slider to the maximum exposure, usually 10-30 seconds, and don't touch the phone until it finishes.
Mount the phone on a tripod and wait. The mode engages once the camera confirms it's still and the scene is dark enough, sometimes after a few minutes.
Goes beyond the built-in camera app with dedicated star trail and ISS-tracking modes for tonight's pass, plus full manual control over ISO and shutter speed.
When your phone stops being enough
Kit we've reviewed in full
A phone will get you a very long way. When you want more, real close-ups of the Moon, longer untracked exposures, or a scope that does the tracking for you, this is the natural next step.
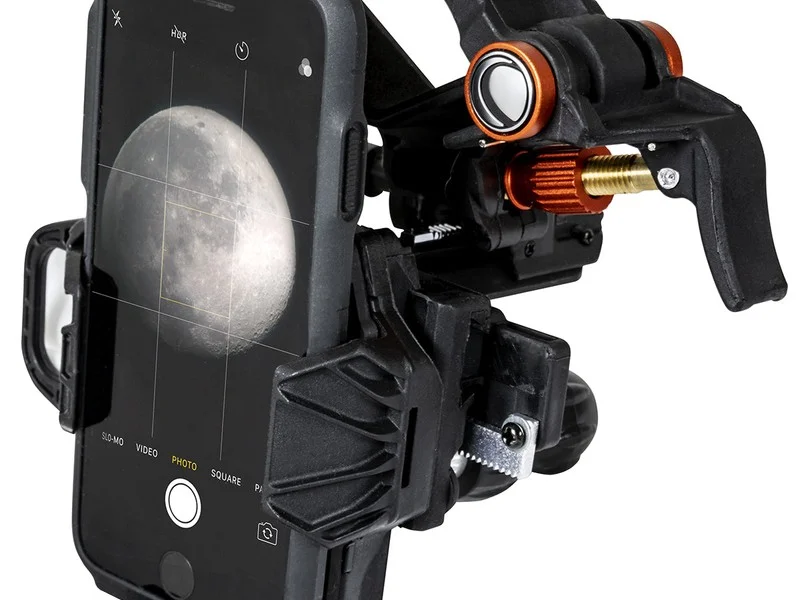
Celestron NexYZ Smartphone Adapter
Clamps your phone over a telescope eyepiece and holds it dead centre. The cheapest, easiest upgrade from handheld snaps to genuine close-up Moon shots.
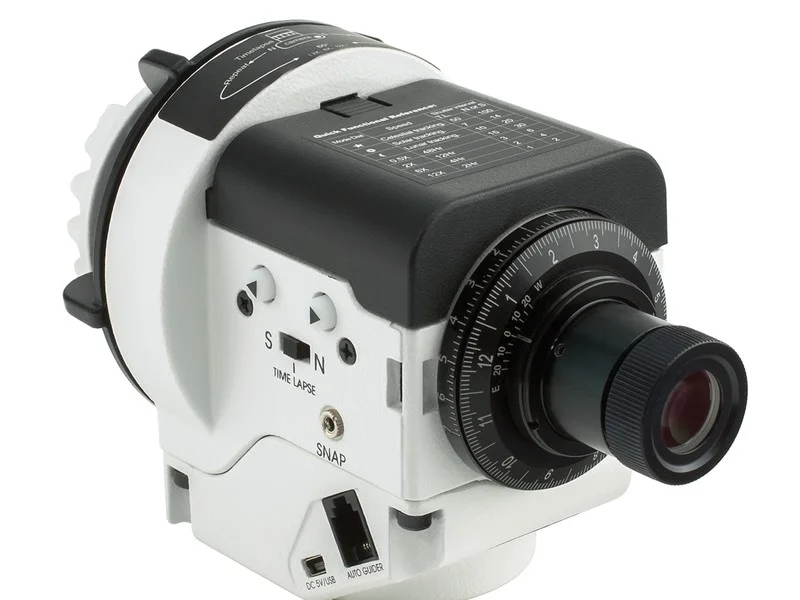
Sky-Watcher Star Adventurer 2i
A motorised mount that follows the sky's rotation, so you can pair it with a proper camera for exposures far longer than the 20-25 seconds a static phone allows.
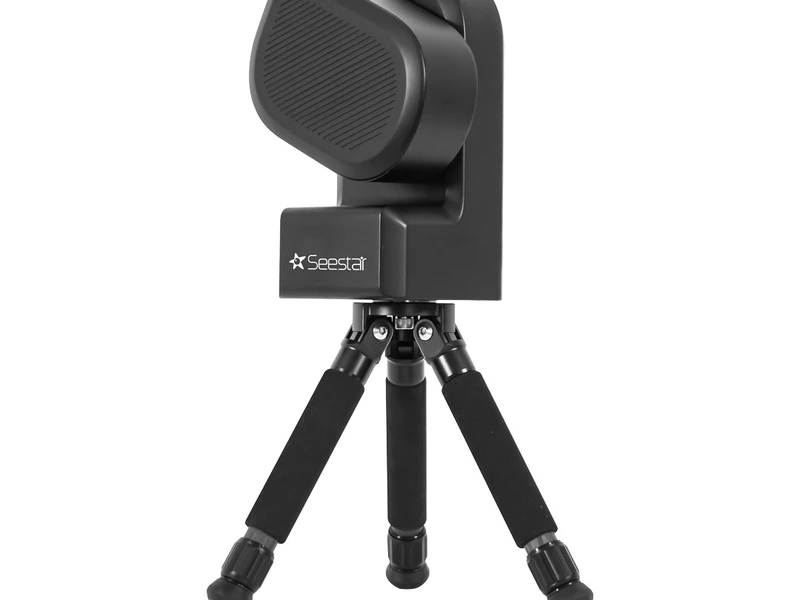
Finds and tracks targets itself and stacks exposures automatically, producing colour images of nebulae and galaxies your phone alone will never manage.
Affiliate links: you pay the same price, we earn a small commission that helps keep WatchTheStars free.
Can You Take Photos Through a Telescope with Your Phone?
Yes, and this is the easiest way to get a dramatic photo of the Moon. A phone adapter clamps your camera lens directly over the eyepiece, so your telescope does the magnifying and your phone simply records what's already in view. It's a completely different technique from the wide, dark-sky exposures above: instead of long exposures in the dark, you're photographing something bright, close up, through glass.
Line the phone's lens up with the eyepiece, nudge it until the image fills the frame without dark edges creeping in, then lock the adapter down. It takes a bit of fiddling the first time, but once it's aligned the results on the Moon's craters and terminator shadows are well worth it. Read our full guide to photographing the Moon for exposure settings once you're set up, and our guide to using a telescope if you're still finding your way round the eyepiece and focuser.
What Can You Realistically Photograph with a Phone?
A phone won't match a proper camera on a tracking mount. Those set-ups can expose for minutes at a time without a single star trailing, pulling in colour and detail no phone sensor can touch. None of that makes phone astrophotography pointless, though. Knowing what's realistically achievable is most of the enjoyment.
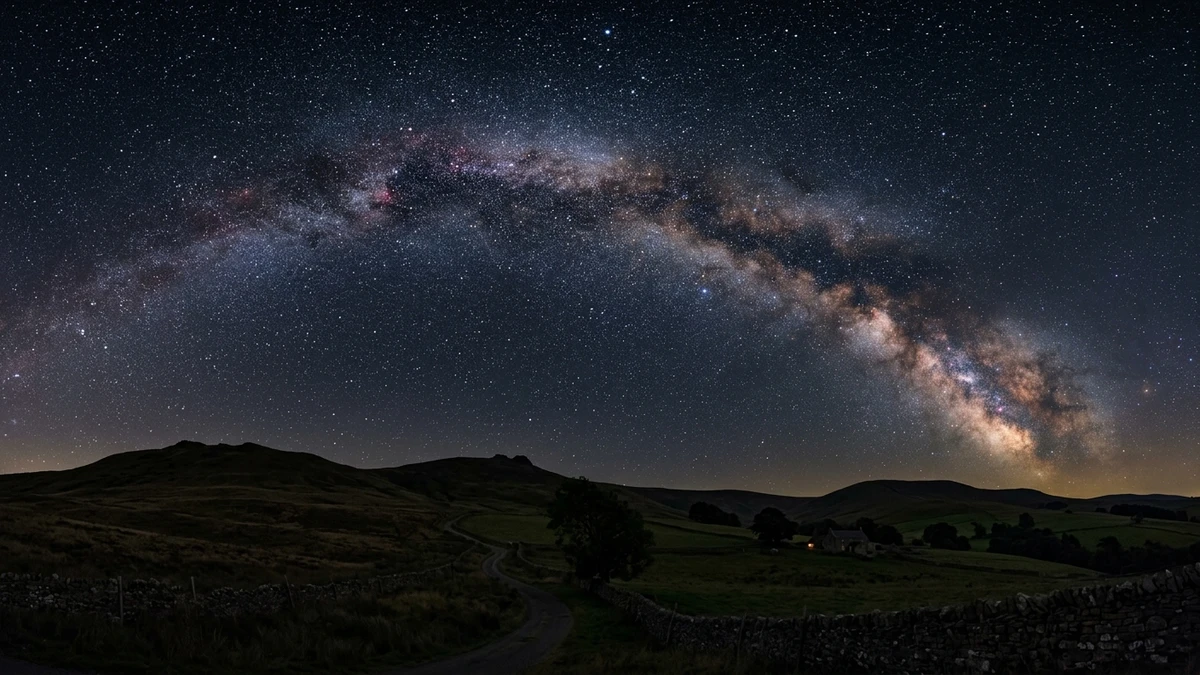
Realistic targets: a Milky Way arc from a dark sky site, recognisable constellations, the aurora during a strong display, a Moon-Jupiter conjunction, and, through a telescope adapter, close-up shots of the Moon that will surprise you. These are all things you can hang on a wall, not just share once and forget.
If you find yourself wanting more (sharper star clusters, colour in nebulae, exposures longer than 20-30 seconds without trailing), that's the point where a star tracker or a smart telescope starts to make sense, covered in the kit section above, or where it's worth reading our DSLR astrophotography for beginners guide and stepping up to a proper camera.
Frequently Asked Questions
Can you actually photograph stars with a phone?
Yes. Any phone from roughly the last five years can capture stars, the Milky Way, and the aurora, provided it's held perfectly still for a long exposure. Night mode on iPhone and astrophotography mode on Pixel do most of the work automatically once the phone is propped up or mounted on a tripod.
What camera settings should I use for night sky photos?
In pro or manual mode, start around ISO 800-3200, a 10-30 second shutter, and focus set manually to infinity or locked onto a bright star. Use the widest aperture your phone has and a 2-3 second timer so pressing the shutter button doesn't shake the shot.
What is the 500 rule in astrophotography?
The 500 rule is a quick way to work out your longest usable exposure before stars start to trail: divide 500 by your lens's focal length in millimetres. On a phone's ultra-wide lens that works out to roughly 20-25 seconds as a safe ceiling before the Earth's rotation blurs pinpoint stars into short streaks.
Do I need a tripod to photograph the night sky on my phone?
For anything beyond a few seconds, yes. A phone held by hand shakes enough to blur a long exposure even if you think you're holding it steady. A small tabletop tripod, a beanbag, or simply propping the phone against a wall or fence post all work: the point is total stillness, not an expensive tripod.
Does iPhone Night Mode work for astrophotography?
Yes. iPhone Night Mode appears automatically in low light and, once the phone is completely still on a tripod, will offer exposures up to around 10-30 seconds, long enough for proper star and Milky Way shots. Force the longest exposure option and keep the phone rock steady for the full countdown.
Can I take photos through a telescope with my phone?
Yes, and it's the easiest route to a dramatic Moon photo. A phone adapter clamps your camera lens directly over the telescope eyepiece so the scope does the magnifying and your phone just captures what it sees. It takes a bit of fiddling to line up but the results on the Moon are well worth it.
Should I shoot RAW for night sky photos?
If your phone offers it, yes. RAW files keep far more detail in the shadows and highlights than a compressed JPEG, which gives you much more room to recover stars and balance the sky when editing afterwards. Most modern iPhones and Android flagships support RAW capture in their pro camera mode.
What's the best app for phone astrophotography?
Your phone's built-in camera (Night Mode on iPhone, Astrophotography mode on Pixel) is the best starting point and needs no setup. NightCap on iOS goes further, with dedicated modes for star trails and even the International Space Station. PhotoPills is worth having too, for planning exactly where the Milky Way will rise.
Why do my night sky phone photos come out blurry?
Almost always it's camera shake, not a lack of light. Pressing the shutter button by hand nudges the phone just enough to blur a 10-second exposure. Use a timer of 2-3 seconds (or a Bluetooth remote) so your hand is off the phone before the exposure starts, and make sure the tripod or surface it's resting on is completely solid.