How to Use a Telescope for the First Time
You've unboxed it, you're stood outside, and you can't see a thing. Here's exactly what fixes that.
Learning how to use a telescope for the first time trips up almost everyone, and it's rarely the telescope's fault. Three things fix most first nights: align the finder scope in daylight before you go out, start with your lowest-power eyepiece (the one with the biggest number in mm printed on the barrel), and let the telescope cool outside for 30 minutes before you try to focus on anything. Miss any one of these and you'll spend an evening swearing at a blurry black disc.
If you got a telescope as a Christmas or birthday present and the first attempt left you frustrated, you're in good company, nearly every telescope owner has a story like this. This guide walks through your first night step by step, explains magnification properly (the "900x!" claims on cheap boxes are marketing nonsense), and covers the problems that catch out almost every beginner.
How Do I Set Up a Telescope for the First Time?
To set up a telescope for the first time, do these five things in order and it will actually work the way it's supposed to. Skipping the finder alignment is the single biggest reason people give up on a telescope in the first week.
Do this the afternoon before your first night, not in the dark. Point the main telescope at something distant and stationary: a chimney, a pylon, a church spire, anything at least a few hundred metres away. Centre it in the main eyepiece, then adjust the finder's small screws until its crosshair or red dot lands on the exact same spot. This five-minute job is what makes the finder actually useful later.
A telescope carried straight from a warm living room into cold air has rising currents of warm air inside the tube, and the image will shimmer and blur until it settles. Set it up outside and leave it be for around 30 minutes before you try to focus on anything. Larger mirrors take a little longer on very cold nights.
Look at the eyepieces that came in the box: each has a focal length in mm printed on it. The one with the biggest number gives the lowest magnification and the widest field of view, which makes finding anything dramatically easier. Fit that one first, always.
The Moon is bright, huge, and almost impossible to miss. It's the perfect first target to prove the whole setup works. Use the now-aligned finder to centre it, then turn the focus knob slowly in one direction. It's easy to overshoot and think you're out of range when you're actually just a few turns away from sharp.
Once you've had success with the Moon, try a bright planet: Jupiter or Saturn are the easiest. Find it with the low-power eyepiece first, centre it, then swap to a shorter eyepiece (smaller mm number) for a closer look. Check our night sky guide for what's up this week.
Wondering if tonight's worth setting up for?
Our Tonight tool gives you a live stargazing score, cloud cover, and what's visible from your location.
Check Tonight's Conditions →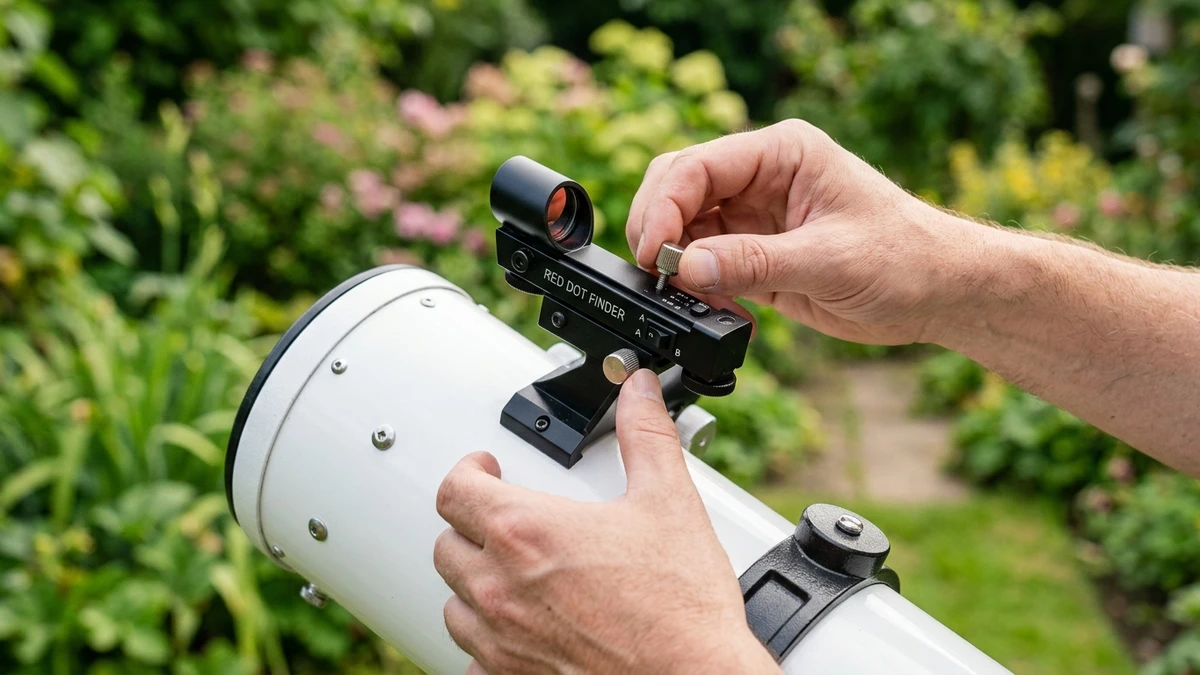
How Does Telescope Magnification Actually Work?
Magnification is the telescope's focal length divided by the eyepiece's focal length. Both numbers are in millimetres, and both are printed on the equipment. A 650mm telescope fitted with a 25mm eyepiece gives you 650 ÷ 25 = 26x magnification. Swap to a 10mm eyepiece on the same telescope and you get 65x.
More magnification isn't automatically better. Every telescope has a maximum useful magnification of roughly 2x its aperture in millimetres: the diameter of the main lens or mirror. A 130mm telescope tops out at around 260x; push past that and you're just magnifying blur, not detail. Higher magnification also narrows the field of view and dims the image, which is why you always start low and work up.
| Telescope focal length | Eyepiece | Magnification |
|---|---|---|
| 650mm | 25mm | 26x |
| 650mm | 10mm | 65x |
| 650mm | 8mm + 2x Barlow | 163x |
| 1000mm | 25mm | 40x |
Common First-Night Telescope Problems and How to Fix Them
Nearly every "my telescope is broken" complaint turns out to be one of these five things, and none of them mean anything is actually wrong with the telescope.
| Problem | Likely cause | Fix |
|---|---|---|
| I can't find anything | Finder scope not aligned to the main telescope | Align it in daylight (see step 1 above) before your next session |
| Everything is blurry | Out of focus, telescope hasn't cooled, or poor atmospheric seeing | Focus slowly, wait the full 30 minutes, check if stars are visibly twinkling hard |
| The image is upside down | Normal for an astronomical telescope | Nothing to fix: extra correcting lenses would only lose light and sharpness |
| The Moon is blindingly bright | No filter, especially at low magnification with a wide field | Fit a moon filter: it screws straight onto the eyepiece |
| The image looks doubled or fuzzy on stars | Mirror collimation has drifted, common on reflectors after transport | See the collimation note below |
A Quick Word on Collimation
If you own a reflector telescope (one with mirrors, like a Dobsonian or Newtonian), the mirrors can shift slightly out of alignment after transport or a bumpy car journey: this is called collimation. You'll usually notice it as a bright star that looks like a lopsided blob rather than a tight point, especially at higher magnification. A full collimation guide is coming to the site soon; for now, a simple star test on a bright star will tell you whether it's needed, and most Dobsonians hold collimation well between trips anyway.
Telescope Mount Types in Plain English
The mount is what the telescope tube sits on, and it affects how the whole thing feels to use far more than most beginners expect.
- Dobsonian: the simplest of all. Sits on a rotating base, point it up, down, left or right by hand and it stays exactly where you leave it. No setup, no motors. Most first telescopes, including the Sky-Watcher Heritage 130P, use this mount.
- Alt-azimuth: moves up-down and left-right on a tripod, a bit like a camera tripod head. Straightforward and intuitive, sometimes with slow-motion knobs for fine adjustment.
- Equatorial: the confusing one. It has a counterweight on a bar and one axis tilted to match the Earth's rotation, which lets it track the sky smoothly once it's roughly pointed at the north celestial pole. It's properly useful for long observing sessions and astrophotography, but there's a real learning curve, so it's worth getting comfortable with a simpler mount first: the Sky-Watcher EQ3-2 is a common first equatorial mount once you're ready.
What Can You Actually See With a Beginner Telescope?
A beginner telescope shows the Moon's craters in real detail, Jupiter as a small striped disc with its brightest moons, and Saturn's rings clearly separated from the planet at around 50x. Through the eyepiece a planet is a small, sharp point of light, not a glossy space photograph. That's normal, and it's still a genuine thrill the first time you see it with your own eyes.
Spectacular even in a small telescope: craters, mountain ranges, and cliffs along the terminator (the shadow line). The single most rewarding target you own.
A small striped disc with up to four bright moons lined up alongside it, changing position night to night as they orbit.
The rings are clearly separate from the disc from around 50x magnification: the single most requested "prove it's real" moment for new owners.
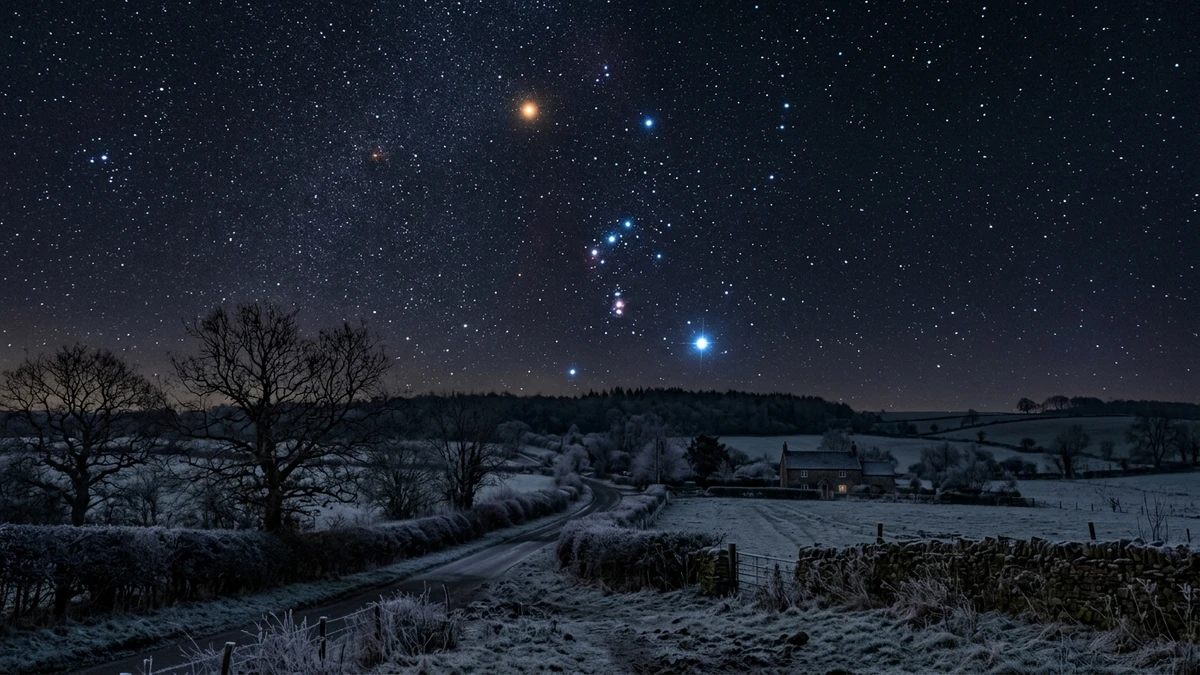
A greyish glowing patch below Orion's belt, easily found and well worth seeking out through any telescope in winter.
A tight cluster of blue-white stars, best at low magnification since the whole cluster is wider than a high-power field of view.
If you're still choosing your first telescope, we recommend the Sky-Watcher Heritage 130P, a compact tabletop Dobsonian that needs no alignment and delivers good views for the price. If you'd rather have your phone help you find targets, the Celestron StarSense Explorer DX130AZ uses your phone's camera to guide you to objects instead. See our full telescope buying guide for other options at every budget. Not sure yet? Many UK astronomy clubs run open evenings where members let you look through their own telescopes before you commit to buying one.
First upgrades for a bundled telescope
Kit we've reviewed in full
Most starter telescopes ship with only one or two eyepieces and no filters. These three cheap additions fix the most common first-week frustrations.
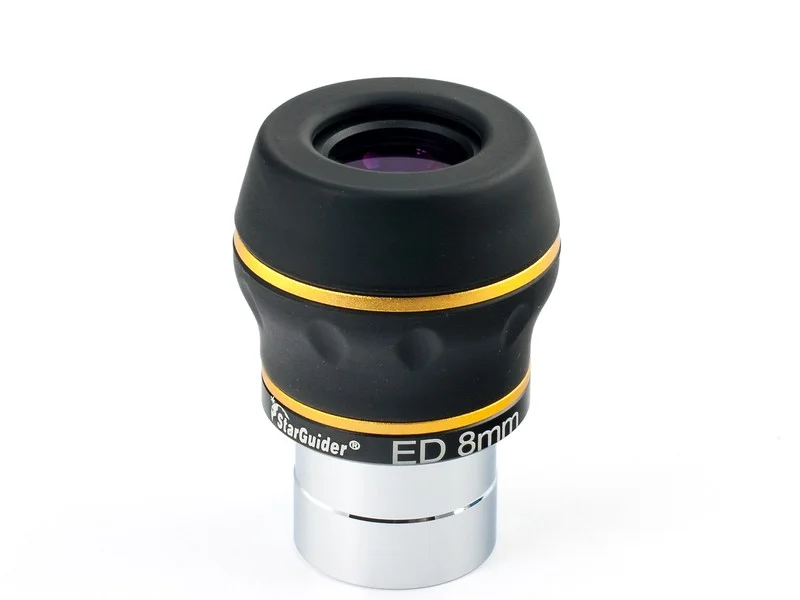
BST StarGuider 60° 8mm ED
A short focal length eyepiece for higher magnification once you've found your target with the low-power one that came in the box. Good for Jupiter's bands and Saturn's rings.
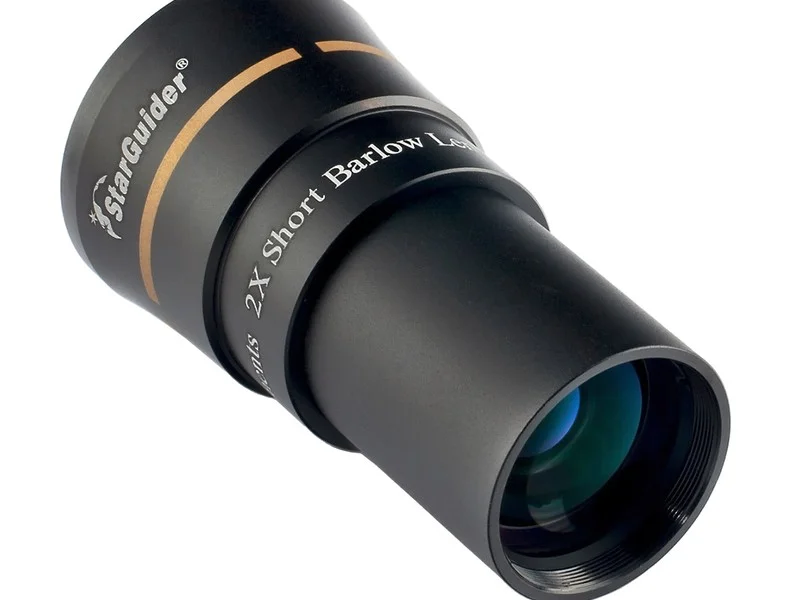
Astro Essentials 2x Barlow Lens
Doubles the magnification of every eyepiece you own, effectively giving you twice the eyepieces for a fraction of the cost. Handy on nights of steady seeing.
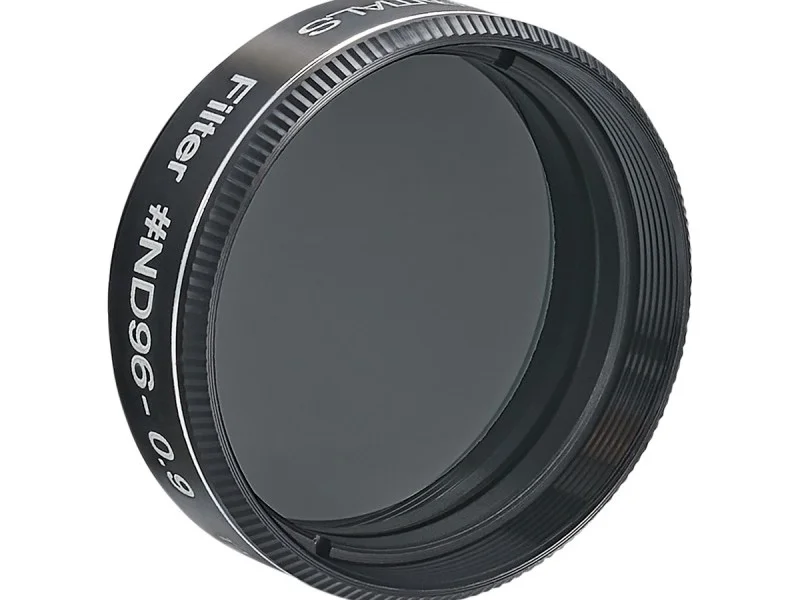
Astro Essentials ND96 Moon Filter
Screws onto the eyepiece and cuts the Moon's glare, which is dazzling and slightly uncomfortable at higher power without one.
Browse all eyepieces and filters
Honest, research-based recommendations for every budget.
Browse all →Affiliate links: you pay the same price, we earn a small commission that helps keep WatchTheStars free.
Frequently Asked Questions
Why can't I see anything through my telescope?
Almost always it's the finder scope, not the main telescope. The finder is a small, wide-view scope on the side that you use to aim the main tube, and out of the box it's rarely pointing at the same spot. Align it on a distant object in daylight before your first night out and finding things becomes far easier.
How do I set up a telescope for the first time?
Assemble it in daylight, align the finder scope on a distant chimney or pylon, then bring it outside about 30 minutes before you want to observe so it cools to the outdoor temperature. Start with your lowest-power eyepiece (the one with the biggest number in mm) and point it at the Moon first.
What magnification do I need to see planets?
Magnification equals the telescope's focal length divided by the eyepiece's focal length, so a 650mm telescope with a 25mm eyepiece gives 26x. Saturn's rings are visible from around 50x. The maximum useful magnification on any telescope is roughly 2x its aperture in millimetres, a 130mm telescope tops out around 260x, whatever the box claims.
Why is the image upside down in my telescope?
That's completely normal for an astronomical telescope and nothing is wrong with it. Adding extra lenses to flip the image the right way up would reduce light and image quality, and in space there's no up or down anyway. Spotting scopes and terrestrial telescopes correct this; astronomical ones don't bother.
What can you actually see with a beginner telescope?
The Moon shows craters, mountains and cliffs in real detail. Jupiter appears as a small disc with up to four moons lined up alongside it. Saturn's rings become obvious from around 50x magnification. The Orion Nebula and the Pleiades star cluster both show up well too. Don't expect Hubble-style colour photos, planets look small, bright and sharp, not like a poster.
Which eyepiece should I use first on a telescope?
Always start with the eyepiece that has the biggest number in mm printed on it: that's your lowest magnification and widest field of view, which makes finding things far easier. Once the target is centred, swap to a shorter eyepiece (a smaller mm number) for more magnification and detail.
Do I need to let my telescope cool down before using it?
Yes. A telescope brought straight from a warm house into cold air has warm currents rising inside the tube, which blur the view until the optics reach the outdoor temperature. Give it 30 minutes outside before you start observing, longer for larger mirrors on cold nights.
Why does my telescope image look blurry?
The three usual causes are an out-of-focus eyepiece, a telescope that hasn't finished cooling down, and poor atmospheric seeing (turbulent air). Focus slowly and in small movements, wait the full 30 minutes for cooldown, and if the stars are visibly twinkling hard, expect a soft, shimmery view whatever you do.
What's the difference between a Dobsonian and an equatorial mount?
A Dobsonian mount is the simplest: point it up, down, left or right and it stays put, no setup needed. An equatorial mount has a counterweight and one axis tilted to match the Earth's, which lets it track the sky's rotation once it's roughly aligned with the north celestial pole, but it takes more practice to use.