How to Collimate a Telescope
The word sounds technical. The job takes five minutes and a £4 plastic cap.
Knowing how to collimate a telescope comes down to lining up your mirrors so light reaches a single sharp focus instead of a smeared blob. On a Newtonian or Dobsonian it takes about five minutes with a collimation cap that costs roughly £4, and it's the most common reason a reflector gives soft, mushy views that no amount of focusing seems to fix. If your telescope looked razor-sharp on the shop bench and mushy after the drive home, this is almost always why.
This intimidates beginners more than almost anything else in the hobby, mostly because the word itself sounds like it belongs in a lab. It doesn't. You're turning a small number of screws by hand, checking the effect, and turning them a bit more. You cannot break a telescope by adjusting a collimation screw, worst case, you just do the check again. This guide covers who actually needs to bother, how to check quickly, and the full step-by-step with a cap or Cheshire eyepiece.
Does Your Telescope Actually Need Collimating?
Newtonian and Dobsonian telescopes are the ones that need collimating from time to time. They use two mirrors on a long tube, and either one can shift out of alignment after a bumpy car journey or a knock while packing up. If you own a reflector telescope with a tube longer than the eyepiece end, this guide is for you.
Refractor telescopes, the kind with a lens at the front and no mirrors inside the tube, are factory-fixed and almost never need collimating. If you own one of these, you can stop reading and go outside.
What About Schmidt-Cassegrains?
Schmidt-Cassegrain telescopes (SCTs) occasionally need a small tweak, but only to the secondary mirror: a handful of screws on the front glass, adjusted with the telescope pointed at a defocused star at high magnification. It's a fiddlier job with less margin for error than a Newtonian, and most SCT owners only ever touch it a handful of times over the telescope's life, so we won't teach the full process here. If you own an SCT and the star test below shows a problem, adjust in tiny increments and stop as soon as the rings look even.
How Do You Check If a Telescope Needs Collimating?
The most reliable check is the star test, and it takes about a minute once you know what you're looking for.
Pick a moderately bright star reasonably high in the sky and centre it in a medium or high-power eyepiece.
Turn the focus knob just enough that the pinpoint star swells into a small disc with a pattern of rings around it.
Concentric rings, evenly spaced around a central dark spot, mean your telescope is collimated. Rings squashed to one side, with the dark central obstruction sitting off-centre rather than in the middle, mean it needs adjusting.
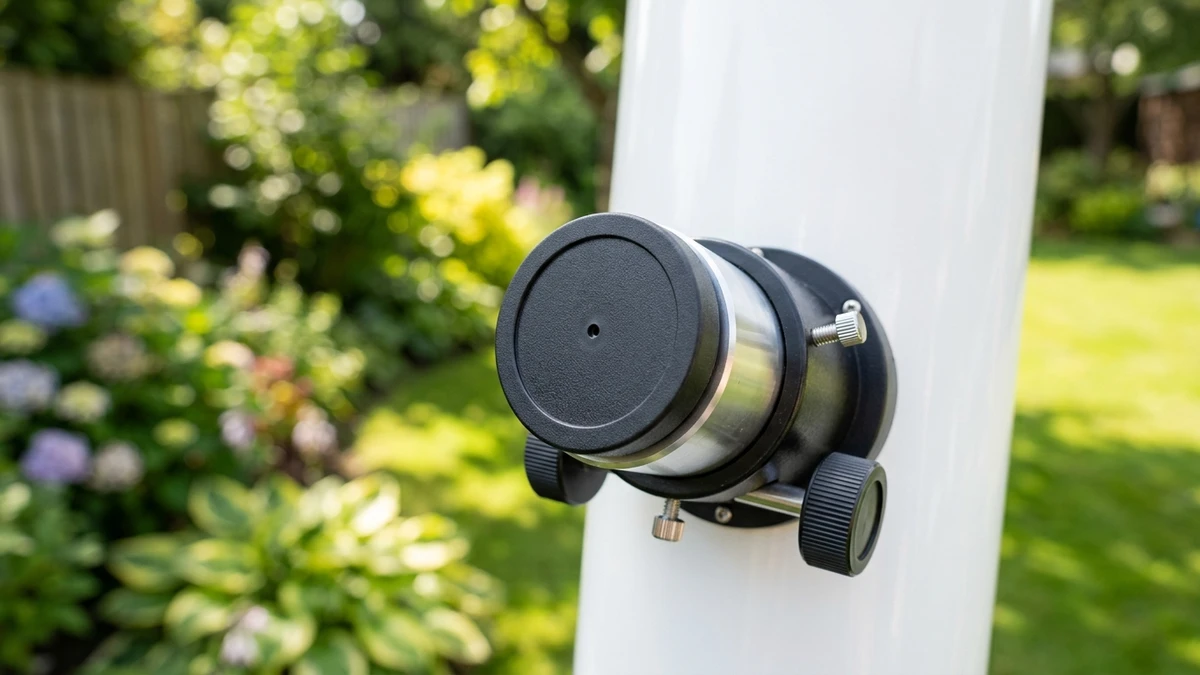
Don't have a clear night handy? A quick daytime look does the job almost as well. Take out the eyepiece, pop a collimation cap into the focuser, and look down the tube in normal daylight. You should see a neat set of nested circles: the focuser edge, the secondary mirror, the primary mirror, and the primary's centre spot, all lined up like a target. Anything visibly off-centre is your cue to run the full collimation below.
How Do You Collimate a Newtonian or Dobsonian Telescope?
Adjust the secondary mirror first, then the primary mirror, using a collimation cap in the focuser while you're pointed at a plain wall in daylight. You don't need a star for any of it, and it's far easier to see what you're doing. Work through these five steps in order.
A flat, evenly lit wall gives you a clean, uncluttered background to judge alignment against, so there's no fumbling around in the dark.
Remove your eyepiece and drop the cap in its place. Look through the small peep-hole in the centre.
Find the three small screws around the secondary mirror (the small angled one near the top of the tube). Turn them a little at a time, one screw at a time, until the reflection of the primary mirror sits centred in your view. Small turns: a quarter turn is often plenty.
Move to the primary mirror cell at the bottom of the tube. Adjust its screws (usually hand-turnable wing bolts, no tools needed) until the cap's reflected dot sits right in the centre ring of the primary mirror's centre spot. Again, one screw at a time, small movements, checking after each turn.
Run the star test above. A daytime collimation usually gets you 95% of the way there; a quick look at a defocused star confirms it and lets you nudge anything that's still slightly off.
Kit for a five-minute collimation tune-up
Kit we've reviewed in full
You don't need much: a cheap cap does the whole job. These three cover checking, adjusting, and (if you're shopping for a first reflector) the telescope type that needs this skill most.
Rigel Aline Collimation Cap
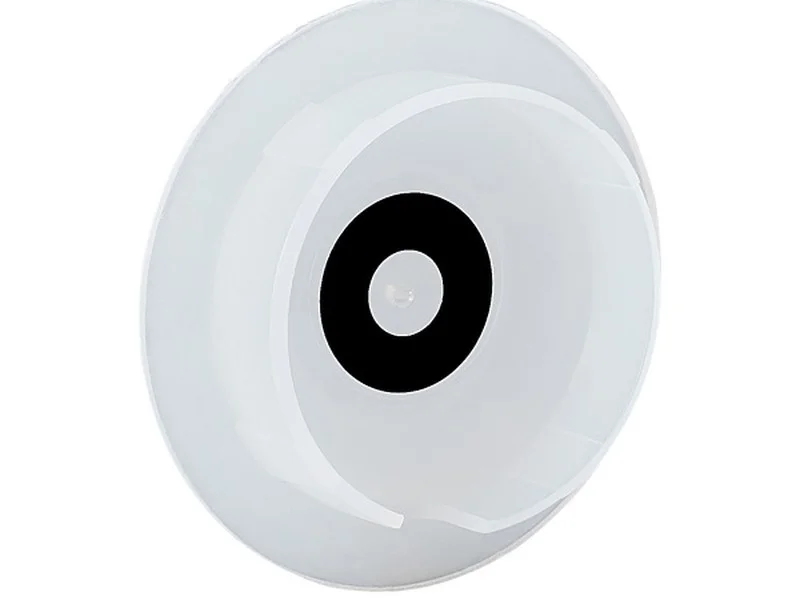
The tool for this entire guide. A simple peep-sight that fits your focuser in place of an eyepiece and lets you see exactly how centred your mirrors are, in daylight, in under a minute.
BST StarGuider 60° 8mm ED
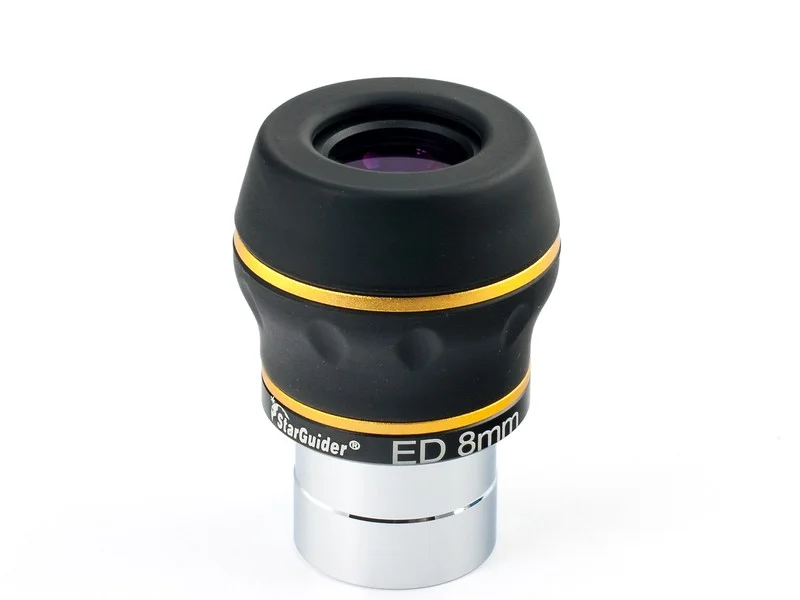
Short focal length eyepieces give a bigger, easier-to-read ring pattern for the night-time star test. Handy for confirming a daytime collimation actually held.
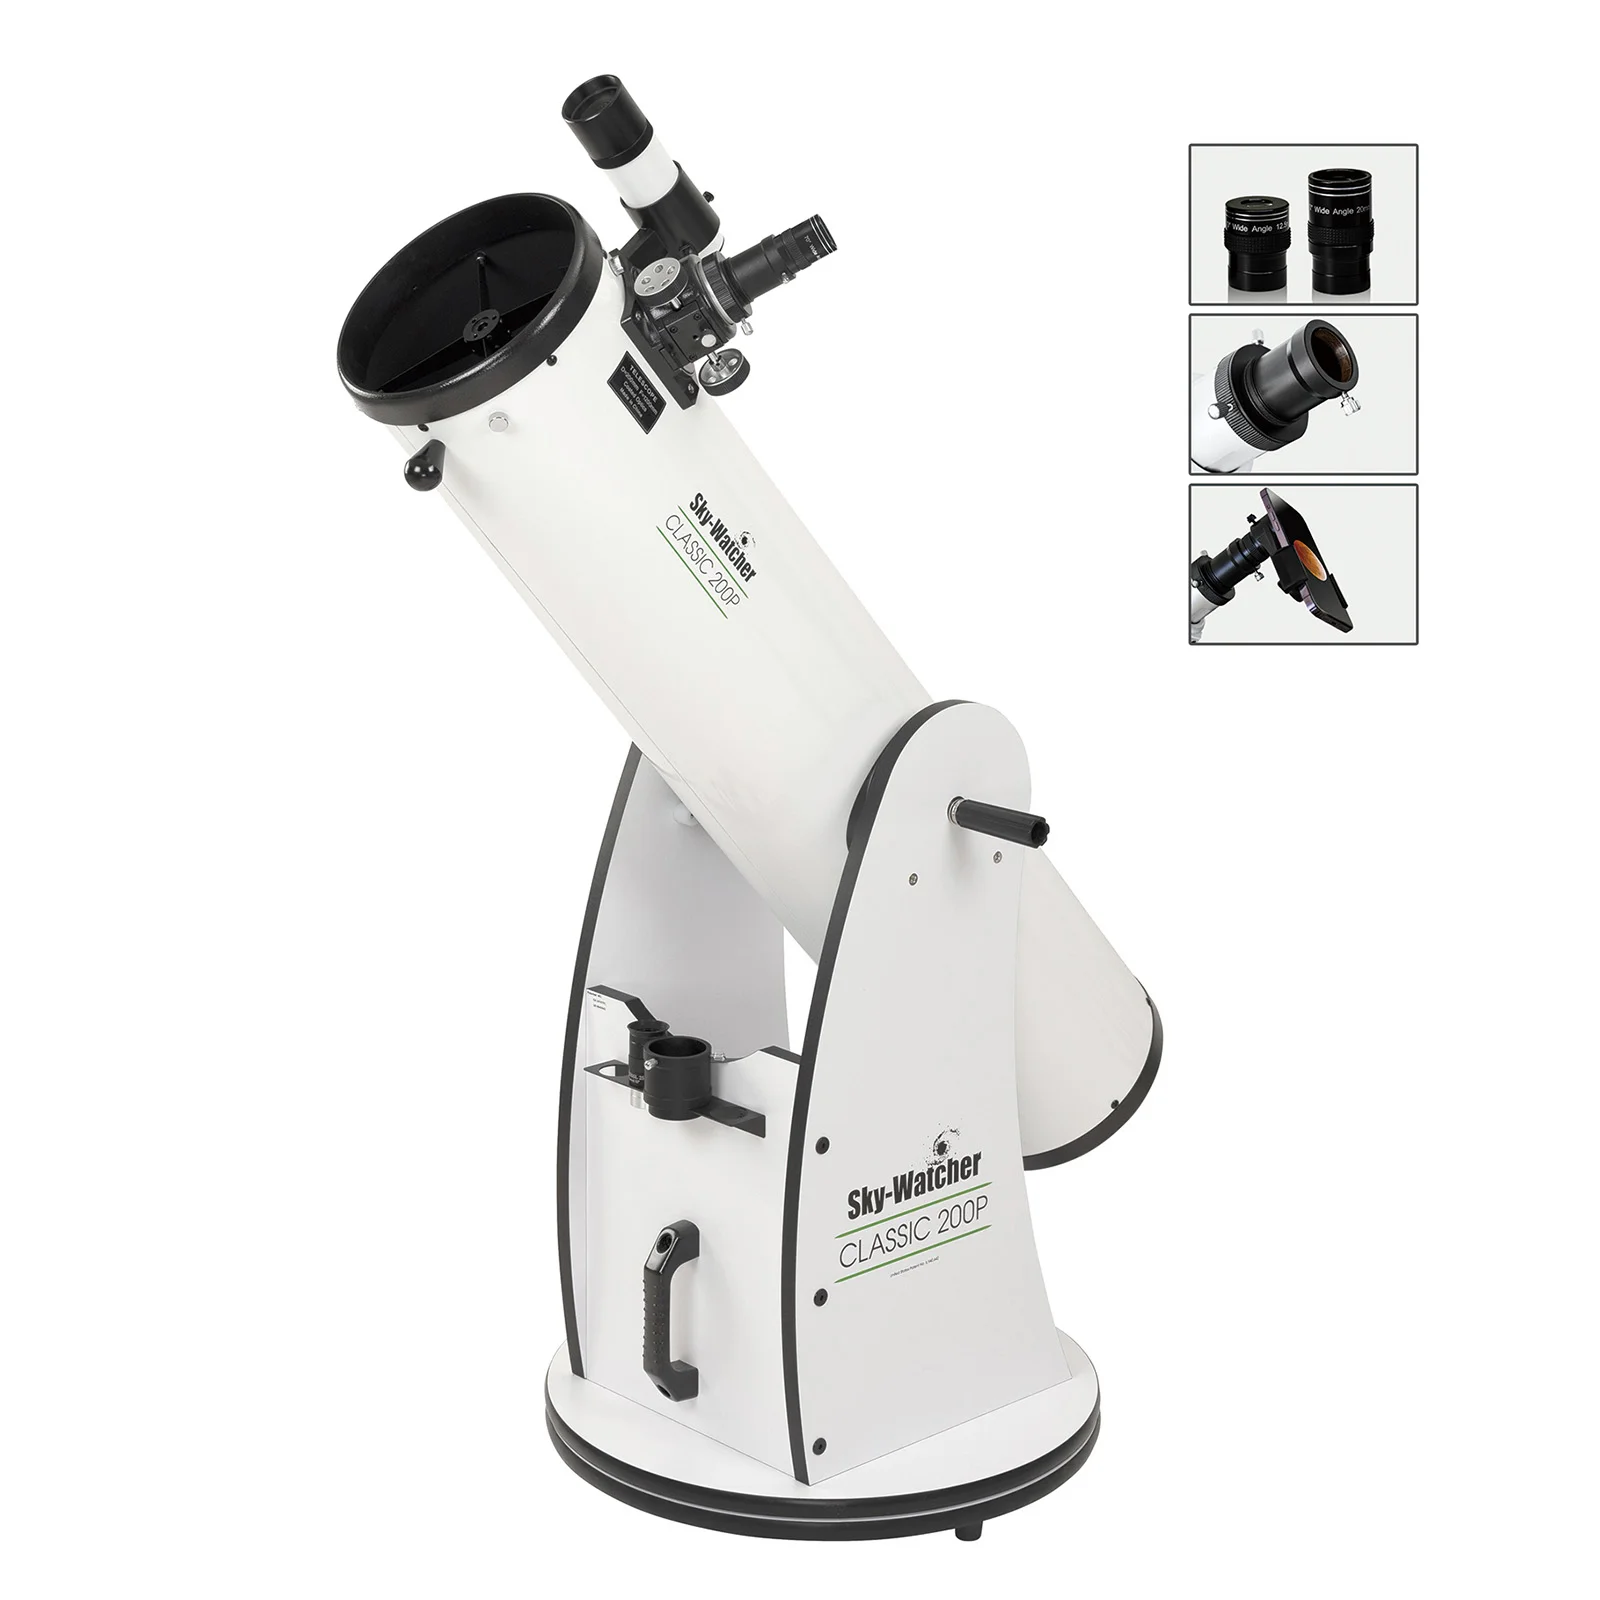
If you're shopping rather than fixing: this is the reflector design that makes collimation a five-minute habit rather than a chore, with easy hand-turnable primary screws.
Browse all collimation tools and accessories
Honest, research-based recommendations for every budget.
Browse all →Affiliate links: you pay the same price, we earn a small commission that helps keep WatchTheStars free.
Are Laser Collimators Worth Buying?
Worth it for speed once you trust it, but a plain collimation cap is the more reliable baseline. A laser collimator fits in the focuser like the cap and shines a red dot down the tube onto the primary mirror and back, so you can see exactly where to adjust without squinting through a peep-hole. It's noticeably quicker for dialling in the primary mirror, especially in poor light.
Here's the honest catch: a laser collimator that's even slightly out of alignment inside its own barrel will confidently lead you to the wrong answer, and you'd have no way of knowing. A £6 collimation cap or a Cheshire eyepiece needs no batteries or calibration and simply can't lie to you: what you see through the peep-hole is what's actually there. Most experienced owners keep a cap or Cheshire as their baseline and treat a laser as a convenience, not a replacement.
How Often Should You Collimate a Telescope?
If your telescope travels by car to get to a dark sky site, check it every session. The jolts of a boot floor or a rutted lane are more than enough to nudge a mirror out of true, even over a short drive.
A tabletop Dobsonian that lives indoors and only ever moves from a shelf to the garden is a different story: those can hold collimation for months without needing so much as a glance. Either way, the star test above takes under a minute, so there's little reason not to check before a session that matters, especially if you're chasing planetary detail on Jupiter or Saturn.
Common Collimation Problems and What They Mean
A few things trip people up even after a careful collimation. None of them mean you did it wrong.
| Problem | Likely cause | What to do |
|---|---|---|
| Views still soft after collimating | Telescope hasn't cooled down, poor atmospheric seeing, or a lower-quality eyepiece | Give it 30 minutes to cool outside, check if stars are visibly twinkling hard, try a better eyepiece before assuming collimation failed |
| Can't see the primary mirror's centre spot | Most telescopes have a small centre-ring sticker fitted at the factory, but not all do | Check for a faint ring or dot in the middle of the mirror; if there's truly none there, marking one yourself is a job for a calm afternoon, not mid-session |
| The secondary mirror looks oval, not round | Nothing: this is by design | The secondary sits at a 45° angle to reflect light out to the focuser, so it always looks oval from your viewing position; nothing to fix |
If your telescope is generally hard to use rather than just out of collimation (trouble finding targets in the eyepiece, or an image that looks upside down), our how to use a telescope guide covers the rest of a first night in full.
Frequently Asked Questions
What does collimation mean for a telescope?
Collimation is lining up a telescope's mirrors (or lenses) so light from a star comes to a single sharp focus in the eyepiece. On a Newtonian or Dobsonian it takes about five minutes with a cheap collimation cap. It's the single most common reason a reflector gives soft, mushy views instead of a crisp point of light.
How do I know if my telescope needs collimating?
Centre a moderately bright star in the eyepiece, defocus it slightly, and look at the ring pattern. Neat concentric rings around a central dot mean the telescope is collimated. Rings squashed to one side, with the dark central obstruction off-centre, mean it needs adjusting. A quick daytime check with a collimation cap works just as well and doesn't need a clear night.
How do I collimate a Newtonian telescope?
In daylight, point the telescope at a plain wall, put a collimation cap in the focuser, and adjust the secondary mirror's three small screws until the primary mirror's reflection sits centred in your view. Then adjust the primary mirror cell's screws, usually hand-turnable wing bolts, until the cap's reflected dot sits in the centre ring. Re-check on a real star that night.
How do I collimate a Dobsonian telescope?
The process is identical to any Newtonian, since a Dobsonian is a Newtonian tube on a simple rotating base. Use a collimation cap, adjust the secondary mirror first, then the primary mirror's wing bolts, working in daylight against a plain wall. Most Dobsonians use hand-turnable screws, so no tools are needed.
Can you damage a telescope by collimating it?
No. Collimation screws are designed to be turned regularly and you cannot break a telescope by adjusting them. Turn each screw a small amount, one at a time, and check the effect before turning further. Worst case you end up slightly out of collimation, which just means doing the check again, nothing is at risk.
Is a laser collimator better than a collimation cap?
A laser collimator is quicker for the primary mirror once you're confident the laser itself is properly collimated, since a laser that's slightly off will happily lead you to the wrong answer. A £6 collimation cap or Cheshire eyepiece is cheaper, needs no calibration, and simply can't lie to you. Most experienced owners keep both.
How often should you collimate a telescope?
If your telescope travels by car to a dark sky site, check it every session: the jolts of a boot or back seat are enough to nudge a mirror. A tabletop Dobsonian that lives indoors and only moves from cupboard to garden can hold collimation for months without needing a touch.
Why are my star test rings squashed to one side?
Rings that bunch up on one side of a defocused star, rather than sitting as neat circles, mean the mirrors are out of alignment: the classic sign the telescope needs collimating. Run through the daylight collimation cap steps and the rings should even out. If they're still uneven after collimating, give the telescope longer to cool down before judging the test.