Binocular Astronomy: How to Stargaze with Binoculars
No telescope, no setup, no learning curve, just point and look up
A pair of 10×50 binoculars is one of the best small investments you can make in binocular astronomy. Point them at the Moon and the craters along its terminator jump out. Turn them on Jupiter and you'll pick out its four largest moons strung out like tiny beads. Sweep across a dark sky and you'll find star clusters, the elongated glow of the Andromeda Galaxy, and the Milky Way itself resolved into thousands of individual points of light. Most experienced astronomers will tell you to learn the sky with binoculars before you ever buy a telescope.
Stargazing with binoculars needs no setup and no manual to read first: you just lift them to your eyes. This guide covers what the numbers on the box actually mean, what you can realistically expect to see, how to hold them steady, and which pair to buy.
What Does 10x50 Mean on Binoculars?
Every pair of binoculars is labelled with two numbers, like 10x50 or 7x50. The first is magnification: 10x means an object appears ten times closer than to the naked eye. The second is aperture, the diameter in millimetres of the front lenses, which determines how much light the binoculars can gather. Bigger aperture means fainter objects become visible.
Divide aperture by magnification and you get the exit pupil: the width of the beam of light leaving each eyepiece. For 10×50, that's 50 ÷ 10 = 5mm. A young, fully dark-adapted eye dilates to around 6–7mm; most adults, especially past their thirties, dilate closer to 4–5mm. That's why 10×50 has become the classic astronomy spec: the exit pupil is close to what a dark-adapted eye can actually use, so you're not wasting light the binoculars gather but your pupil can't accept.
7×50 binoculars trade magnification for an even wider, brighter view. Their 7.1mm exit pupil exceeds what most eyes can use, but the extra field of view and brightness still make them pleasant for wide sweeps. 8×42 is the lightweight, do-everything option: a 5.3mm exit pupil, smaller and cheaper than a 50mm pair, useful for wildlife and travel too, at the cost of slightly less reach into faint objects. Once you go to 15×70 or larger, the extra magnification and light-gathering are real. Hand shake becomes impossible to ignore, though, so you'll want a tripod to get the benefit.
| Spec | Exit Pupil | Hand-held? | Best For |
|---|---|---|---|
| 7×50 | ~7.1mm | Yes | Widest, brightest view; the old "night glasses" spec |
| 8×42 | ~5.3mm | Yes | Lightweight all-rounder, doubles for wildlife |
| 10×50 | 5mm | Yes | The classic astronomy spec: the best all-round balance |
| 15×70+ | ~4.7mm | Tripod recommended | More reach into faint clusters and nebulae |
What Can You See with Binoculars in Astronomy?
Far more than most people expect from something you can carry in one hand. Here's what a pair of 10×50s realistically shows you on a clear night.
- The Moon, along the terminator: the shadow line between day and night throws craters, mountains and cliffs into sharp relief. Best around first or last quarter, not when full.
- Jupiter's four largest moons: Io, Europa, Ganymede and Callisto show up as tiny dots strung out in a line beside Jupiter. Their positions change noticeably from night to night.
- The Pleiades and Hyades: the Seven Sisters (Pleiades) look like a tiny dipper to the naked eye; binoculars reveal dozens of blue-white stars. The nearby Hyades, a looser V-shaped cluster, fills the whole field of view.
- The Double Cluster in Perseus: two side-by-side open clusters, best appreciated with a wide field of view. One of the finest binocular sights in the sky.
- The Beehive Cluster (M44) in Cancer: a loose swarm of stars invisible to most eyes without help, but obvious and pretty through binoculars once you know where to look.
- The Andromeda Galaxy (M31) shows up as an elongated grey glow with a brighter core, roughly the length of the full Moon on a dark night. It's the furthest object you'll ever see with your own eyes.
- The Orion Nebula (M42): the fuzzy patch below Orion's belt. Binoculars show it clearly as a soft glow; a telescope reveals more structure within it.
- The Milky Way: from a dark site, sweeping binoculars slowly along the band resolves its haze into thousands of individual stars and star clouds. Our guide to seeing the Milky Way covers when and where in the UK.
- The Coathanger asterism: a distinctive line of six stars with a hook of four beneath, sitting in Vulpecula between Cygnus and Aquila. It really does look like a coathanger.
- Bright comets: when a naked-eye comet passes, binoculars are often the best way to see its tail properly. A telescope's narrow field can actually be too tight.
How Do You Hold Binoculars Steady for Astronomy?
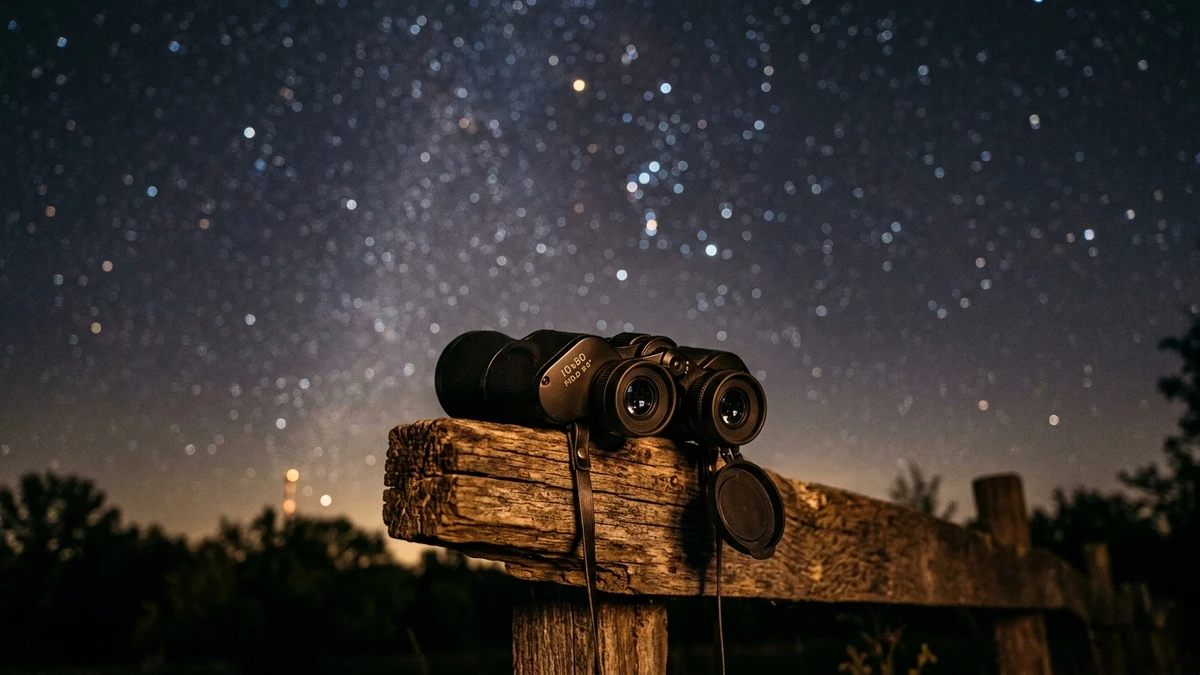
A shaky image is the single biggest reason beginners come away unimpressed. Brace your elbows against your chest, or lean your back and shoulders against a wall, fence post or car roof, anything that takes the tremor out of your arms. Standing free with your arms out in front is the least stable way to hold binoculars and, unfortunately, how most people try it first.
Lying back on a reclining garden chair or a sun lounger changes the experience completely. Your arms rest on the chair instead of holding themselves up, your neck stops aching after five minutes, and you can comfortably stay on a target for as long as you like. If you get serious about binocular astronomy, a reclining chair is genuinely one of the best upgrades you can make, cheaper than most eyepieces and more useful than half of them.
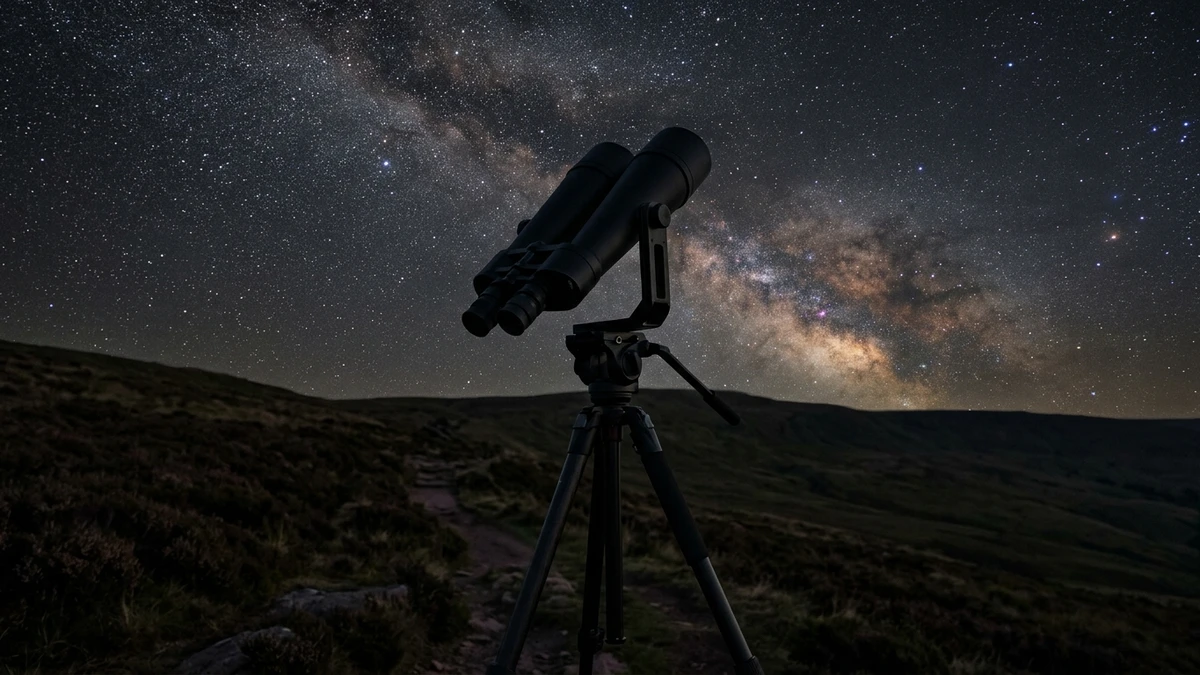
For anything above 10×, a tripod stops being optional. A binocular tripod adapter (a simple L-shaped bracket that screws into the centre hinge) turns any photographic tripod into a rock-steady binocular mount, and typically costs less than a single eyepiece.
Steps for your first proper binocular session:
- Let your eyes dark-adapt. Give it 20–30 minutes without checking a bright phone screen before hunting for anything faint. Our general stargazing tips cover dark adaptation and averted vision in more depth if you're new to this.
- Adjust the eye width and focus. Set the hinge to match your eyes, then focus on something distant and sharp, like a bright star, before you start.
- Find your target naked eye first. Locate it against a nearby star pattern, then raise the binoculars while keeping your eyes on that spot.
- Brace, don't stand free. Elbows against your chest, or lean against something solid. Better still, lie back.
- Nudge slowly. Small movements only. The field of view is narrower than it feels, and large sweeps overshoot the target constantly.
- Use averted vision on faint objects. Look slightly to one side rather than straight at it; the edge of your retina is more sensitive to faint light.
What Are the Best Binoculars for Stargazing?
Two things to avoid before anything else: zoom binoculars that advertise a variable magnification range, and anything under roughly £50. Zoom mechanisms compromise the optics and tend to lose alignment quickly; cheap fixed binoculars usually have dim, soft images that make the whole hobby feel disappointing before it starts.
Beyond that, the main design choice is porro prism versus roof prism: porro prism binoculars, with their classic zig-zag shape, generally give brighter and sharper views for the money, which is why most dedicated astronomy binoculars still use that design over the slimmer, pricier roof prism style. For a full breakdown of every pair we've tested, see our binoculars buying guide.
Best Binoculars for Astronomy
Kit we've reviewed in full
This is the one piece of kit almost every stargazer owns before anything else. Here are three worth your money, from a budget starter to something with real reach.
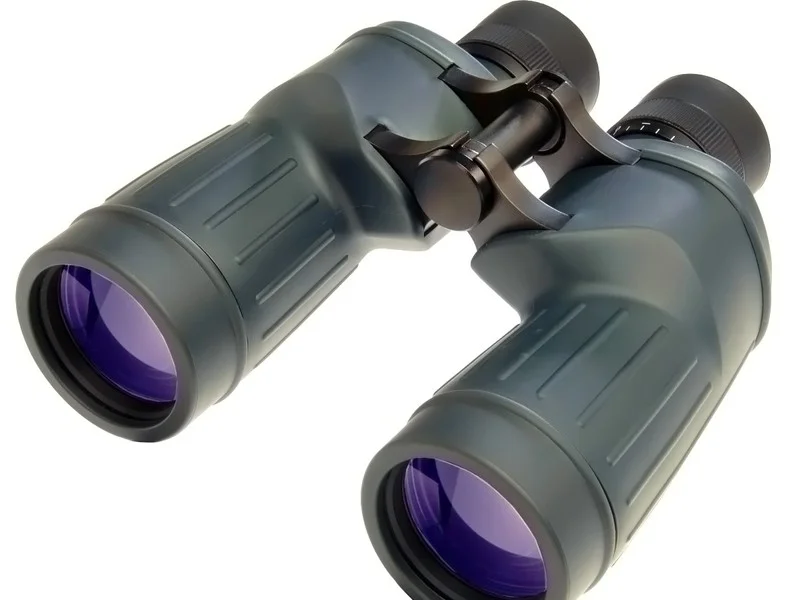
The classic astronomy spec done well, steady enough to hand-hold all evening, with plenty of light-gathering for Moon craters, star clusters and the Andromeda Galaxy.
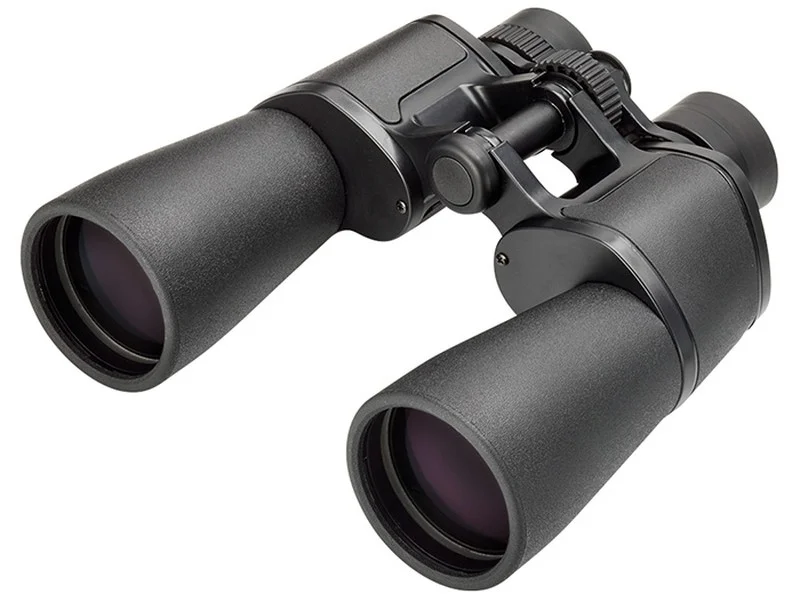
The same 10×50 formula for a lot less outlay. The optics aren't quite as crisp at the edge of the field as the Helios, but the core view is very good for the price.
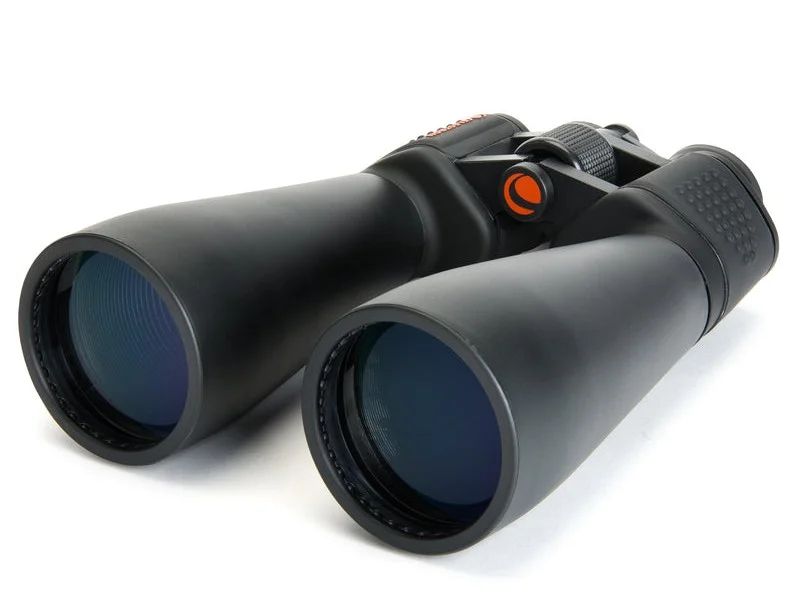
Bigger lenses and more magnification pull in noticeably fainter clusters and nebulae. Needs a tripod: 15× is too shaky to hold steady by hand for long.
Browse all binoculars
Every pair we've reviewed, from grab-and-go 8x42s to serious 20x80 light buckets.
Browse all →Affiliate links: you pay the same price, we earn a small commission that helps keep WatchTheStars free.
What Should You Realistically Expect to See Through Binoculars?
Set your expectations honestly and binoculars will delight you; expect telescope-style close-ups and you'll be let down. Beyond the Moon, almost everything you point them at is small and grey. Galaxies and nebulae don't show colour: your eyes simply aren't sensitive enough to faint light to perceive it, no matter how good the binoculars are. That vivid colour only ever comes from long camera exposures.
The real joy of binocular astronomy is context and breadth, not close-up detail. You see a cluster sitting inside its constellation rather than isolated and zoomed in. You sweep the width of the Milky Way in one slow pass instead of peering through a narrow telescope tube. That wide field is precisely what makes binoculars the better tool for learning your way around the sky: see our beginner's stargazing guide for where to start.
Frequently Asked Questions
What can you see with binoculars in astronomy?
A lot more than most people expect. A standard pair of 10×50 binoculars shows craters along the Moon's terminator, Jupiter's four largest moons as tiny points of light, open clusters like the Pleiades and the Double Cluster, the Andromeda Galaxy as an elongated smudge, and the Milky Way resolved into individual stars from a dark site.
What does 10x50 mean on binoculars?
The first number is magnification: 10x means objects appear ten times closer. The second is aperture, the diameter of the front lenses in millimetres, which controls how much light gets in. Divide aperture by magnification and you get the exit pupil: for 10×50, that's 50 ÷ 10 = 5mm, a good match for a dark-adapted eye.
Are 10x50 or 7x50 binoculars better for astronomy?
10x50 is the more practical all-rounder for most people: it gives a closer view while still being steady enough to hand-hold. 7x50s have a wider, brighter field and a bigger 7.1mm exit pupil, but that extra light is wasted once your pupils can no longer dilate that far, which happens with age. Either is a solid choice; 10x50 just does more.
Do you need a tripod for astronomy binoculars?
Not for 7x50, 8x42 or 10x50 binoculars: these are light enough to hand-hold, especially if you brace your elbows or lie back. Anything from 15x70 upwards benefits from a tripod, and honestly needs one for a comfortable session. A simple binocular tripod adapter screws into the centre hinge and turns any camera tripod into a binocular mount.
Can you see the Andromeda Galaxy with binoculars?
Yes. From a reasonably dark site, the Andromeda Galaxy (M31) shows up in 10×50 binoculars as a soft, elongated glow with a brighter core, roughly the length of the full Moon. It's faint and it's grey, not the colourful spiral you see in photographs, but it's still the furthest thing you'll ever see with your own eyes, 2.5 million light years away.
What's the difference between porro prism and roof prism binoculars?
Porro prism binoculars have the classic zig-zag shape and tend to give brighter, sharper optics for the same money, which is why most dedicated astronomy binoculars still use this design. Roof prism binoculars are the straight-barrelled, compact style, more rugged and pocketable, but you usually pay more for equivalent optical quality.
Should I buy binoculars or a telescope first for astronomy?
Binoculars first. They cost less, need no setting up, have a wide field of view that makes learning the sky far easier, and still show you craters, star clusters, and galaxies. Most experienced astronomers recommend spending a season with binoculars before buying a telescope, so you already know your way around the sky when you do.
What's the best magnification for stargazing binoculars?
10x is the sweet spot for most people: enough magnification to be worthwhile, still steady enough to hand-hold. Below that (7x or 8x) trades power for a wider, brighter, easier view. Above 15x, hand shake becomes a real problem and you'll want a tripod to get any benefit from the extra magnification.