How to Photograph the Moon
Camera and phone settings that actually work, and why your last attempt probably came out as a tiny white dot
The trick to photographing the Moon is remembering what it actually is: a sunlit rock, lit by the same Sun that's lighting your garden at midday. Treat it like a daytime subject, not a night one, and everything gets easier. The classic starting point is the Looney 11 rule (f/11, ISO 100, shutter 1/100s), then you nudge the settings from there depending on the phase and what camera you're using.
This guide covers proper camera settings, what to do with just a phone, which Moon phase actually shows the most detail (it isn't full), and how a cheap adapter and a small telescope turn your phone into a genuine crater camera. If you haven't picked up a camera at all yet, our stargazing for beginners guide is a good place to start.
Why Does the Moon Look So Small in My Photos?
Because your eyes and brain lie to you. When you look up at a big, bright full Moon, your brain exaggerates it, especially near the horizon, an effect called the Moon illusion. Your phone's camera doesn't have that bias. It records the Moon at its true angular size, which is about half a degree across, roughly the width of a pea held at arm's length. A standard wide phone lens shows that pea-sized disc surrounded by a huge amount of empty sky, so it looks tiny and disappointing next to the memory of what you saw.
Three fixes actually work here. Use real optical telephoto zoom: most modern phones have a second lens with genuine magnification, not the digital "zoom" that just crops and blurs the same wide shot. Frame the Moon low on the horizon next to a landmark or tree at moonrise, so the composition reads as impressive even though the Moon itself is still the same small disc. Or skip the phone's own lens entirely and shoot through a telescope, which is the only way to get the Moon filling the frame with real detail.
Best Moon Photography Settings for a Camera
Start in manual mode with the Looney 11 rule: f/11, ISO 100, shutter 1/100s. Switch your DSLR, mirrorless, or bridge camera fully to manual, because auto exposure almost always gets the Moon wrong: the camera meters for the huge dark sky around it and blows the Moon itself into a featureless white circle. Here's the step-by-step:
- Use the longest lens you have. 300mm or more is ideal for a Moon that actually fills a meaningful part of the frame; anything shorter and you'll be cropping heavily afterwards.
- Mount the camera on a tripod. At the shutter speeds and focal lengths involved, handholding introduces enough shake to soften every shot.
- Set ISO 100. The Moon is bright enough in daylight-equivalent light that you don't need to push sensitivity, and low ISO keeps noise out of the shadow detail.
- Set the aperture to f/8–f/11. This is the sharpest range on most lenses and gives you enough depth of field to keep the whole disc in focus.
- Set shutter speed to 1/100–1/250s. Start at 1/100s for the Looney 11 rule and go faster if the Moon is overexposing.
- Use spot metering on the Moon. Point the metering point directly at the lunar disc, not the surrounding sky, so the camera's exposure suggestion is actually relevant.
- Focus manually on the limb or a crater edge. Autofocus often hunts against a mostly black background. Switch to manual, zoom in using magnified live view, and focus on a crisp crater edge or the Moon's outer edge.
- Fire the shutter with a 2-second timer or remote. Pressing the shutter button by hand shakes the camera at these focal lengths: a timer or remote removes that entirely.
- Slightly underexpose. Err on the side of a touch too dark rather than too bright. It's far easier to recover shadow detail afterwards than to bring back highlights that have been blown out to pure white, and underexposing keeps the crater texture intact.
How to Photograph the Moon With a Phone
You don't need a proper camera to get a decent shot of the Moon, but you do need to override your phone's instincts. Open the camera app and tap directly on the Moon to set focus: most phones will show a focus square and, next to it, a small sun or brightness icon with a slider. Drag that exposure slider down until the Moon stops looking like a featureless white blob and craters or maria start to appear. This single move fixes the most common phone Moon photo problem there is.
Use your phone's optical telephoto lens if it has one, rather than pinch-zooming, which is digital and just crops the image. Brace your arms against something solid, rest the phone on a wall or fence post, or use a small tripod: even a slight wobble blurs a telephoto shot. For genuinely close-up results, hold your phone's camera lens up to a telescope eyepiece with an adapter, which is the single biggest jump in quality available to a phone photographer.
Wondering if tonight's sky is clear enough to bother?
Our Tonight tool gives you a live stargazing score, cloud cover, and Moon phase for your location.
Check Tonight's Conditions →Moon Photography Settings by Phase
The Moon's brightness changes a lot across its cycle, and your exposure needs to track it. Use these as starting points, then check your histogram and adjust:
| Phase | ISO | Aperture | Shutter |
|---|---|---|---|
| Full Moon | 100 | f/11 | 1/100s |
| First or last quarter | 100 | f/8 | 1/125s |
| Crescent | 200 | f/8 | 1/60s |
| Earthshine (dark side of crescent) | 400–800 | f/4–f/5.6 | 1–2s (tripod) |
| Total lunar eclipse (mid-totality) | 400–1600 | f/4–f/5.6 | 1–4s (tripod) |
Earthshine is the faint glow you sometimes see on the dark portion of a crescent Moon: sunlight reflecting off the Earth and back onto the Moon's night side. It needs a much longer exposure than the bright crescent sitting next to it, so you'll usually take two shots and blend them, or accept that one part will be slightly over or underexposed.
Kit that gets you close to the Moon
Kit we've reviewed in full
You don't need much to go from a bright dot to a crater-sharp disc: a phone adapter, a small telescope, and a filter to tame the glare cover most of it.
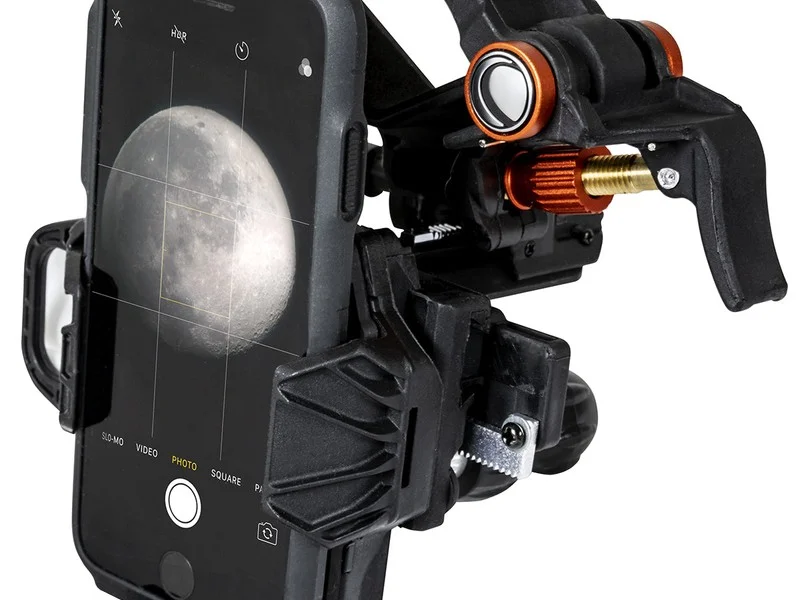
Celestron NexYZ Smartphone Adapter
Clamps your phone over an eyepiece and lines the lens up properly: the difference between a wobbly grey blob and a sharp lunar close-up. Works with most phones and most eyepieces.
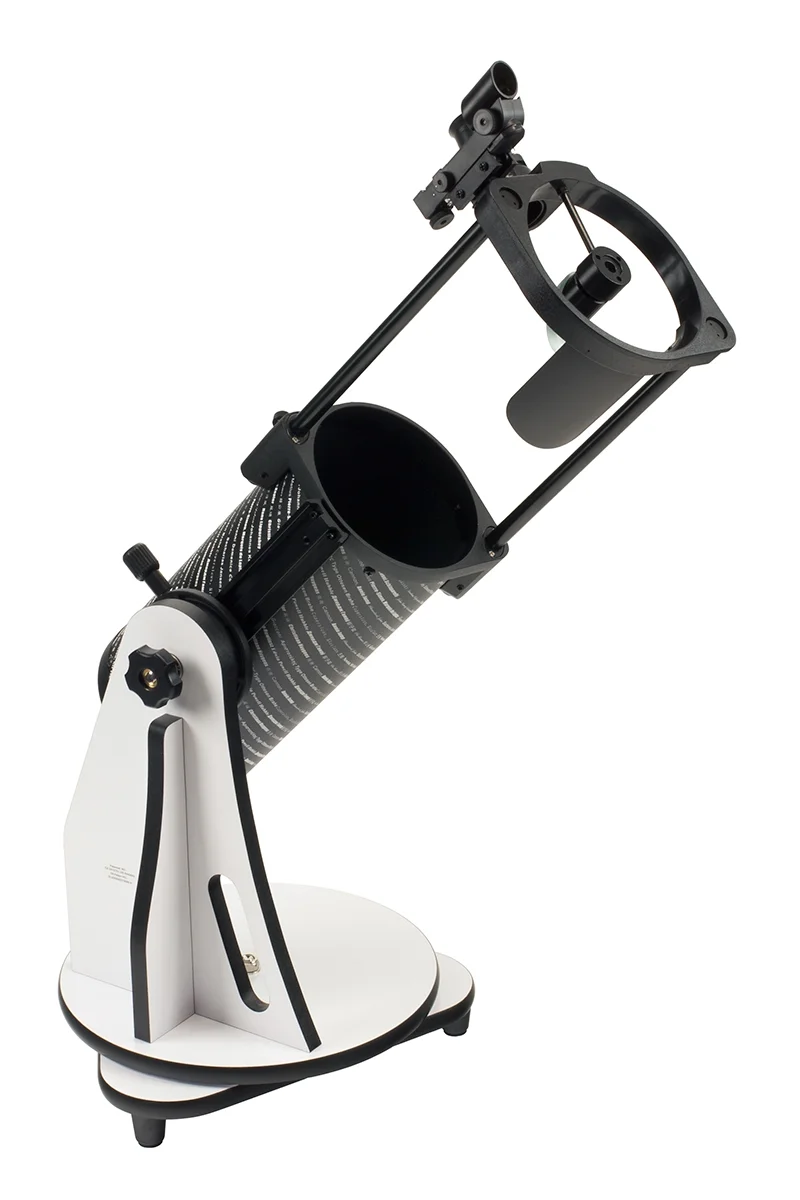
A 130mm tabletop Dobsonian turns your phone into a genuine crater camera. No alignment, no motors, point it at the Moon and start shooting within minutes of setting up.
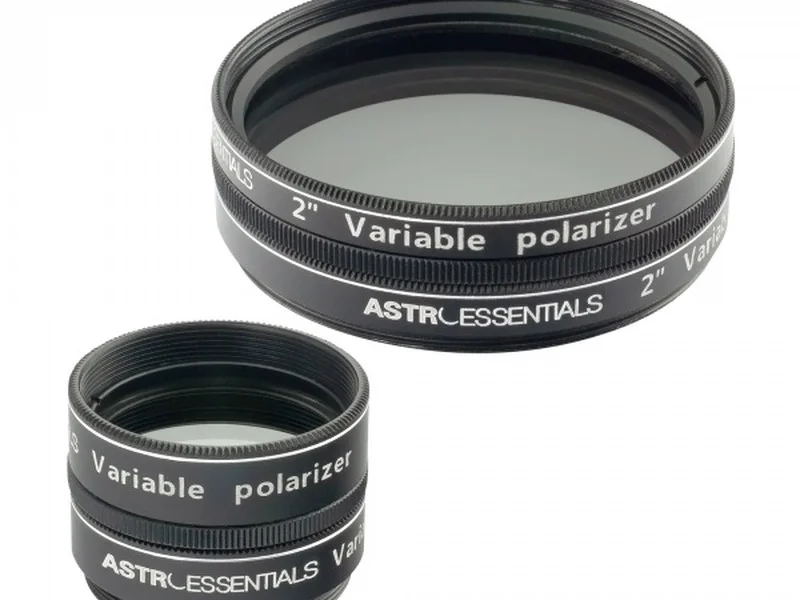
Astro Essentials Variable Polarising Moon Filter
The full Moon through a telescope is dazzlingly bright: this filter dims the glare so your camera can hold detail in the highlights instead of blowing them out.
Browse all equipment
Telescopes, binoculars, mounts, cameras, and accessories: honest picks for every budget.
Browse all →Affiliate links: you pay the same price, we earn a small commission that helps keep WatchTheStars free.
What Is the Best Moon Phase for Photography?
Not the full Moon, despite it being the phase everyone reaches for. A full Moon is lit almost straight-on from behind the camera, which flattens every shadow and leaves the surface looking like a washed-out grey disc. The best detail comes at first and last quarter, when the terminator (the line dividing lunar day from lunar night) cuts straight down the middle of the disc. Along that line, the Sun hits the surface at a very low angle, so craters and mountain ranges throw long shadows and stand out in sharp relief.
Our guide to Moon phases explains what to expect at each stage of the cycle, and the Moon page has more on its surface features and orbit. If you want to plan around a specific date, check our Moon phase tonight tool, or use a lunar calendar or an app like PhotoPills to see exactly when the Moon reaches first or last quarter.
Composing a Moonrise Shot
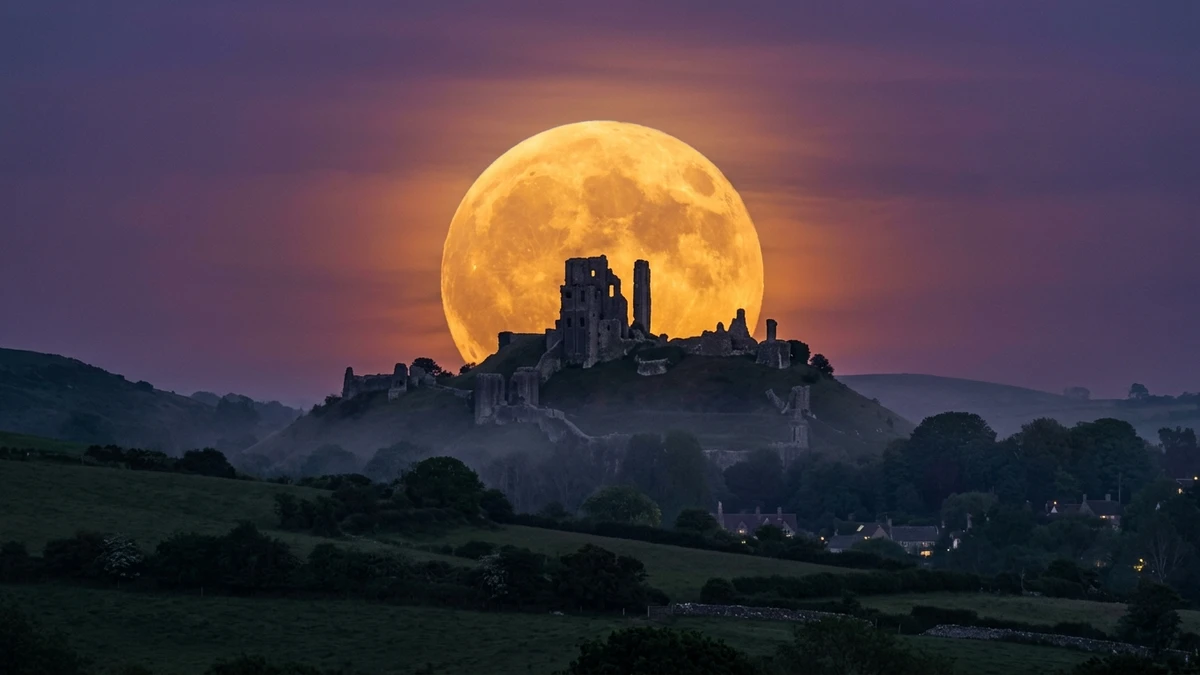
Some of the most striking Moon photographs aren't close-ups at all. They're a low Moon rising beside a landmark, a church spire, a hillside, or a line of trees. A full Moon rises around sunset, which gives you a narrow window of soft, warm light and a Moon low enough on the horizon to frame against something on the ground. Plan the exact rise time and direction with a tool like PhotoPills, our full moon calendar has every UK date for 2026 and 2027, then scout your foreground in daylight beforehand, because you won't have time to hunt for a composition once the Moon is actually climbing.
Remember the Moon illusion from earlier: a low Moon near the horizon looks enormous to your eye but is exactly the same size in camera terms as when it's overhead. A long lens and a well-chosen foreground are what make a moonrise photo feel as big as it looked in real life.
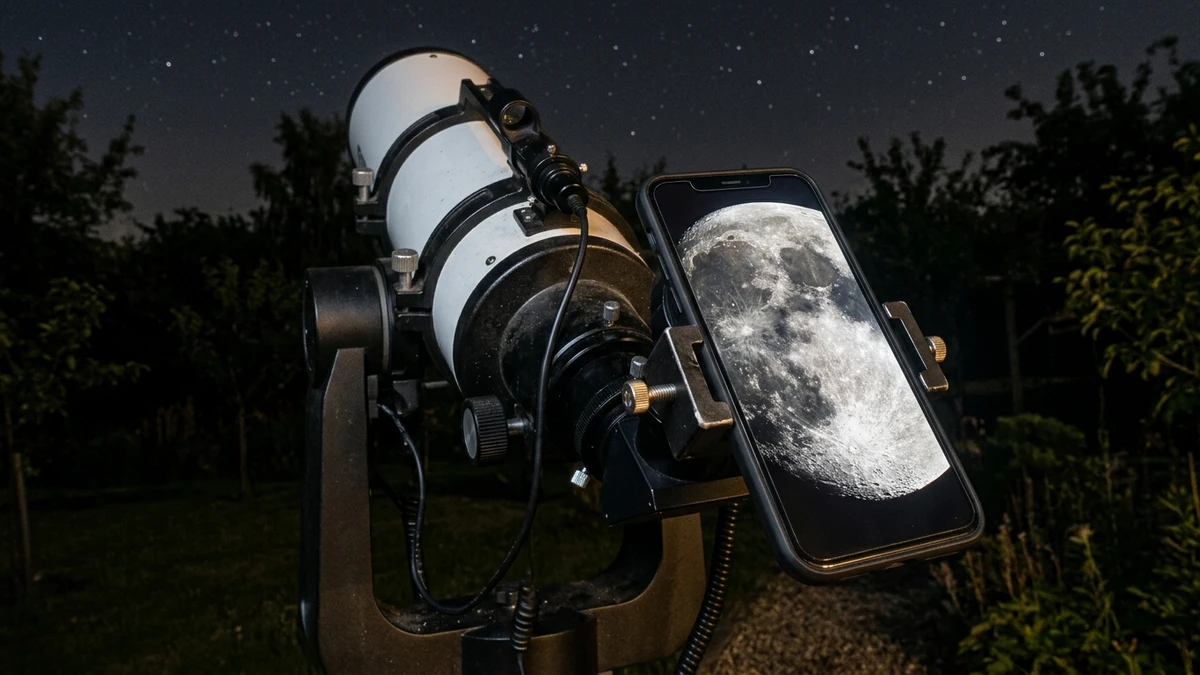
Photographing the Moon Through a Telescope
Even a small Dobsonian telescope turns a phone into a genuine crater camera. Point the telescope at the Moon, focus it carefully by eye, then hold your phone's lens up to the eyepiece: a phone adapter makes this far easier by clamping the phone in place and lining the lens up dead-centre, rather than you trying to hold it steady by hand. If you haven't used a telescope before, our how to use a telescope guide covers focusing, finding targets, and getting set up from scratch.
Once you're lined up, focus manually using the telescope's focuser while watching your phone screen, magnifying the live preview if your phone allows it, and aim for a crisp crater edge rather than trusting autofocus. A 2-second timer avoids the shake of tapping the shutter. Even a modest 130mm telescope will resolve craters, mountain ranges, and the rilles running across the lunar maria: detail that no phone lens alone can touch.
Frequently Asked Questions
What are the best camera settings for photographing the Moon?
Start with the Looney 11 rule: f/11, ISO 100, shutter 1/100s. The Moon is a sunlit rock in full daylight, so it needs daytime exposure settings, not night settings. From there, adjust the shutter speed up or down depending on the phase, a slim crescent needs more light than a full Moon.
Why does the Moon look so small in my photos?
Your eyes and brain exaggerate the Moon's size, especially near the horizon, but a standard phone or wide camera lens records its true angular size: about half a degree, roughly the width of a pea held at arm's length. Fixes: use real optical telephoto zoom rather than digital zoom, frame the Moon next to a foreground object at moonrise, or shoot through a telescope.
How do I photograph the Moon with my phone?
Tap the screen to focus directly on the Moon, then drag the exposure slider down until the disc stops looking like a white blob. Use your phone's optical telephoto lens rather than digital zoom, and brace it against something solid or use a small tripod. For real detail, hold the phone's lens up to a telescope eyepiece with an adapter.
What is the best Moon phase for photography?
Not the full Moon. First and last quarter give you the most detail, because the terminator, the line between lunar day and night, runs down the middle of the disc and throws long shadows across the craters. A full Moon is lit flat-on from behind the camera, so the shadows disappear and the surface looks washed out.
Do I need a telescope to photograph the Moon?
No, but it helps enormously. A phone or camera with a long zoom can capture a recognisable Moon with visible maria. To resolve individual craters, you need serious focal length: the easiest way to get it is a small telescope with a phone adapter, which effectively turns the telescope into a very long lens.
How do I stop my Moon photos coming out as a white blob?
A white blob means your camera is exposing for the dark sky around the Moon rather than the bright Moon itself. On a phone, tap the Moon to set focus and then drag the exposure slider down. On a camera, switch to manual mode and use spot metering on the Moon, or dial in the Looney 11 rule as a starting point.
What ISO should I use for Moon photography?
ISO 100 is the right starting point for a full Moon, since it's a bright, sunlit subject in daylight-equivalent light. You can push to ISO 200–400 for a crescent Moon or during a lunar eclipse, when the surface is far dimmer. Higher ISO adds noise, so keep it as low as the light allows.
Can you photograph the Moon through a telescope with a phone?
Yes, and it's one of the easiest wins in astrophotography. A phone adapter clamps your phone over the telescope's eyepiece, and even a small tabletop Dobsonian will resolve craters and mountain ranges along the terminator. Focus manually on a crater edge for the sharpest results, then use a timer to avoid shake when you tap the shutter.