How to Photograph the 2027 Solar Eclipse
Camera settings, lens choice and a phone-friendly plan for the six-minute totality of 2 August 2027
What do you need to photograph the 2027 eclipse?
A certified solar filter over the front of every lens or telescope, a 400–600mm lens if you want the corona rather than just a dot, and a bracketed run of exposures from about 1/1000s to 1 second to cover its huge brightness range.
The filter comes off for one thing only: totality. The second any sliver of the Sun's surface reappears, it goes straight back on.
This is the photography half of our full guide to the 2027 total solar eclipse: dates, UK partial times and the whole event are covered there. If you are still choosing where to stand, our destination guide ranks every realistic town on the path by duration and cloud odds.
Before any of this, read our guide to observing the Sun safely. A camera sensor pointed at the Sun is damaged the same way an eye is, and just as silently. A certified ISO 12312-2 filter belongs over the front of the lens or scope at all times outside totality, never over the eyepiece, where the concentrated heat can crack it.
What camera settings do you use for a solar eclipse?
It depends entirely on the phase, and no single setting covers the whole event. The partial phases are steady and predictable behind a filter. Totality is the opposite: the corona spans such a huge range of brightness, from the dazzling inner ring to the faint outer streamers, that one exposure will always miss most of it. Bracket a run instead.
| Phase | Filter | Aperture | Shutter | ISO |
|---|---|---|---|---|
| Partial phases | On, always | f/8 | 1/1000–1/4000s | 100 |
| Diamond ring / Baily's beads | Off (seconds only) | f/8 | 1/1000–1/2000s | 100–200 |
| Inner corona | Off | f/8 | 1/500–1/60s | 100–200 |
| Outer corona / streamers | Off | f/8 | 1/15–1s | 100–200 |
| Landscape during totality | Off, no filter needed | f/4–f/5.6 | 1/15–1/4s | 400–800 |
Keep the aperture fixed at f/8 for the disc shots and change only the shutter speed between frames: that keeps focus and framing consistent across the whole bracket. Even a wide bracket will not show you everything: the eye adapts to the corona's range in a way no single photograph ever will, which is exactly why chasers say the first totality is for looking, not shooting.
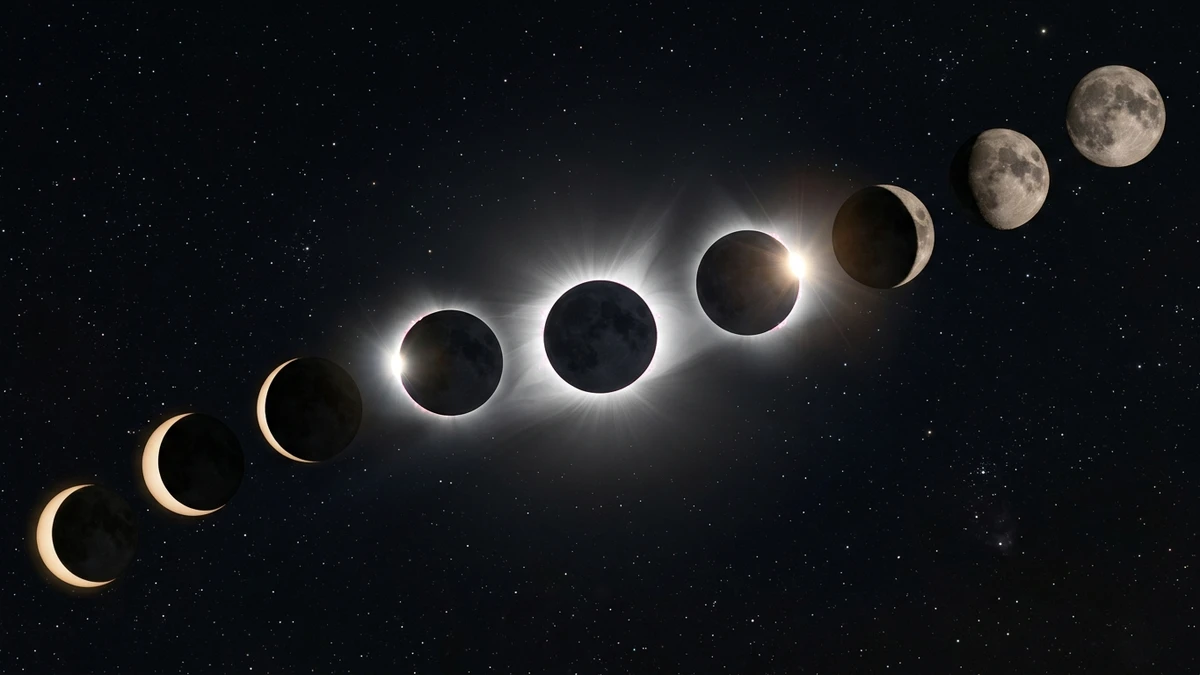
What lens or focal length do you need?
Something around 400–600mm on a full-frame camera, which is the sweet spot for corona detail without cropping off the outer streamers. As a rule of thumb, the Sun's disc takes up roughly 1mm of image on a full-frame sensor for every 100mm of focal length. At 1000mm that is about a 9mm disc: plenty of pixels, but a tight frame that makes the wider corona harder to fit in.
Go much past about 1200mm and you start cutting off the faint outer corona altogether, and tracking the Sun across a narrow field of view gets noticeably harder. A tracking mount helps at these longer focal lengths, but six minutes is short enough that you can manage without one. At 600mm without a tracker, expect to recompose roughly every 30 seconds as the Sun drifts through the frame.
What you need to photograph the eclipse
Kit we've tested and reviewed in full
Three ways to approach it, from a lens you already own to a scope that does the exposure bracketing for you. Whichever route you pick, buy the filter at home and test it before eclipse week.
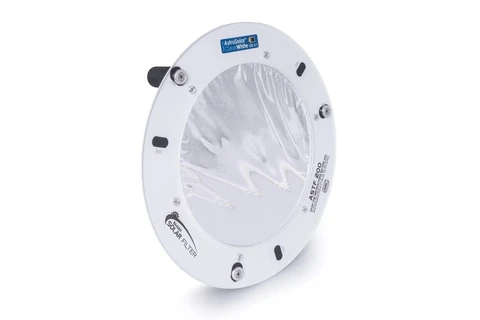
Baader AstroSolar Telescope Filter (ASTF)
Fits over the front of any camera lens or telescope for the partial phases, and comes off only during totality. Never fit a filter at the eyepiece end, which can crack under the heat.
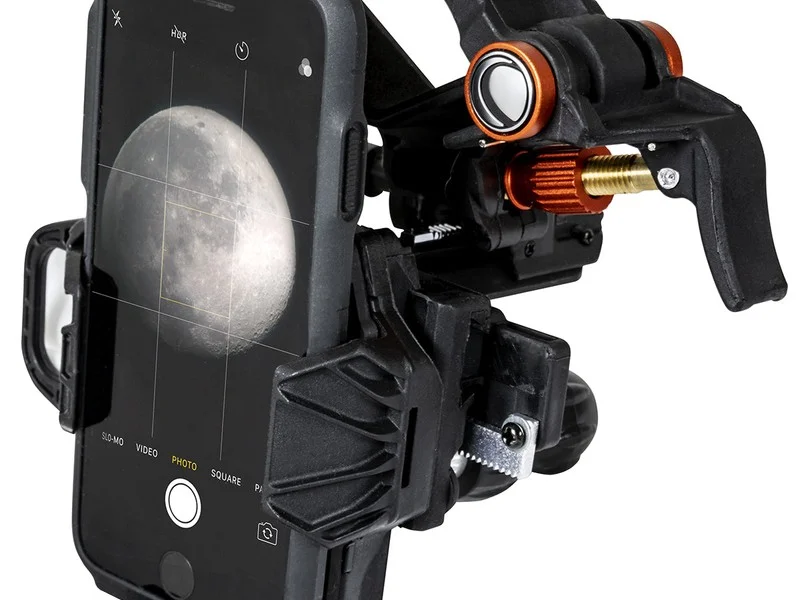
Celestron NexYZ Smartphone Adapter
Clamps a phone behind a telescope or binoculars for a zoomed shot of the disc. The filter still needs to be on the front of the optics at every phase except totality.
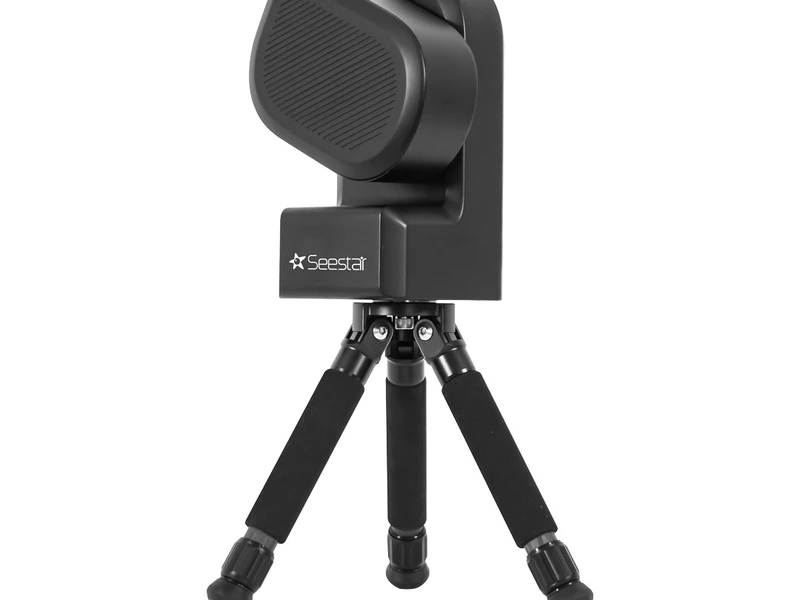
Ships with its own solar filter and a dedicated solar mode, so the partial-phase bracket sequence runs itself. Frees you up to actually watch more of totality.
Affiliate links: you pay the same price, we earn a small commission that helps keep WatchTheStars free.
Can you photograph the eclipse with a phone?
Yes, and it is good at one kind of shot and limited at another. A wide shot of the darkened landscape and the horizon glow during totality needs no filter at all, and phones handle that low light well: this is the shot most people remember more fondly than any close-up of the disc.
A zoomed-in shot of the Sun itself is a different matter. It needs a filter over the phone's lens at every phase except totality, exactly as a camera does. A clip-on filter or a scope-and-adapter setup gets you there; our phone astrophotography guide covers what a phone camera can and cannot manage on the Sun, the Moon and beyond.
How do you photograph totality without wasting it?
Automate the bracket, then look up. Set your camera running a pre-planned sequence of exposures, either on an intervalometer or on gear built for it, so you are not fiddling with dials while the corona is overhead. The diamond ring and Baily's beads happen in the few seconds around second and third contact, so fire a fast burst right at those moments rather than trying to time a single frame.
The standing advice for a first totality is to watch it rather than photograph it, because nothing you shoot will match what your eyes see. In 2027 that advice softens a little. Six minutes is long enough to do both: get the automated sequence running in the first thirty seconds, then spend the rest of totality with your eyes on the sky, not the screen.
What's different about photographing it in Egypt vs Spain?
Mainly the angle of the Sun and the heat. In Luxor the Sun sits about 82 degrees up at totality, nearly overhead, which gives a beautifully symmetrical corona but is awkward for a tripod carrying a long lens. A ball head fights gravity at that angle, and a wedge or a carefully levelled head is worth setting up in advance rather than discovering the problem on the day.
In southern Spain the Sun is around 38 degrees up at maximum, which is a far more comfortable angle for framing and lets you include some landscape in the shot. Luxor's trade-off is heat: it averages 42°C on 2 August and has hit 46°C. Cameras typically start throttling or shutting down around 45°C internal temperature, so shade the body, keep a damp white cloth over it between shots, and pack spare batteries, heat drains them faster too.
How do you practise before eclipse day?
Practise on the full Moon. It is almost exactly the same apparent size as the Sun in our sky, which makes it the ideal stand-in for rehearsing framing, focus and your exposure bracket months ahead of eclipse day. Our guide to photographing the Moon covers the same settings groundwork (focal length, focus technique and exposure) that carries straight over to the Sun.
Rehearse the filter-off, filter-on sequence until it is automatic, ideally with someone timing you. Fumbling that moment costs you seconds of totality you cannot get back. If you photographed the UK's partial eclipse in August 2026, you already have a head start on filters and framing. 2027 just raises the stakes, because totality only happens once and does not wait for you to find the right setting. Our equipment pages cover filters, adapters and smart telescopes in more depth if you are still deciding what to buy.