DSLR Astrophotography for Beginners
A camera, a kit lens and a tripod: that's the whole shopping list for your first real star photos
DSLR astrophotography for beginners starts with a truth the internet keeps forgetting: you don't need a telescope, a tracking mount, or anything bought this decade. A basic DSLR, the 18-55mm lens it came with and a solid tripod will photograph constellations, meteors and the Milky Way from your first clear night. Every setting that matters fits on one table, and the software that does the clever part is free.
This guide covers the camera settings for astrophotography that actually work, the focusing trick that fixes most blurry first attempts, and stacking: the free-software step that turns a folder of ordinary frames into one photo you'll want to print. It's the same route I followed with a Canon 2000D, and it's still the cheapest way into the hobby by a distance. If you'd rather start with the camera already in your pocket, our phone astrophotography guide covers that instead.
How Do You Photograph Stars with a DSLR?
Six steps. The first two happen indoors in daylight, which is exactly where a lot of frustration gets avoided.
- Set up in daylight first. Put the camera in manual mode (M), switch the lens to manual focus, turn on RAW capture, and switch off the flash and any long-exposure noise reduction. Fumbling through menus in the dark with cold fingers is how first sessions die.
- Charge the battery, then charge a spare. Long exposures and cold nights flatten batteries fast. A cheap third-party spare doubles your session.
- Mount the camera on a solid tripod. It doesn't need to be expensive, it needs to not wobble. Hang your camera bag from the centre hook if it's breezy.
- Focus using 10x live view on a bright star. This is the step that decides everything: the full method is two sections down. Autofocus is useless on stars; don't let the camera try.
- Take a 15-second test frame at ISO 1600. Widest aperture, lens at 18mm, 2-second timer so your hand is off the camera when the shutter opens. Zoom right in on the back screen: stars should be tiny sharp points.
- Then take lots more. Don't stop at one good frame. Shoot 30-50 identical frames of the same framing: that's the raw material for stacking, and it's what separates a decent snap from a photo with real depth.
Not sure if tonight's worth setting up for?
Our Tonight tool gives you a live stargazing score, cloud cover, and what's visible from your location.
Check Tonight's Conditions →What Camera Settings Should I Use for Astrophotography?
These are starting points for a DSLR with an 18-55mm kit lens on a fixed tripod. Take a frame, look at it properly, adjust. The back screen lies about brightness, so trust the histogram more than your eyes: you want the data bunched left of centre but not crushed against the edge.
| Target | ISO | Shutter | Aperture / zoom |
|---|---|---|---|
| Constellations & bright stars | ISO 1600 | 15s | f/3.5, 18mm |
| Milky Way (dark site) | ISO 3200 | 15-20s | f/3.5, 18mm |
| Meteor showers | ISO 1600-3200 | 15s, continuous | f/3.5, 18mm |
| Star trails | ISO 400-800 | 30s x 60+ frames | f/4, 18mm |
| The Moon | ISO 100 | 1/125s or faster | f/8, 55mm |
The Moon runs opposite to everything else because it's sunlit rock, not faint starlight: low ISO, fast shutter. For proper lunar close-ups you'll want a telescope in the chain; our Moon photography guide covers both routes.
The 500 Rule on a Crop Sensor
Divide 500 by your focal length and you get the longest exposure before the Earth's rotation stretches stars into trails. The catch on most beginner DSLRs: the sensor is crop-format, so multiply the focal length by 1.6 (Canon) or 1.5 (Nikon/Sony) first. At 18mm on a Canon that's 500 ÷ 28.8, about 17 seconds. Zoom to 55mm and your ceiling drops to roughly 5 seconds, which is why wide and short is the beginner's friend.
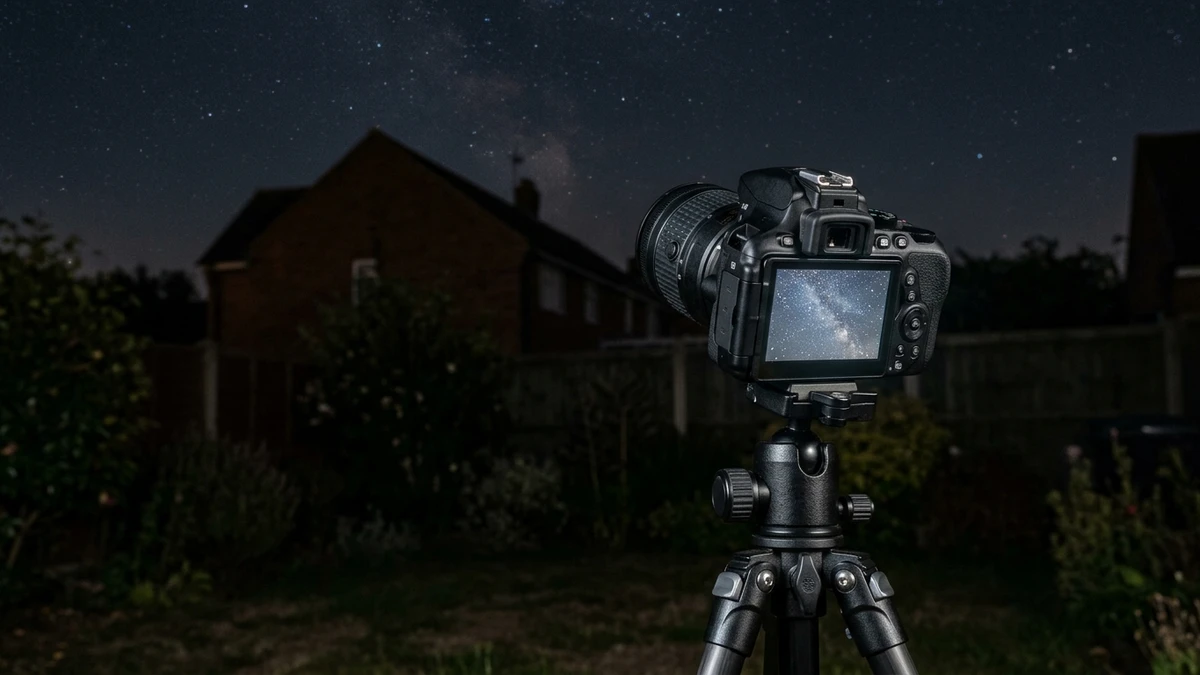
How Do You Focus a DSLR on Stars?
Manually, with live view magnified to 10x. This one technique rescues more first sessions than any other. Autofocus simply cannot see stars: it hunts back and forth and settles nowhere. And the infinity mark printed on the lens barrel is rarely true infinity.
- Switch the lens to MF and open live view on the back screen.
- Point the camera at the brightest star you can find: Vega and Arcturus are ideal on a UK summer evening, Sirius or Capella in winter. Can't name one? Any bright dot works.
- Tap the magnify button until you're at 10x and move the zoom box over the star.
- Turn the focus ring slowly. The star will swell, shrink, and swell again: stop where it's at its smallest, tightest point.
- Don't touch the ring again all night. A strip of masking tape over it is a cheap insurance policy.
Refocus if you change the zoom, knock the lens, or the temperature drops sharply: focus drifts as glass contracts. Thirty seconds of checking beats an hour of soft frames.
What Is Stacking in Astrophotography?
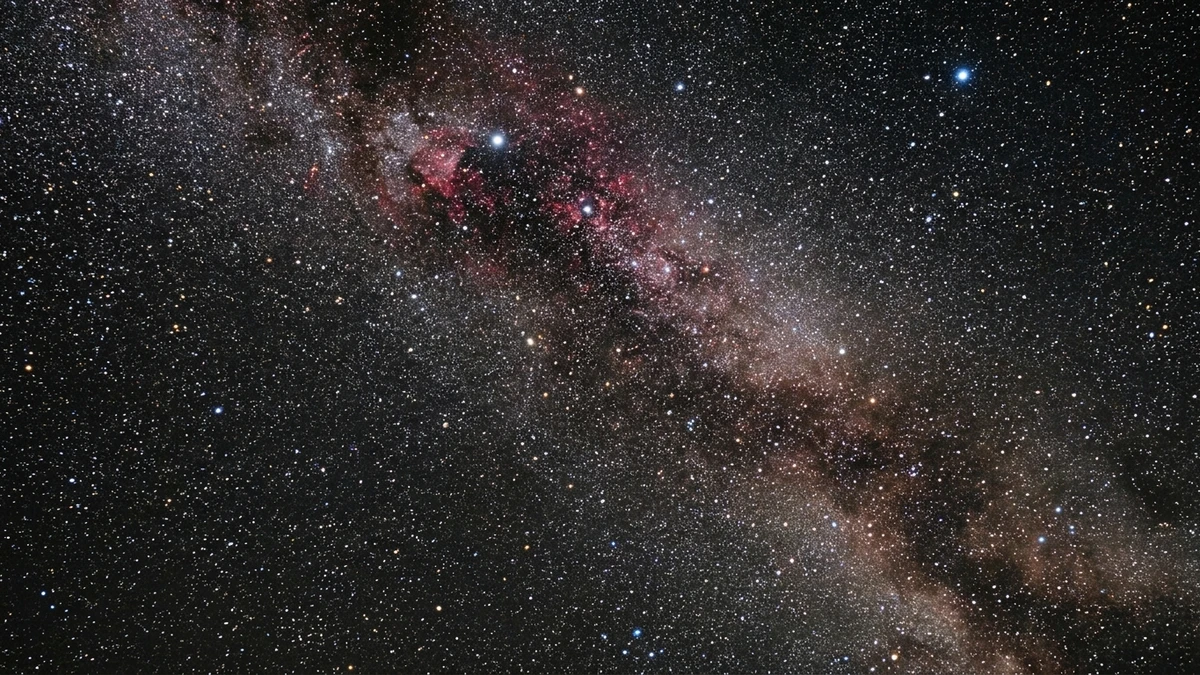
Stacking combines dozens of short exposures into one deep, clean image. Free software aligns the stars in every frame, even though the sky rotated between shots, and averages them together. The signal (stars, Milky Way) stays; the random noise mostly cancels out. Forty 15-second frames stacked look dramatically better than any single frame can, and it's all done from a fixed tripod.
Two free programs dominate, both Windows: Sequator is the beginner's choice: point it at your frames, tell it which are darks, press start. DeepSkyStacker (DSS) offers more control once you outgrow it. Mac users can run either under a compatibility layer or start with Siril, which is cross-platform but steeper.
- Shoot 30-50 light frames: identical settings, same framing, back to back. An intervalometer or the camera's built-in interval timer automates this.
- Shoot 10-15 dark frames: same settings, lens cap on. These map your sensor's heat noise so the software can subtract it.
- Load everything into Sequator, set "freeze foreground" if you had trees or a horizon in shot, and run it.
- Finish gently. One curves adjustment to lift the faint stuff, a nudge of contrast, and pull the colour balance a touch cooler to cut the orange glow of light pollution. Stop before it looks processed.
The kit that takes you further
Kit we've reviewed in full
A second-hand DSLR and the lens it came with will keep you busy for months. When you're ready for longer exposures and fainter targets, this is the path most people follow.
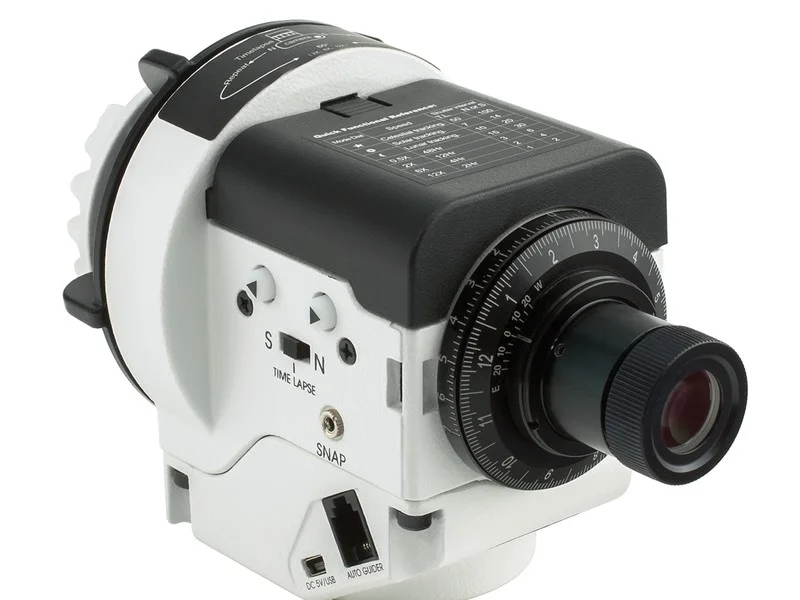
Sky-Watcher Star Adventurer 2i
Follows the sky's rotation so your camera can expose for minutes instead of seconds. The single biggest image-quality upgrade you can make after learning the basics.
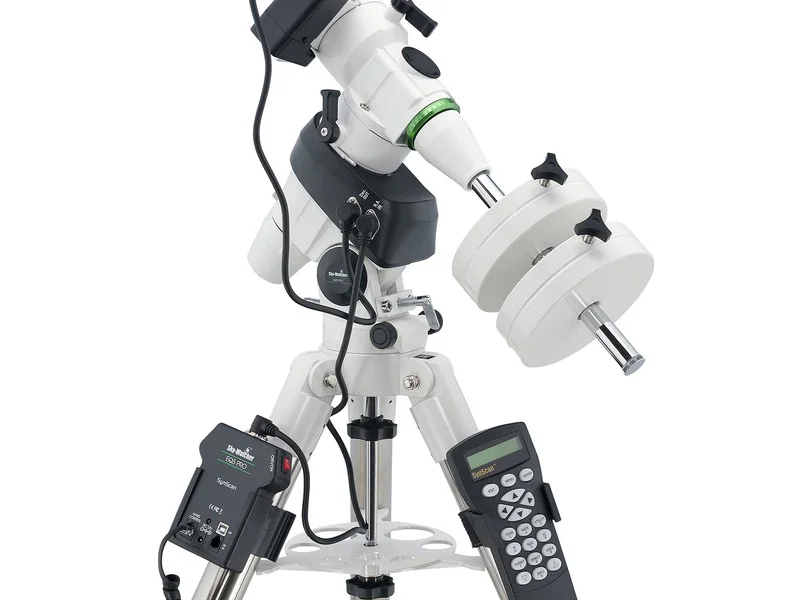
Sky-Watcher EQ5 Pro SynScan
The step after a tracker: a motorised equatorial mount that carries a telescope with your DSLR attached, for close-ups of galaxies, clusters and nebulae.
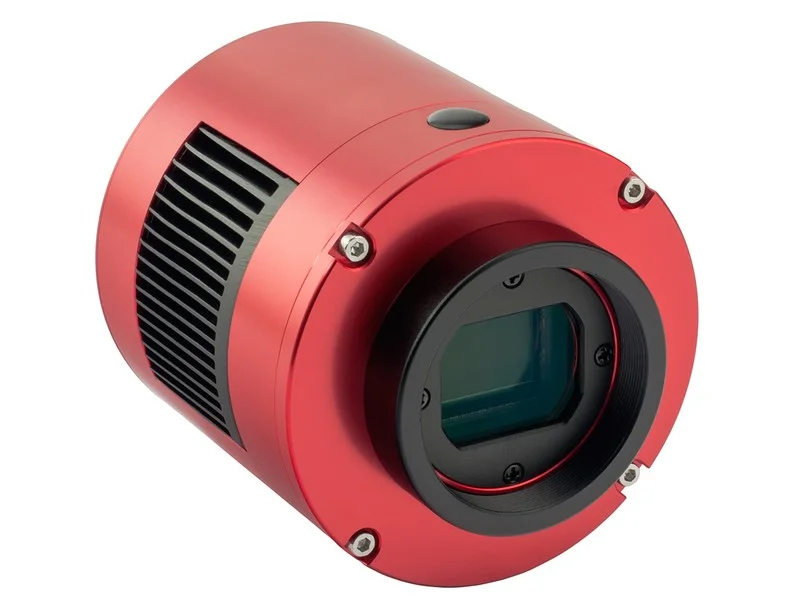
ZWO ASI 294MC-Pro
Where the road eventually leads: a cooled camera built purely for the night sky, for when the DSLR that got you started becomes the thing holding you back.
Affiliate links: you pay the same price, we earn a small commission that helps keep WatchTheStars free.
What Can You Photograph with Just a DSLR and Kit Lens?
More than you'd guess. Whole constellations are the natural first target: Orion in winter and Cygnus overhead on summer nights both fit an 18mm frame with room to spare, and a stacked image will pull out far more stars than your eyes ever saw. From a dark site, the Milky Way band is squarely within reach between August and October.
Meteors are a lottery you can rig: during a big meteor shower, leave the camera firing 15-second frames continuously at the darkest part of the sky and let the maths work for you. The same continuous-shooting trick catches the northern lights when a strong display reaches UK latitudes: a DSLR at ISO 1600 sees colour in an aurora your eyes register only as grey.
What a fixed tripod won't give you is close-ups: galaxies, nebulae and planets need longer exposures at longer focal lengths, and that means the sky has to be tracked. That's the tracker-then-mount path in the kit section above, and once there's a telescope under your camera, our guide to polar alignment becomes the skill that makes it all work. Eventually a dedicated astro camera like the ZWO ASI294MC Pro takes over where the DSLR runs out of road. Check this week's night sky guide for what's well placed before you head out.
Frequently Asked Questions
Is a DSLR good for astrophotography?
Yes. Any DSLR from roughly the last fifteen years can photograph constellations, the Milky Way and meteor showers using nothing but its kit lens and a tripod. A second-hand body costs less than most telescope eyepieces, and the same camera later attaches to a telescope when you're ready for close-ups.
What camera settings should I use for star photos with a DSLR?
Start at ISO 1600-3200, a 15-second exposure, the widest aperture your lens offers, and the lens at its widest zoom (18mm on a typical kit lens). Shoot in RAW, set white balance to daylight, and use a 2-second timer so pressing the shutter doesn't shake the camera.
How do you focus a DSLR on stars at night?
Switch the lens to manual focus, open live view, point at the brightest star you can find and magnify the preview by 10x. Turn the focus ring slowly until the star shrinks to its smallest, tightest point, then don't touch the ring again. Autofocus cannot lock onto stars, which is why so many first attempts come out blurry.
What is stacking in astrophotography?
Stacking combines many short exposures of the same patch of sky into one image with far less noise. Free software such as Sequator or DeepSkyStacker aligns the stars in each frame and averages the results, so 40 stacked 15-second exposures reveal detail no single frame can show. It's how fixed-tripod photos get their depth.
How many photos should I stack?
Aim for 30-50 exposures of the same framing as a starting point. Noise reduction improves with the square root of the frame count, so 40 frames roughly halves the noise of 10. Add 10-15 dark frames, same settings with the lens cap on, and the stacking software will subtract the sensor's own heat noise too.
What is the 500 rule for a crop-sensor DSLR?
Divide 500 by your effective focal length to find your longest exposure before stars trail. On a crop-sensor DSLR you must include the crop factor: at 18mm on a Canon APS-C body that's 500 divided by (18 x 1.6), about 17 seconds. Zoom in to 55mm and the ceiling drops to around 5 seconds.
Can I do astrophotography with a kit lens?
Yes. The humble 18-55mm kit lens does wide-field astrophotography well. At 18mm and f/3.5 it captures whole constellations and the Milky Way band, and its short focal length is forgiving of tracking errors you don't yet know you're making. Stopping down to f/4 sharpens stars in the corners.
Do I need a star tracker?
Not to start. A fixed tripod plus stacking produces satisfying constellation and Milky Way images. A star tracker becomes worth it when you want exposures of a minute or more, or focal lengths beyond about 50mm: it rotates the camera with the sky so stars stay pinpoint. Learn the basics first; the tracker rewards good technique rather than replacing it.
Why do my star photos come out blurry?
Three usual suspects, in order: focus was off because autofocus can't see stars (use 10x live view on a bright star), the camera moved during the exposure (use a solid tripod and a 2-second timer), or the exposure was too long and stars trailed (check the 500 rule for your focal length). Zoom right in on the back screen after a test shot: sharp stars are tiny points.