Key Takeaways
- You don't photograph a planet, you film it: a two-minute video, then free software keeps the sharpest frames and stacks them
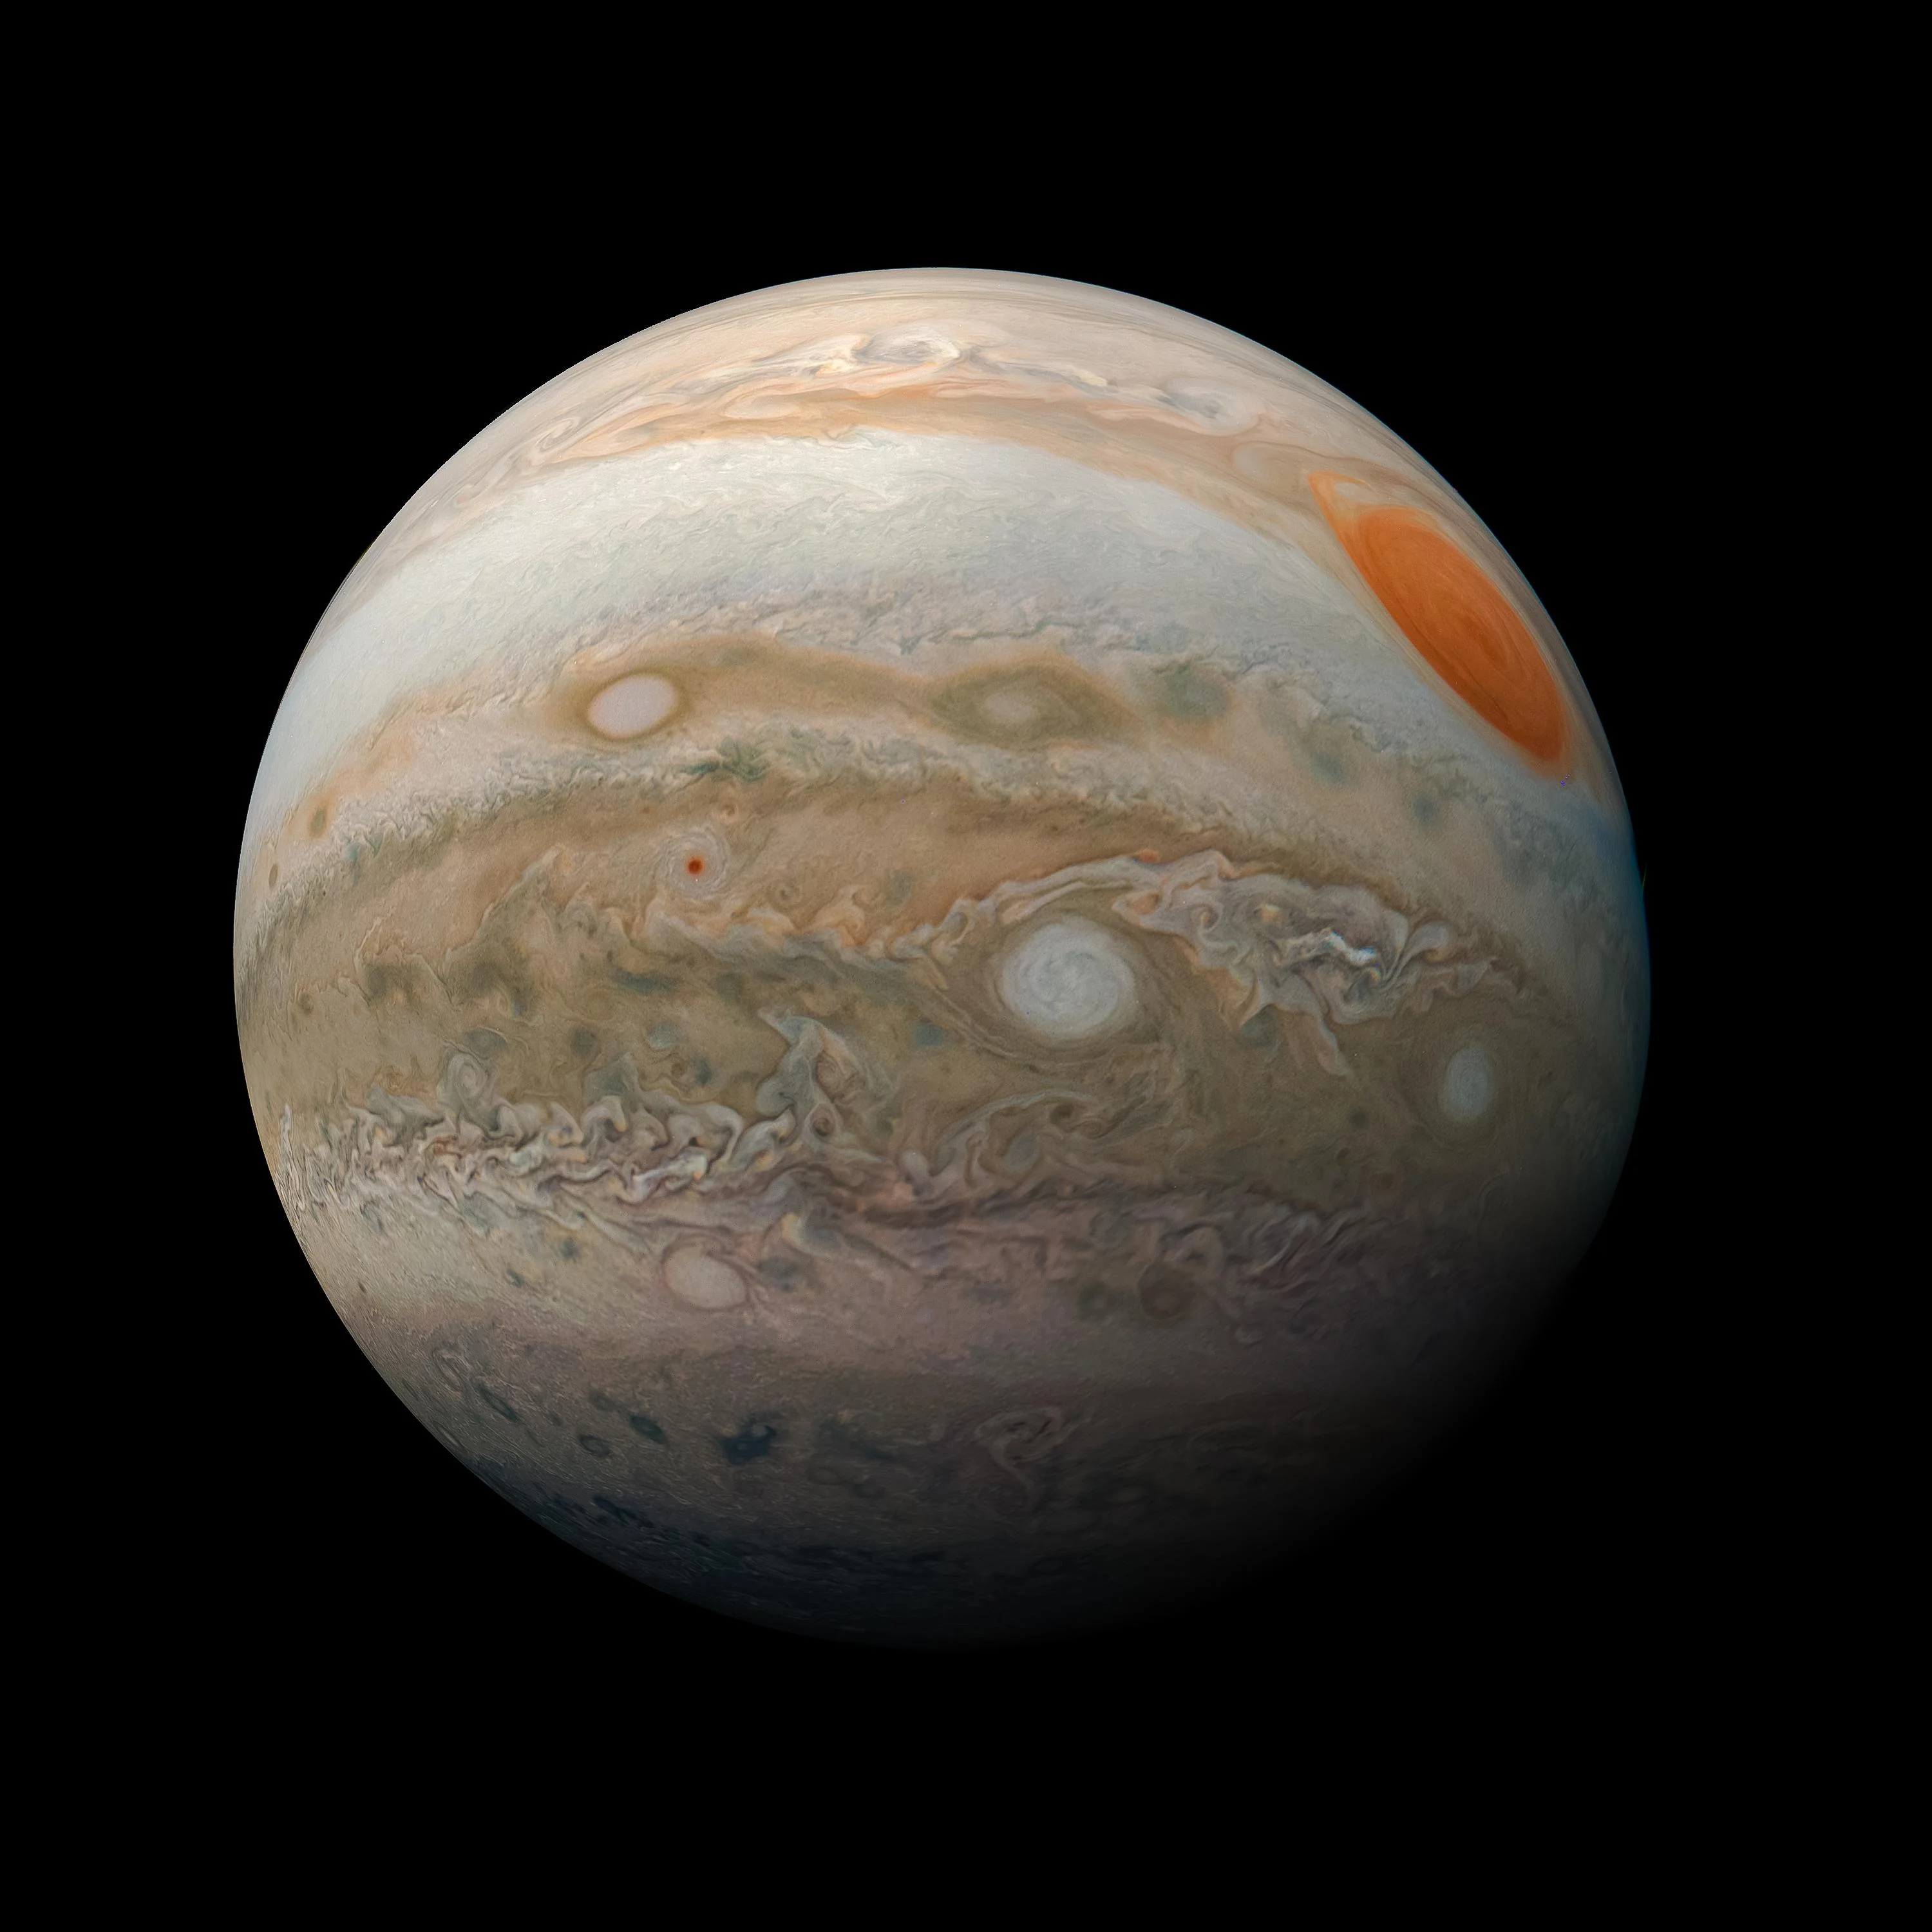
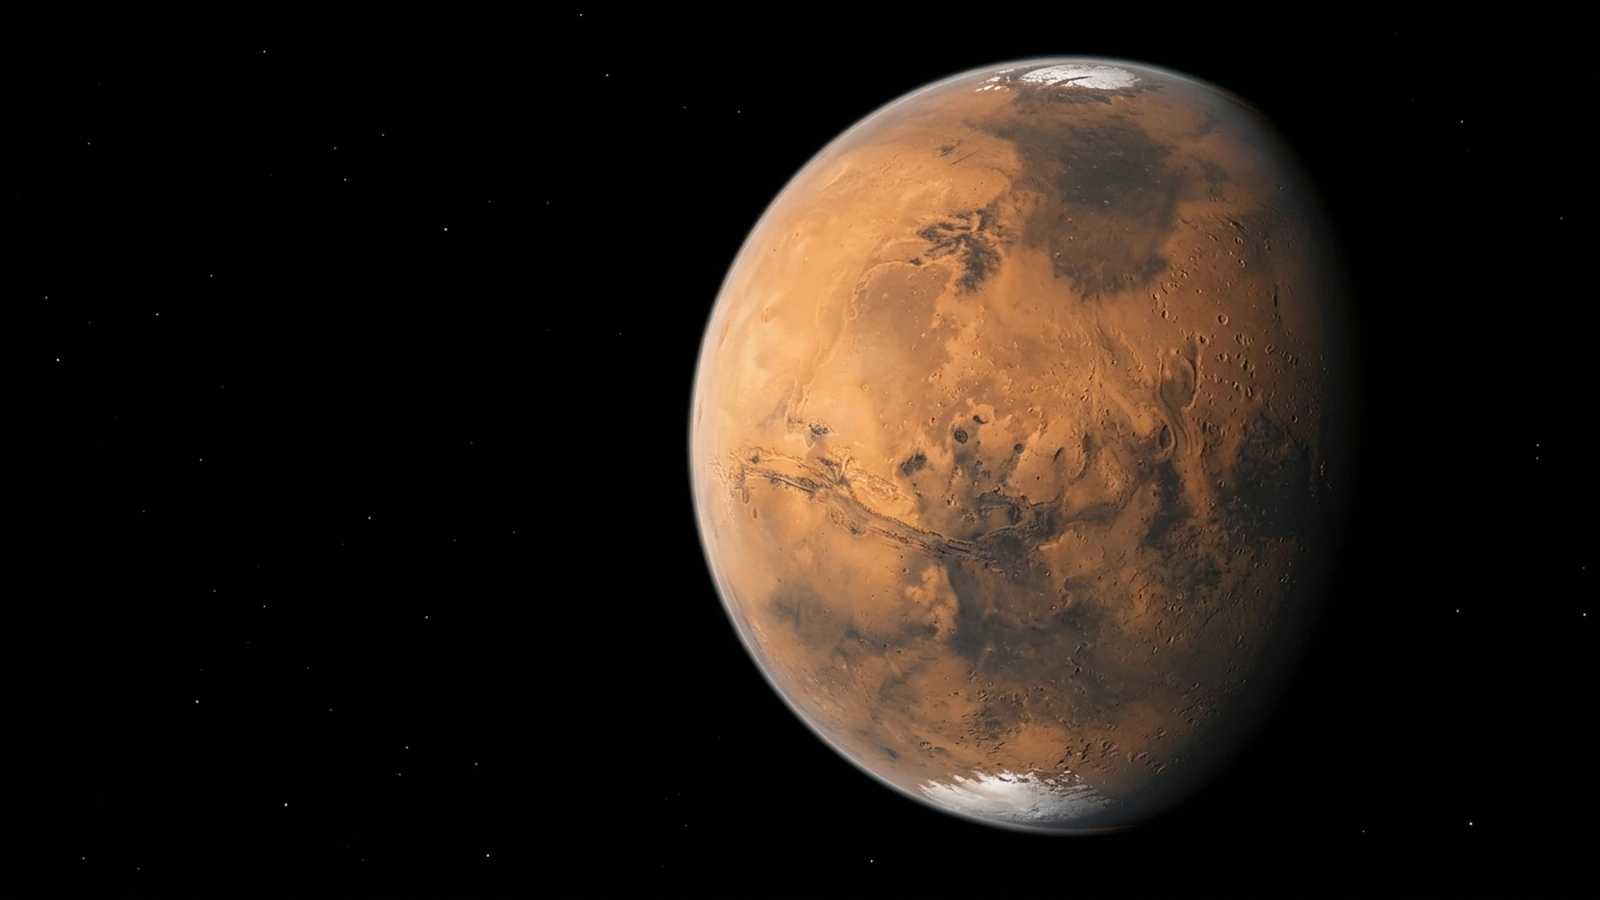
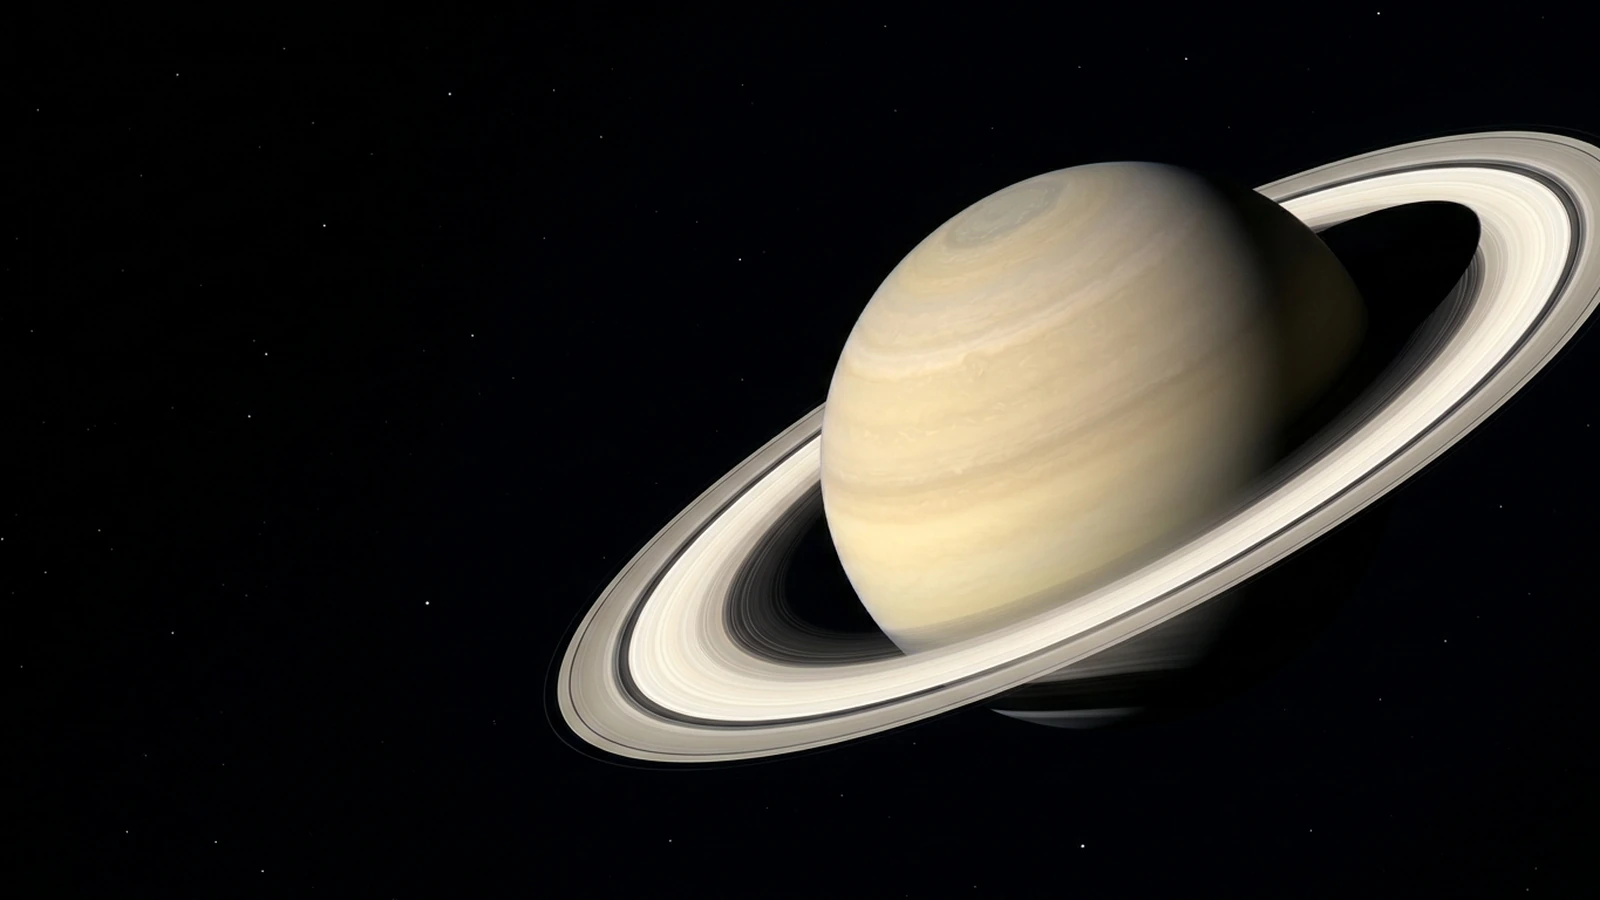
- A 5 or 6-inch telescope, a £150–200 planetary camera and a 2× Barlow will image Jupiter's belts, Saturn's rings and the Martian polar cap
- Seeing (air steadiness) matters more than aperture; an ADC fixes the colour fringing that low UK planets always suffer
- Autumn 2026 to spring 2027 is the season: Saturn peaks 4 October, Jupiter 11 February, Mars 19 February
📑 Table of Contents
- How Planetary Imaging Works: Lucky Imaging Explained
- Best Telescope for Planetary Imaging on a Budget
- Planetary Camera vs Smartphone: What to Buy First
- Barlow, ADC and Filters: Building the Imaging Train
- How to Capture Jupiter, Saturn and Mars Step by Step
- Free Planetary Stacking Software: AutoStakkert and Registax
- When to Image Planets From the UK in 2026 and 2027
- Beginner Planetary Imaging Mistakes to Avoid
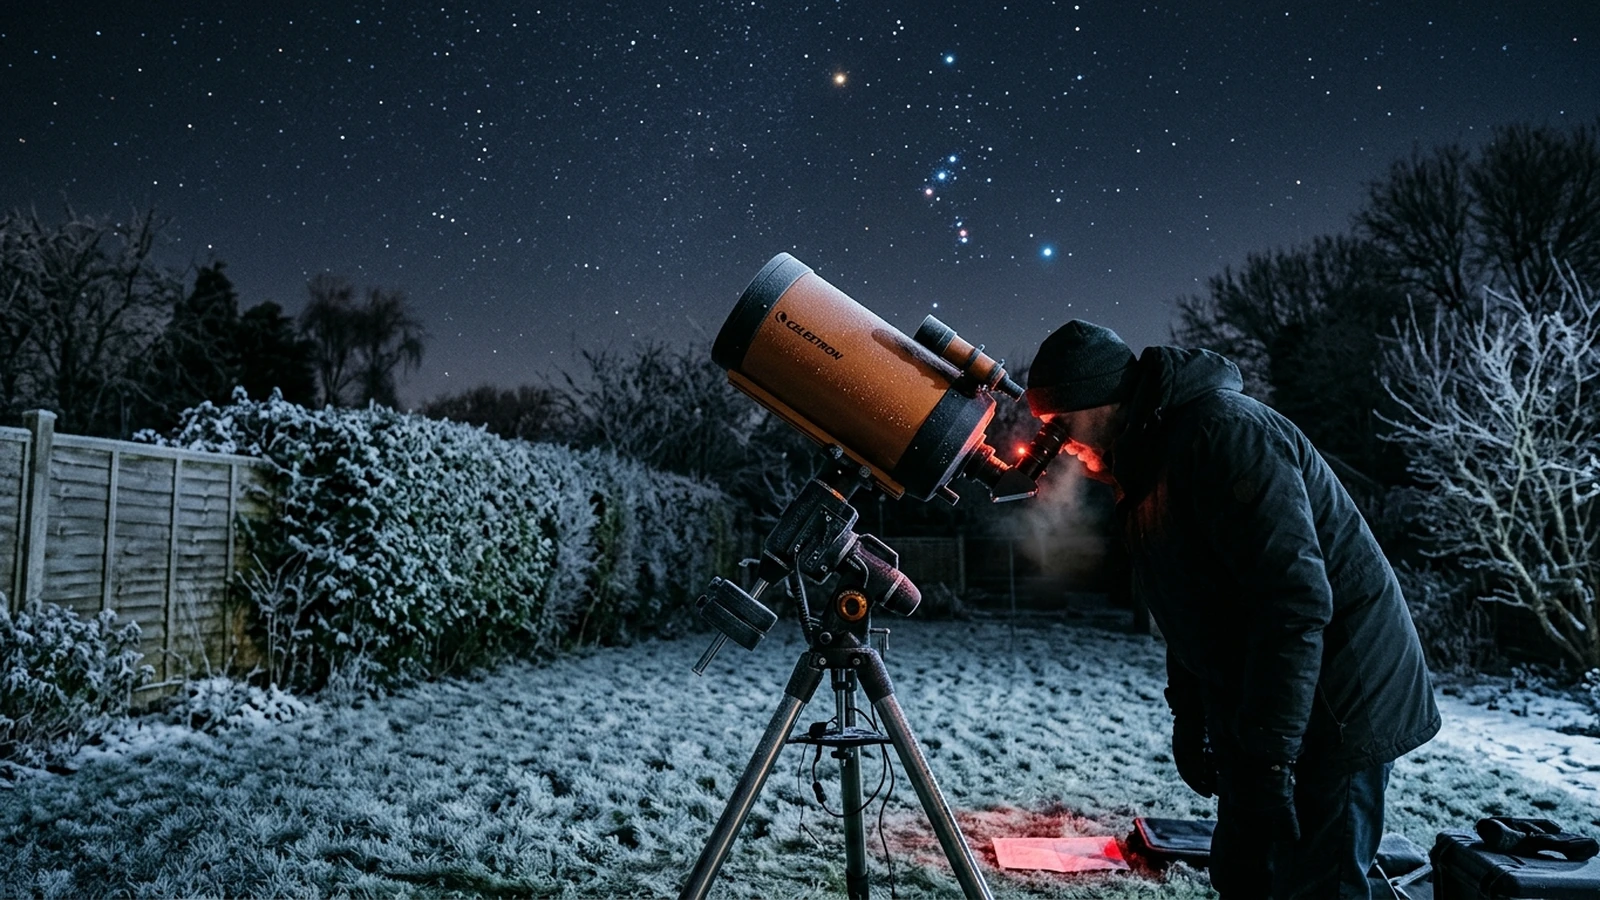
Planetary imaging is the branch of astrophotography that works from a back garden in a town, with the Moon up, on a Tuesday. You don't need dark skies, a tracking mount that costs more than a car, or hours of exposure. You need a telescope you probably already own, a small camera, a laptop and a clear hour when Jupiter, Saturn or Mars is reasonably high.
The trick, and it really is a trick, is that you don't take a photograph at all. You record a short video and let free software pull a sharp picture out of it. This guide walks through the kit, the capture routine and the software, aimed at someone who has looked at Saturn through an eyepiece and thought "I'd like to keep that".
How Planetary Imaging Works: Lucky Imaging Explained
Look at a planet at high power and it swims. The disc sharpens for a fraction of a second, then blurs, then sharpens again, as pockets of warm and cool air drift across the light path. Astronomers call this seeing, and it is the reason a single long exposure of Jupiter is always a soft mess.
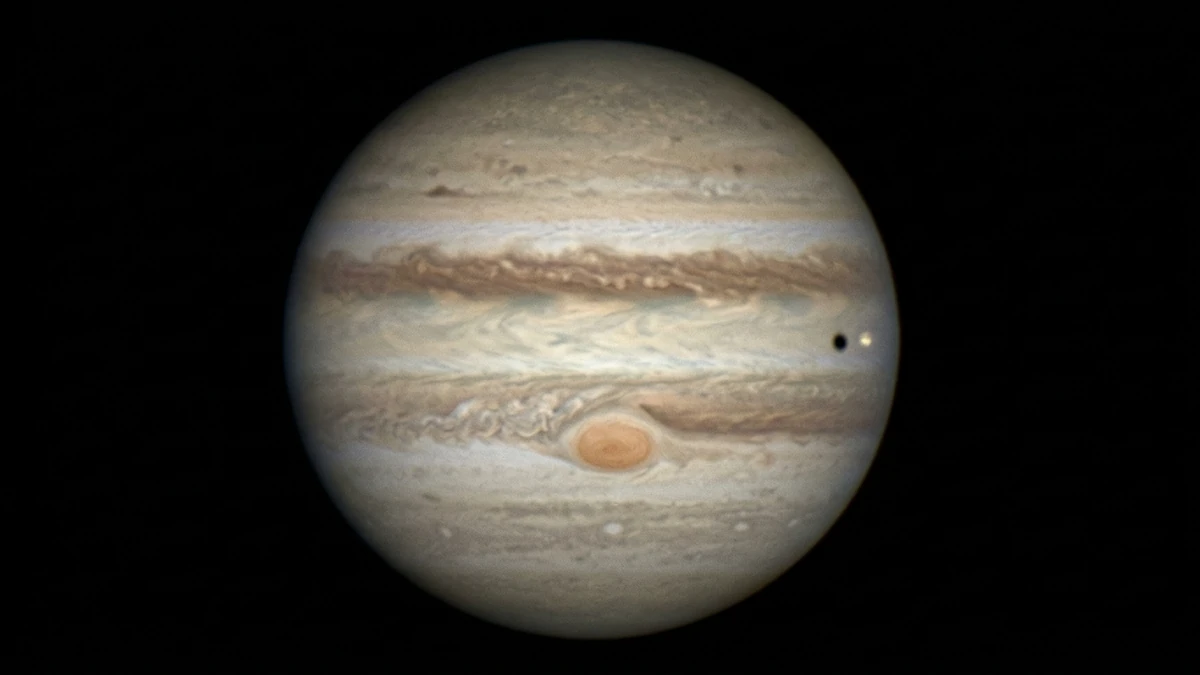
Lucky imaging gets round it. Instead of one exposure you record thousands of very short ones, a few milliseconds each, as a video. Most frames are blurred, but a few hundred catch the moments when the air steadied. Software sorts every frame by sharpness, throws away the worst, aligns the best and averages them. The averaging kills the noise, and a sharpening pass called wavelets brings out belts, ring gaps and polar caps that were there all along.
That is the whole method. Everything else in this guide is about getting a bright, correctly scaled, colour-corrected planet onto the sensor so the software has something worth sorting.
Best Telescope for Planetary Imaging on a Budget
Planets are small and bright, so what you want is focal length and steady optics rather than a wide field. Three things matter.
Aperture. Resolution is set by aperture, so bigger shows finer detail, but only when the air allows. From the UK, seeing limits most nights to what a 6 or 8-inch scope can deliver, so there is no need to chase a huge mirror to begin with. A 127mm Maksutov, a 150mm Newtonian or a 6-inch Schmidt-Cassegrain are all good starting points. The Sky-Watcher Skymax 127 is popular for exactly this: long focal length, closed tube, no collimation to worry about.
Tracking. At the magnifications planetary imaging uses, a planet drifts across the sensor in seconds. You need a mount that follows the sky. A basic motorised equatorial or a GoTo alt-azimuth mount both work; a Dobsonian on a plain base is hard going unless it has tracking. If you are new to driven mounts, our polar alignment guide covers the setup, and it needs to be only roughly right for planetary work.
Collimation. A Newtonian that is even slightly out of alignment will never give a sharp planet. Check it every session. It takes five minutes once you know how, and our telescope collimation guide shows the method with a £4 cap.
A note on smart telescopes: the Seestar and Dwarf models are brilliant for nebulae and galaxies but their short focal lengths make planets tiny. If planets are your goal, a conventional scope wins. Our Seestar S50 vs Dwarf 3 comparison explains why.
Planetary Camera vs Smartphone: What to Buy First
You can start tonight with the phone in your pocket. Clamp it to the eyepiece, record a 30-second video at the highest resolution and frame rate it offers, and stack it later. You will get Jupiter's two main belts and the shape of Saturn's rings, which is enough to know whether you enjoy the process. Our phone astrophotography guide has the settings.
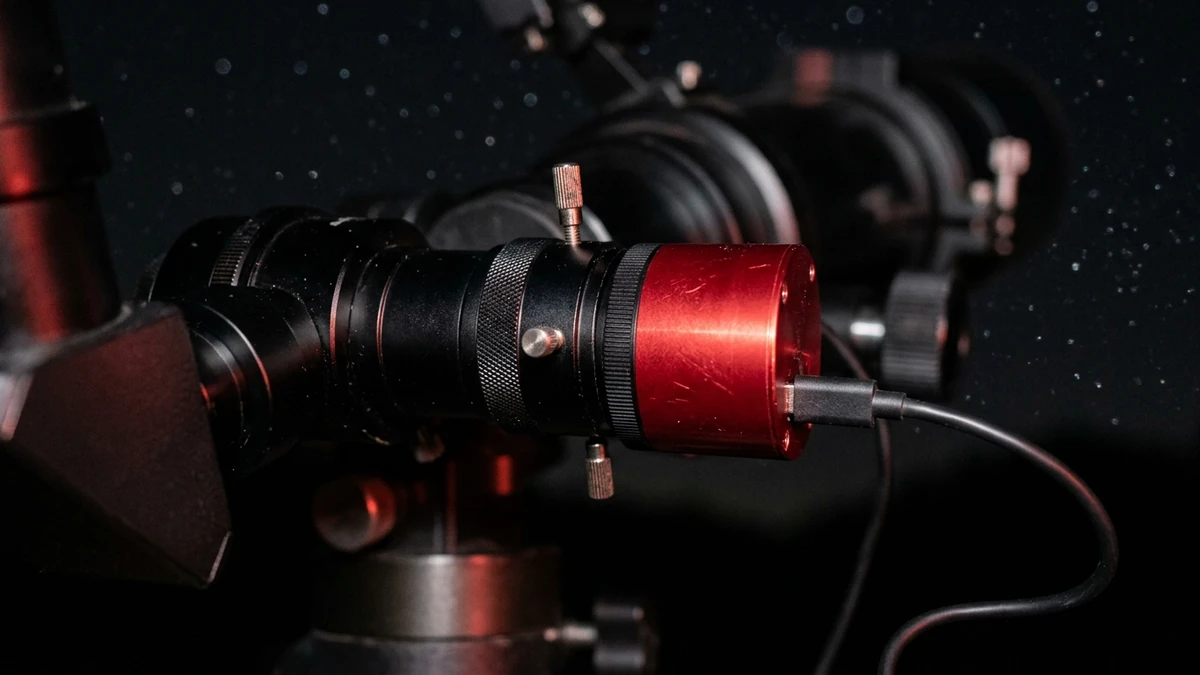
The limit with phones is that the camera app fights you: it wants to autofocus, auto-expose and compress the video. A dedicated planetary camera solves all of that. It has no lens (it sits in the focuser where the eyepiece would go), it streams raw uncompressed frames over USB, and you control exposure and gain directly.
The cameras worth considering are all small colour sensors with pixels around 3 microns. A colour camera is the right first choice: one capture gives a finished colour image, while mono cameras need filters and three separate runs. Look for USB 3, because frame rate is everything, and you want to be recording at 100 frames per second or more on Jupiter. If budget is tight, a mono camera like the ZWO ASI120MM Mini is cheaper and still capable, provided you're willing to do the extra work colour needs.
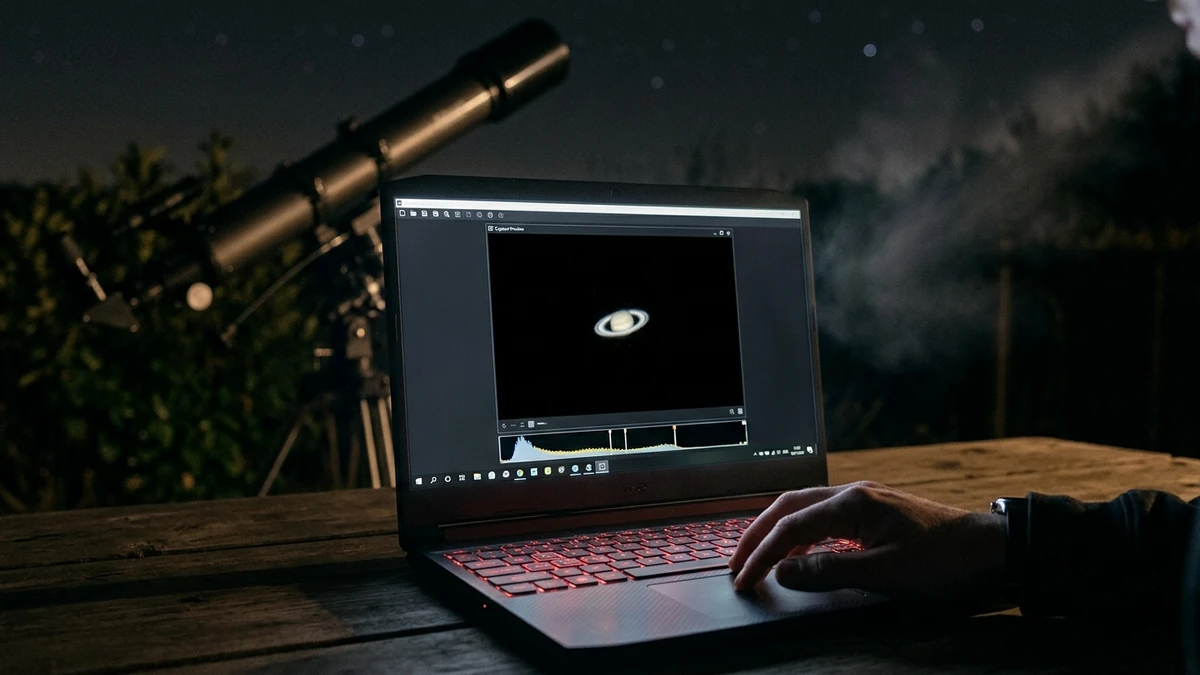
Kit for your first planetary images
Kit we've tested and reviewed in full
You probably already own the telescope. This is the short list that turns it into a planetary imaging setup, in the order we'd buy it.
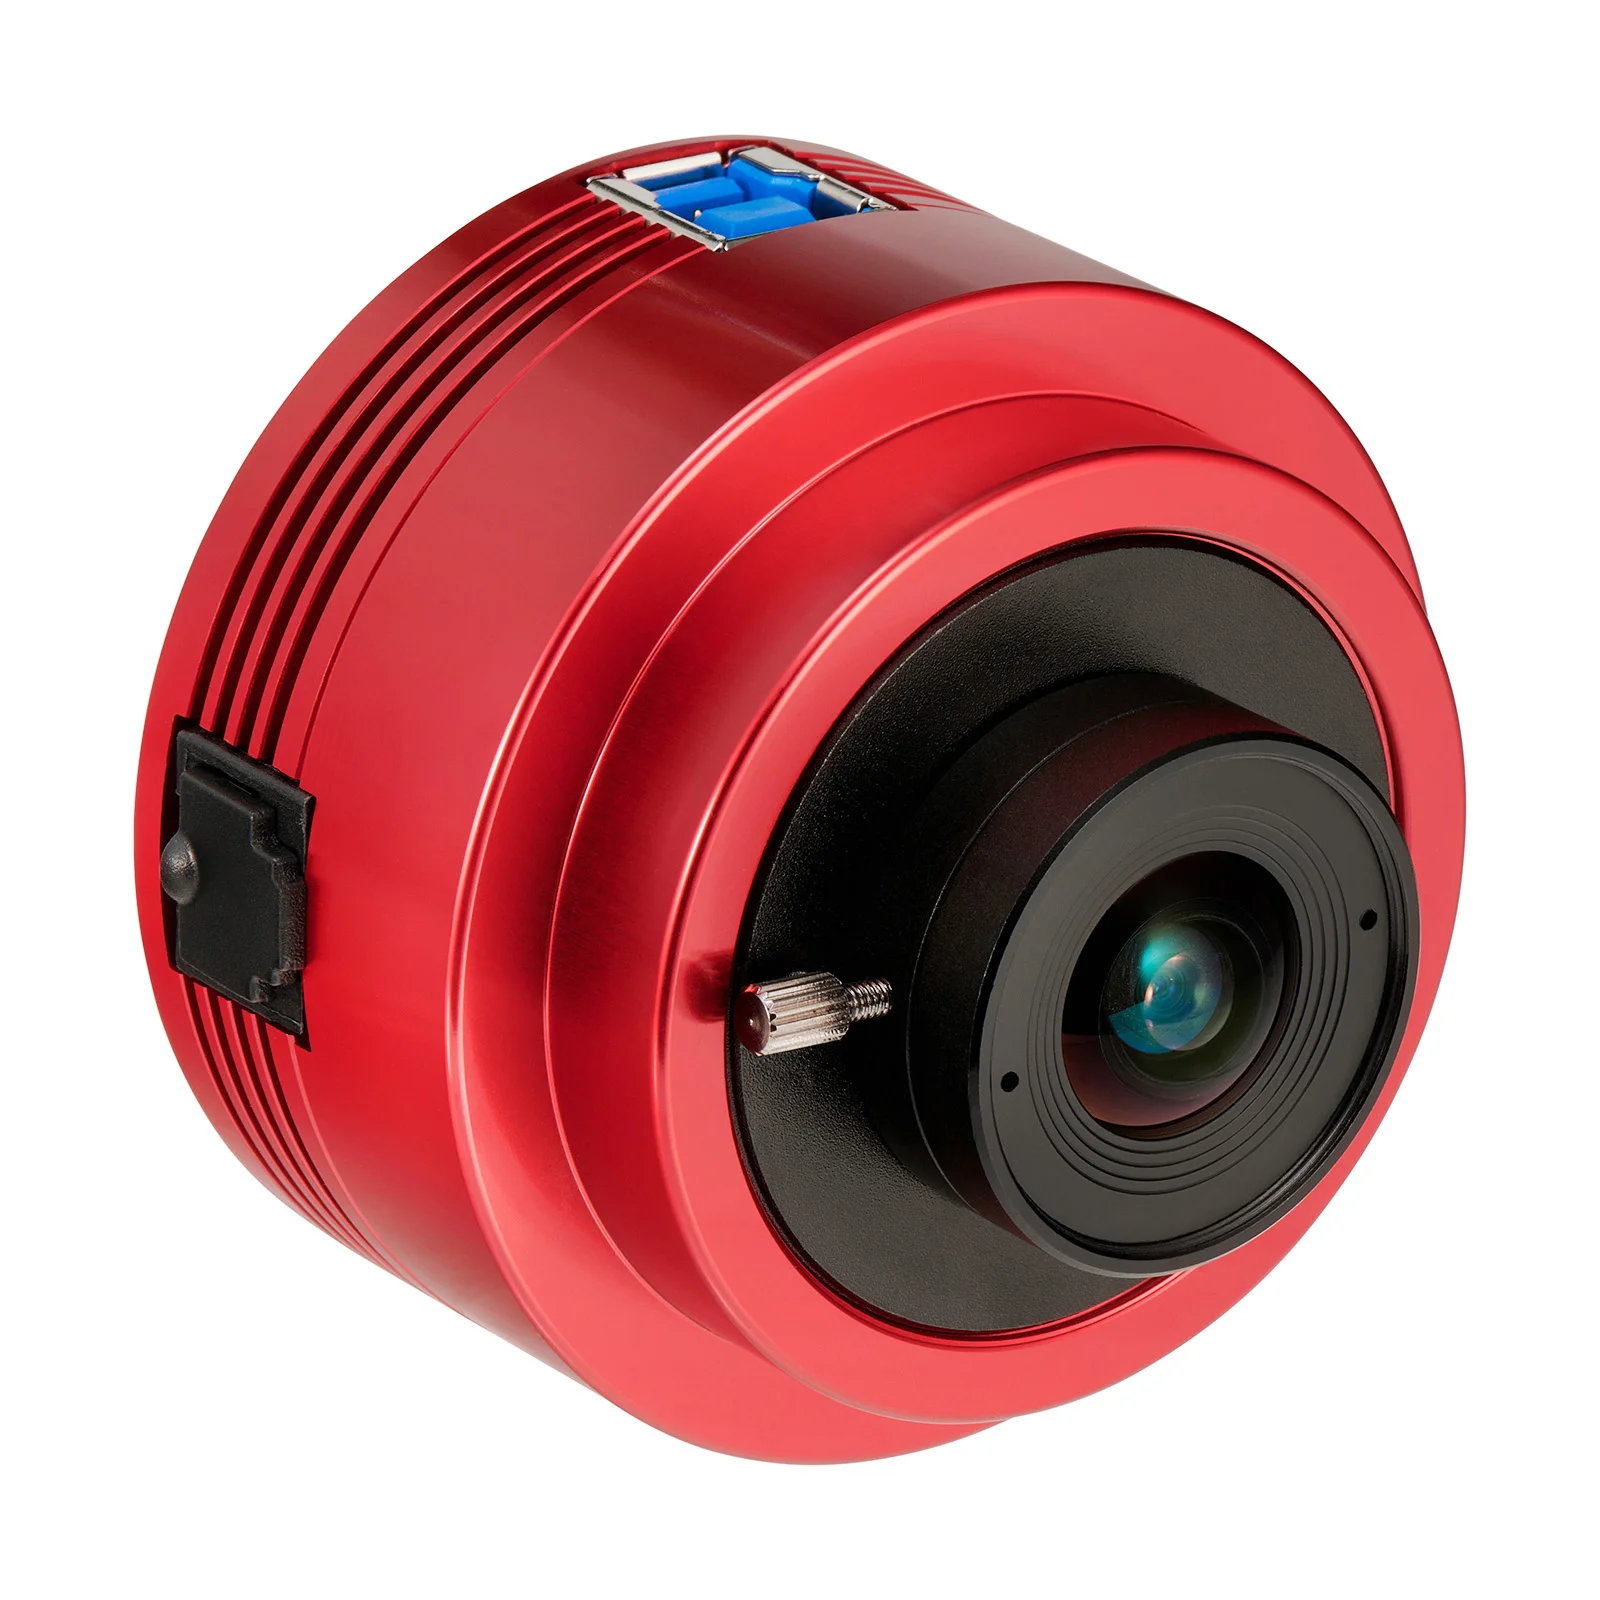
ZWO ASI662MC Colour Planetary Camera
Small 2.9 micron pixels, USB 3 for fast frame rates and low noise. It hits the right image scale at f/15, which is a 2× Barlow on most 150mm scopes or a Maksutov on its own.
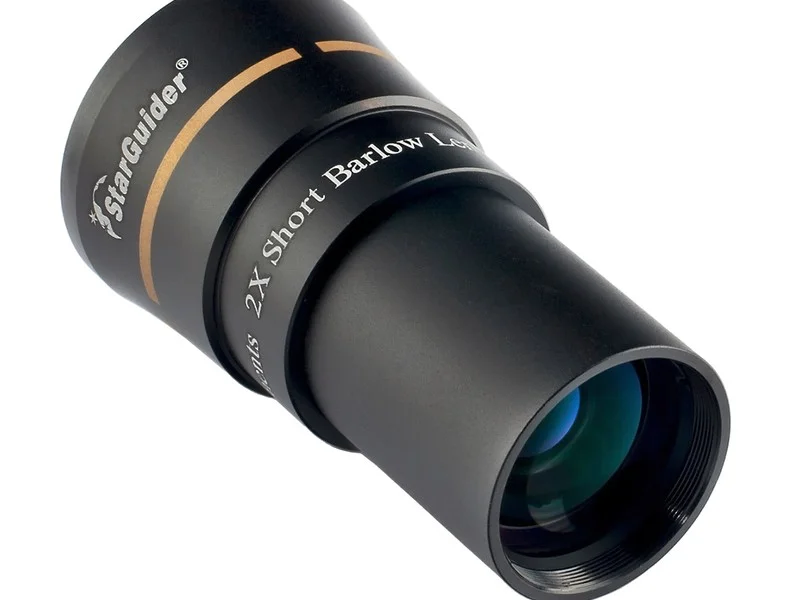
Astro Essentials 2x Barlow Lens
Most Newtonians run at f/5 to f/8, which is too fast for a planetary camera's tiny pixels. A 2× Barlow doubles the focal length and puts you in the sweet spot.
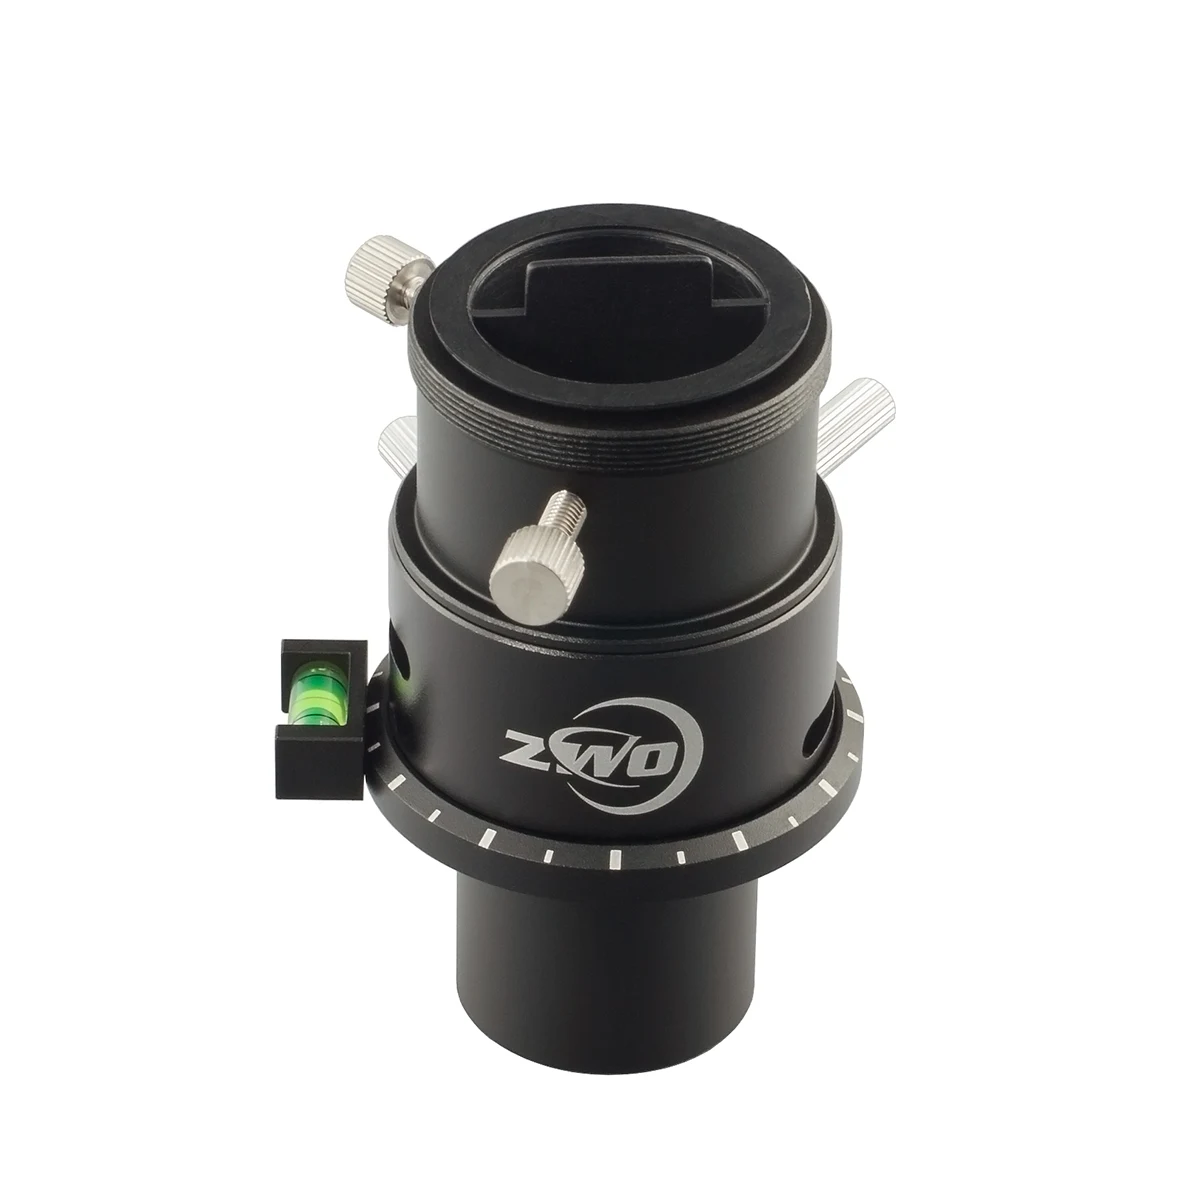
ZWO 1.25" Atmospheric Dispersion Corrector (ADC)
Saturn and Mars sit low from Britain. The ADC removes the red and blue fringes so the wavelet sharpening has real detail to work on rather than colour smear.
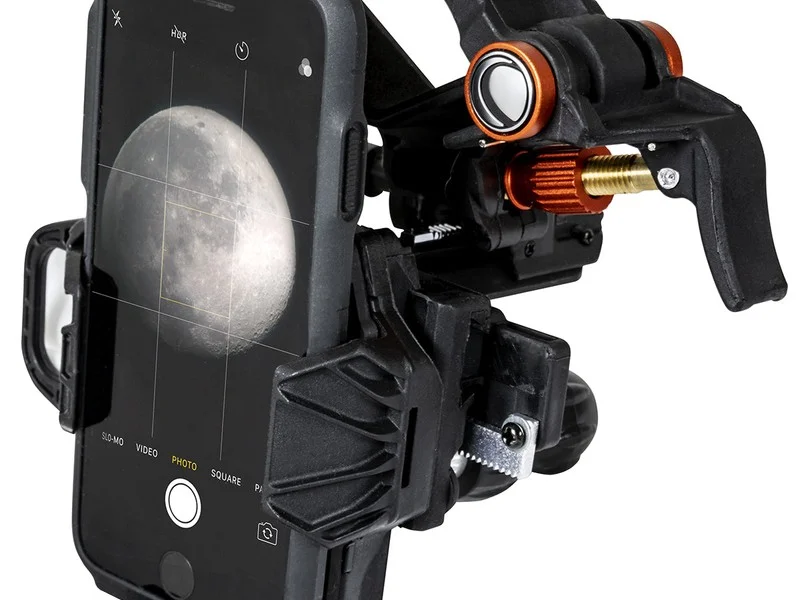
Celestron NexYZ Smartphone Adapter
If you'd rather try with the phone you already own, this clamp holds it square to the eyepiece so you can shoot a steady video and stack it.
Affiliate links: you pay the same price — we earn a small commission that helps keep WatchTheStars free.
Barlow, ADC and Filters: Building the Imaging Train
The imaging train is the stack of bits between the focuser and the camera. Getting it right is most of the battle.
Focal ratio. A planetary camera with 3 micron pixels wants the telescope working at around f/15 to f/20. The rule of thumb is focal ratio equals five times the pixel size in microns, so a 2.9 micron camera wants roughly f/15. A 150mm f/5 Newtonian needs a 3× Barlow to get there; an f/8 Newtonian or a Maksutov at f/12 needs a 2× Barlow or nothing at all. Run much faster than this and the planet is too small to resolve; run much slower and it goes dim and the frame rate drops. If the maths is new to you, our telescope magnification guide explains focal length and focal ratio from the ground up.
Atmospheric dispersion corrector. From the UK, Saturn and Mars spend most seasons below 40 degrees altitude, and at that height the atmosphere smears red to one edge of the planet and blue to the other. The camera records the smear faithfully and no amount of processing removes it. An ADC sits between the Barlow and the camera and cancels the effect with two adjustable prisms. It is the accessory that makes the biggest difference to a low-altitude planet, and Britain's planets are nearly always low.
Filters. You don't need any to start. An infrared-cut filter is worth adding once you have a few sessions done, because colour cameras are sensitive to infrared and it softens the image. The coloured visual filters (orange for Jupiter, red for Mars) are aimed at the eye rather than the camera, though a red filter can help on Mars when seeing is poor.
How to Capture Jupiter, Saturn and Mars Step by Step
Here is the routine. It gets faster with practice, but the first few nights will feel fiddly, and that is normal.
1. Cool the telescope. Put it outside an hour before you start. A warm mirror or corrector plate pours heat into the light path and ruins seeing before the atmosphere gets a chance. In winter this matters even more, and dew becomes the enemy; our dew prevention and winter observing guide covers both.
2. Find and centre the planet with an eyepiece. The camera's field of view is tiny. Centre the planet in a medium-power eyepiece, then swap in the camera without touching the mount.
3. Focus roughly, then finely. Start with the camera's gain high and exposure long so the planet shows up as a blob, then wind focus until it shrinks. Use a moon of Jupiter or the edge of Saturn's rings for fine focus, and refocus every 20 minutes as the tube cools.
4. Set exposure and gain. Bring the exposure down until the histogram peaks at about 60–70 per cent. Aim for exposures of 5 to 10 milliseconds on Jupiter and 10 to 20 on Saturn, with gain wherever it needs to be to get there. Noise from gain averages out in the stack; motion blur from long exposures does not.
5. Set the ADC. Point the levers so the prisms are horizontal relative to the horizon, then open them together until the red and blue fringes on the planet's top and bottom edge disappear on the preview. Most capture software has a dispersion indicator to help.
6. Record. Use a region of interest just larger than the planet so the frame rate climbs. Record 90 to 120 seconds on Jupiter (it rotates fast enough that longer captures blur), and 3 to 5 minutes on Saturn and Mars. Save as SER format if the software offers it.
7. Repeat. Take five or ten captures. Seeing changes minute to minute and the best of the night is often the third or seventh run, not the first.
Free Planetary Stacking Software: AutoStakkert and Registax
The processing chain has three steps, and all the software is free.
Capture: SharpCap or FireCapture. Both control the camera, show the histogram, handle the region of interest and write SER or AVI files. SharpCap's free tier does everything a beginner needs; FireCapture is the planetary specialist and runs on Mac and Linux as well as Windows.
Stack: AutoStakkert! Open the video, let it analyse frame quality, place alignment points across the planet (the automatic option is fine), and choose how many frames to keep. Start with the best 25 per cent. It outputs a single soft-looking TIFF. Don't be alarmed; the sharpness is in there, waiting for the next step.
Sharpen: Registax wavelets or WaveSharp. Load the stacked TIFF, and push the first two or three wavelet sliders until belts and ring gaps appear. Stop before the image looks crunchy or the limb grows a bright ring. Registax is old and unmaintained but still works; WaveSharp is its modern replacement from the same author and is the better choice for a new install.
If you already do wide-field work with a DSLR, the stacking idea will be familiar; our DSLR astrophotography guide uses the same logic at the other end of the focal length scale.
When to Image Planets From the UK in 2026 and 2027
The coming season is a good one. Saturn reaches opposition on 4 October 2026, high in the south around midnight, with the rings opening again after their 2025 edge-on phase. Jupiter's opposition follows on 11 February 2027, and Jupiter sits a comfortable 50-odd degrees up from the UK this apparition, which means less atmospheric blur and less need for the ADC. Mars comes to opposition on 19 February 2027, small but sitting high in Leo, which is the best UK geometry for a while.
Planets don't need to be at opposition to image well. Anything within a couple of months of it is fair game, and the best nights are the ones with steady air rather than the ones on the calendar. Check the jet stream forecast: when it is sitting over Britain, seeing is poor whatever the cloud forecast says, and when it has moved north or south you get the still nights that make everything easy. The Tonight page shows which planets are up and how high, and the weekly night sky guide flags the moon and planet events worth planning around.
Winter planetary work also means cold optics and dewed corrector plates, so a dew shield or heater strap is worth budgeting for before the first frosty night.
Beginner Planetary Imaging Mistakes to Avoid
Too much magnification. Everyone's first instinct is to stack a 3× and a 2× Barlow and make the planet fill the frame. The result is dim, noisy and no sharper. Stick to the f/15 to f/20 rule.
Long exposures. If the exposure is over about 20 milliseconds you are photographing the atmosphere, not the planet. Raise the gain instead.
Skipping cool-down. The heat plume from a warm mirror is the commonest cause of "the seeing was terrible" on a night that was actually fine.
Over-sharpening. Wavelets are addictive. If the limb has a bright rim or the belts look like they've been drawn with a pen, back off.
Giving up after one night. The first session is always mostly setup. By the third you will have a routine, and by the fifth you will have an image of Saturn you want to print. It is one of the most rewarding things you can do with a modest telescope, and it works from precisely the light-polluted suburban gardens that make deep-sky imaging so hard.
If you are still choosing a telescope, our equipment guides cover the scopes and mounts mentioned here, and the stargazing for beginners page is the place to start if the eyepiece view is still new to you.
Sources:
- AutoStakkert! official site — stacking software and documentation
- FireCapture — planetary capture software
- SharpCap — capture software
- ZWO ADC user guide — atmospheric dispersion corrector setup
- In-The-Sky.org — 2026–27 opposition dates
Frequently Asked Questions